A complete Raymarine equipment has been delivered for our Lagoon 410 s2
The autopilot, radar and plotter , as well as all the add are still in top conditions! Unfortunately, the plotter is a bit small for us. We also want to install AIS on the boat and be able to access it from the plotter.
The duration of the project is scheduled for 4-6 years so now is a good time for an update. In the coming season we can get used to the functionality before heading to the big trip!
We cannot explain here the installation process step by step, because this is beyond the scope.
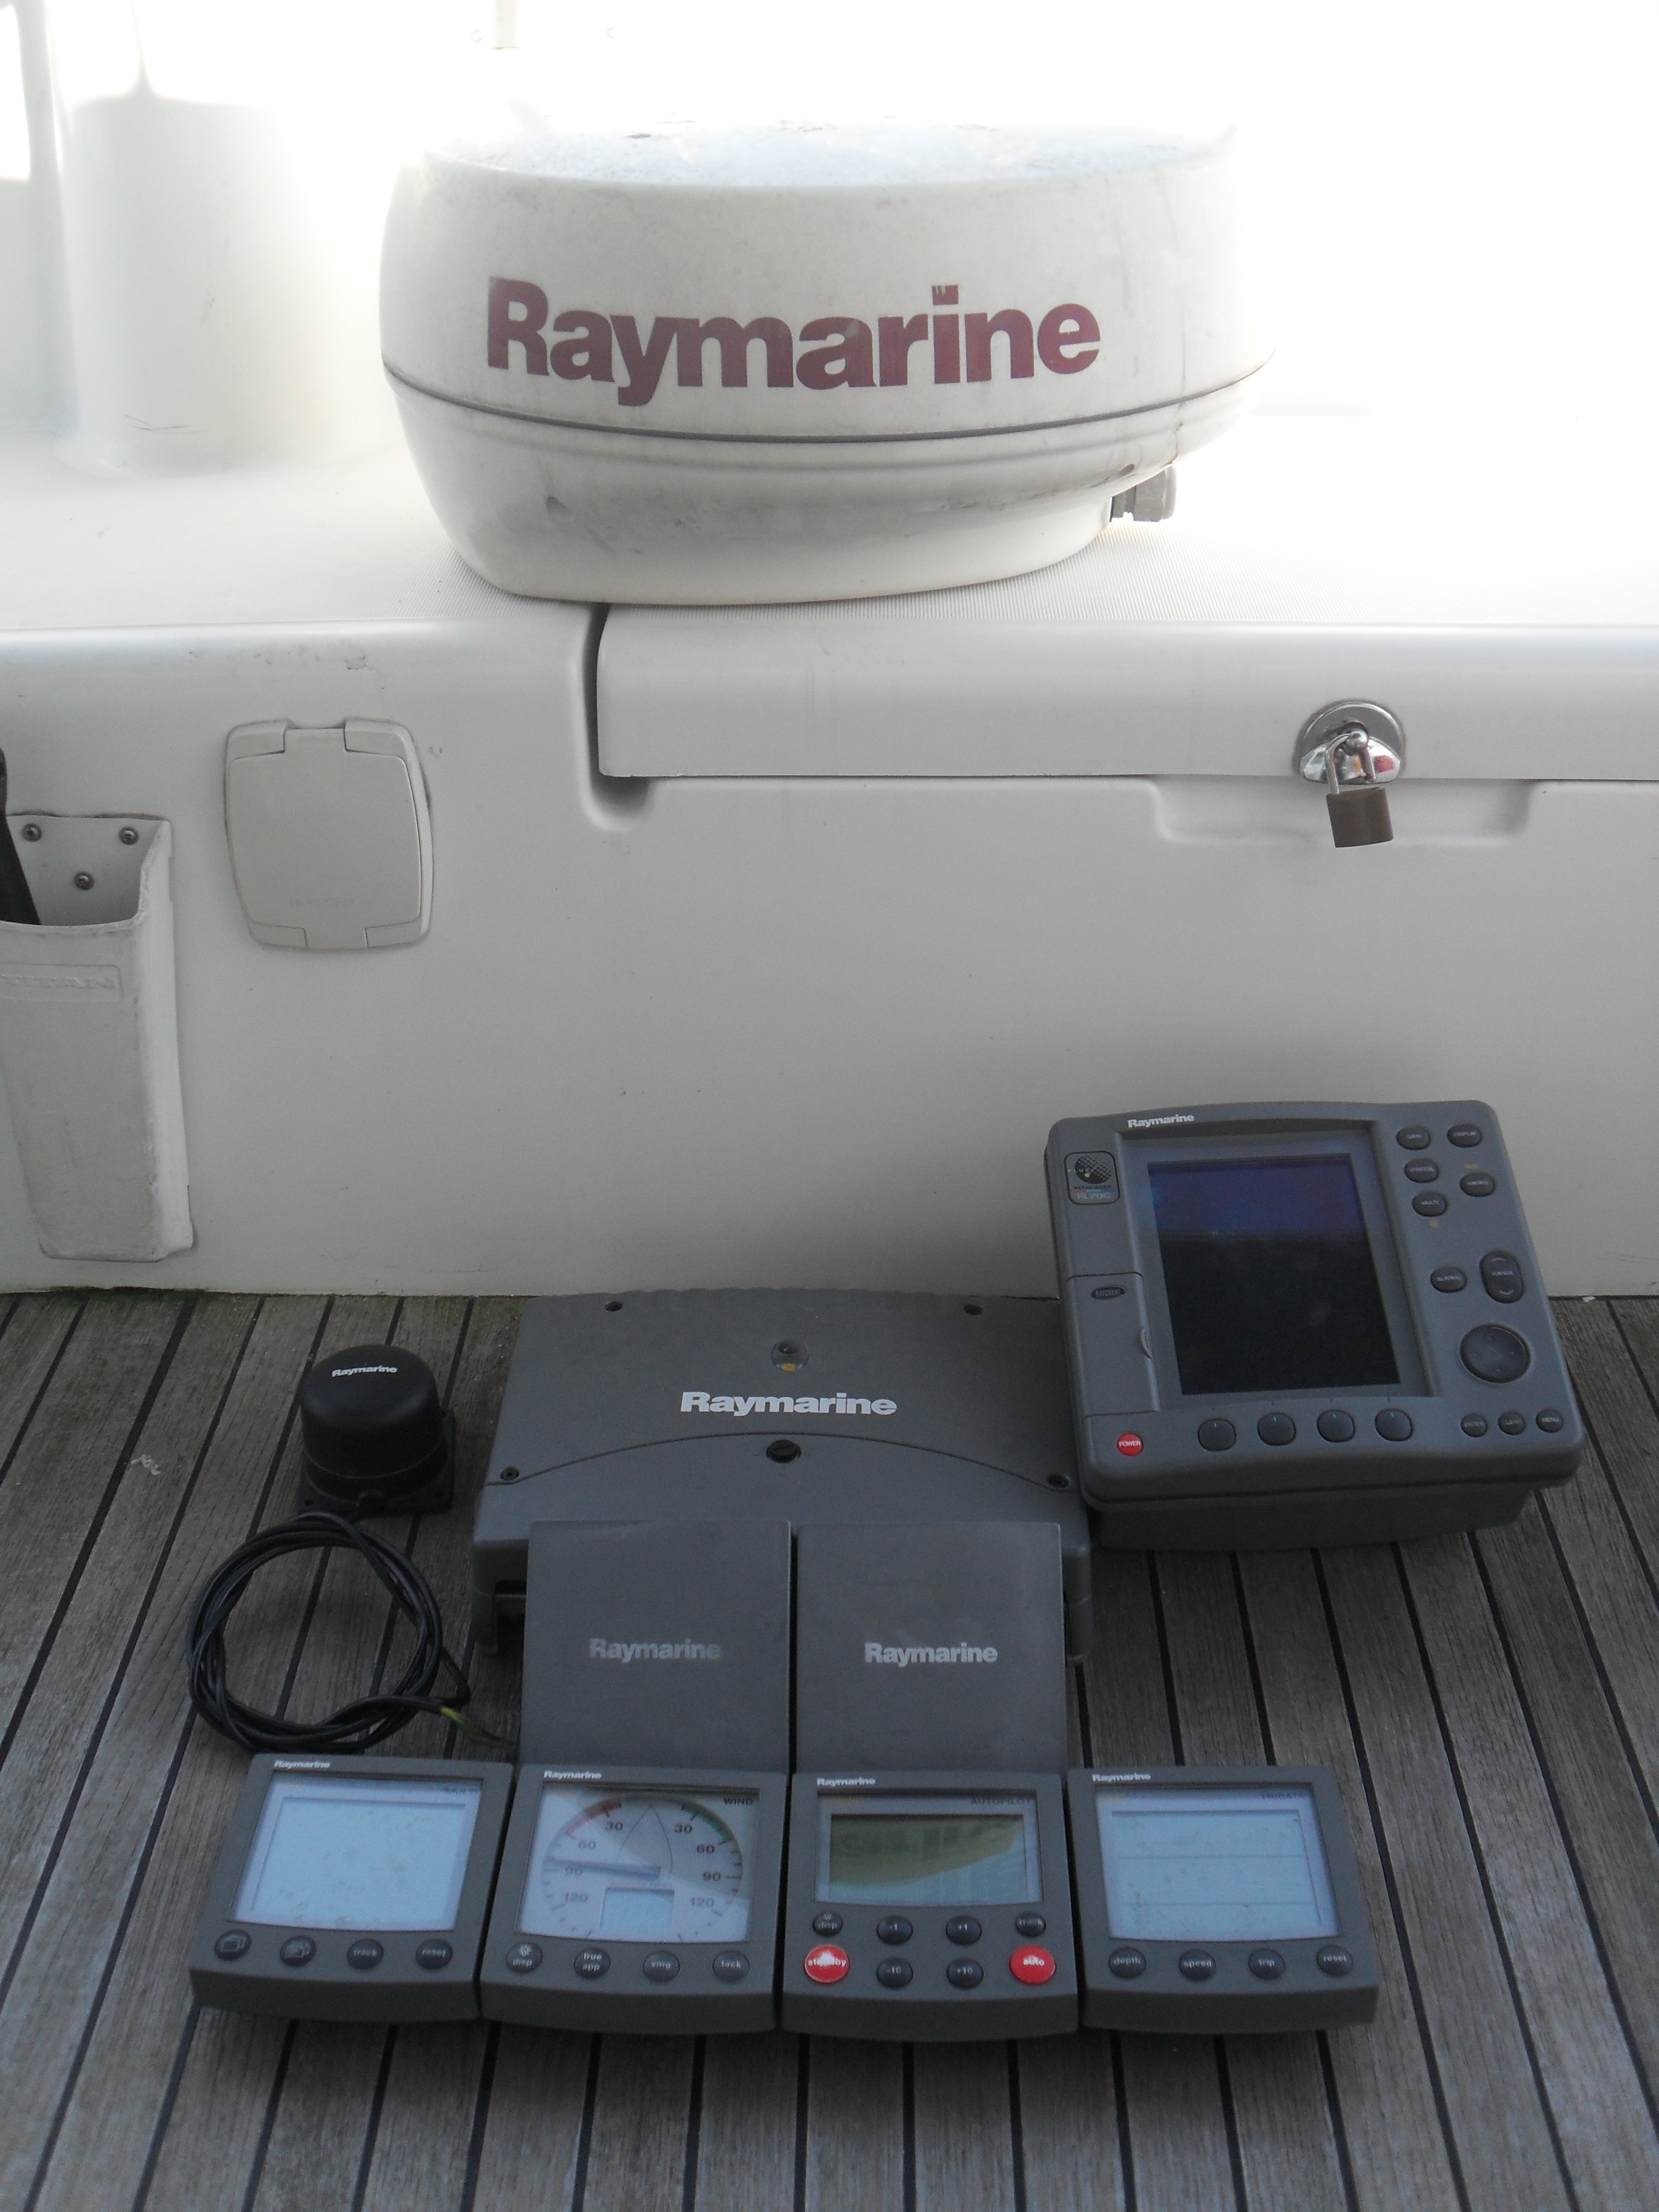
These are our new companion:
Raymarine Plotter e125
Raymarine Plotter e 95
Raymarine I70
Raymarine P70
Raymarine AIS Receiver
Raymarine Ais Splitter 100
Raymarine Evolution Autopilot
Raymarine Digitales Radar
Raymarine Sonar
RaymarineLifeTag
Raymarine ITC 5
Sea Talk ng
Raymarine HS5
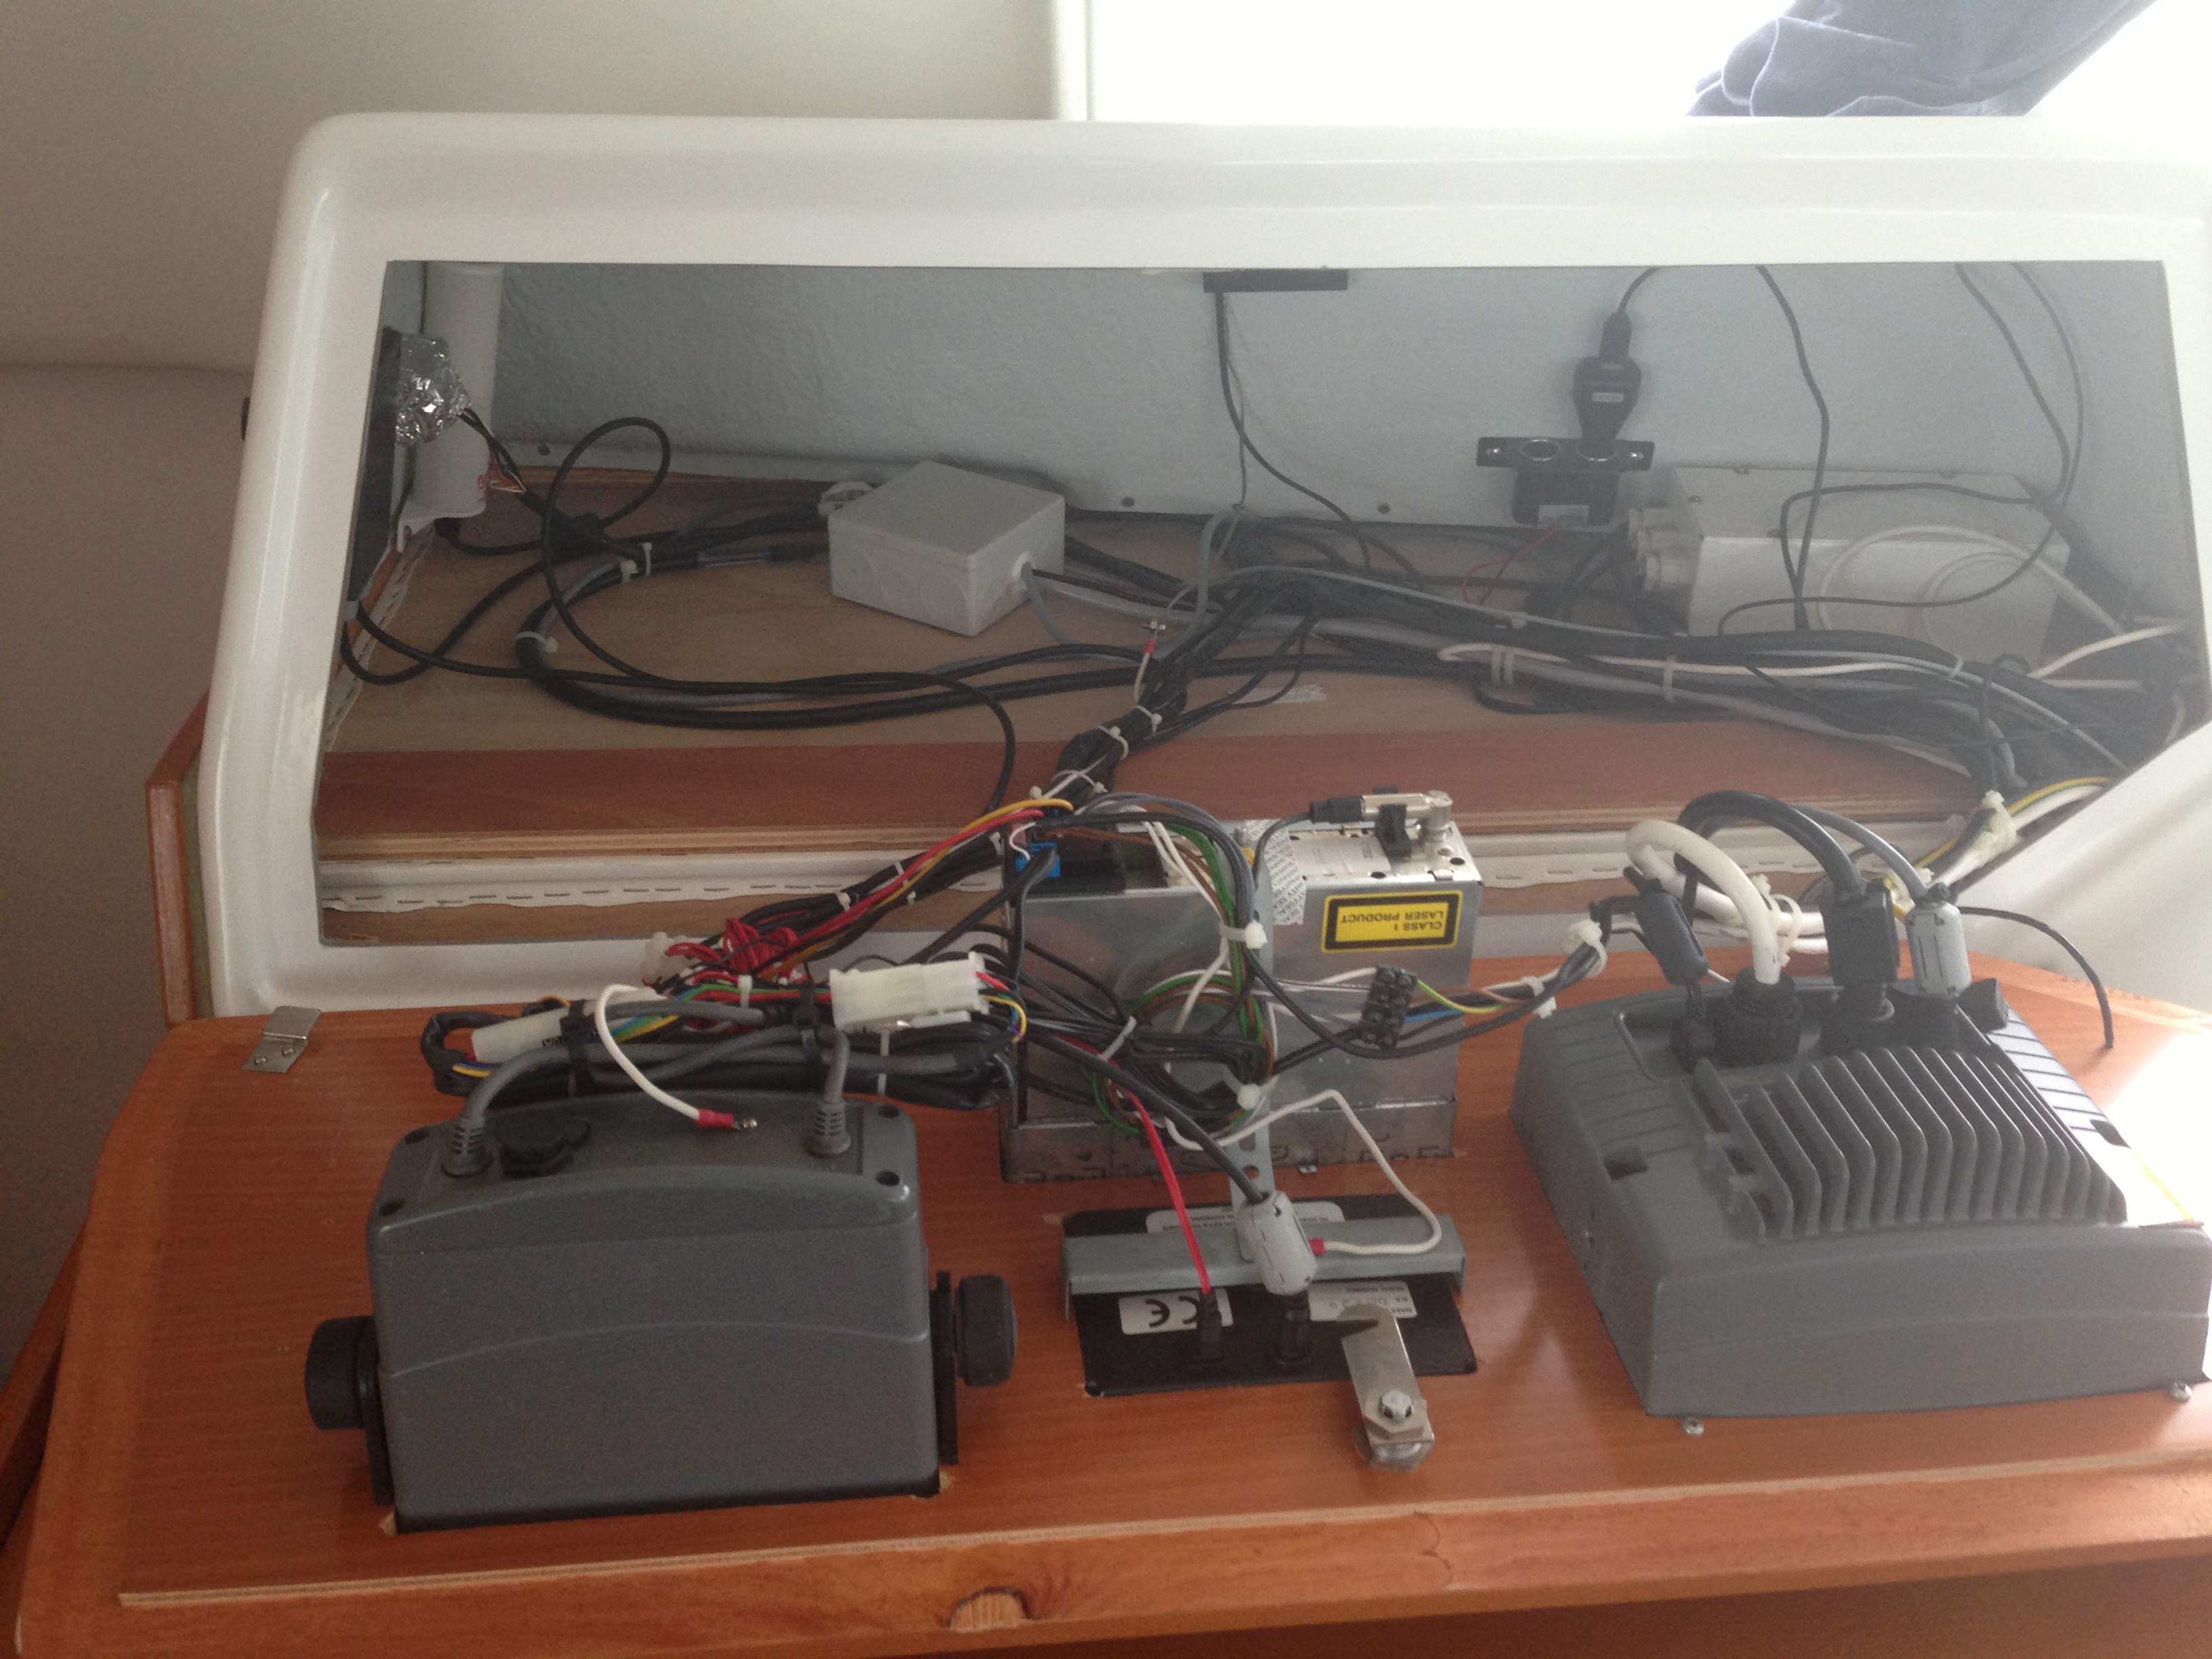
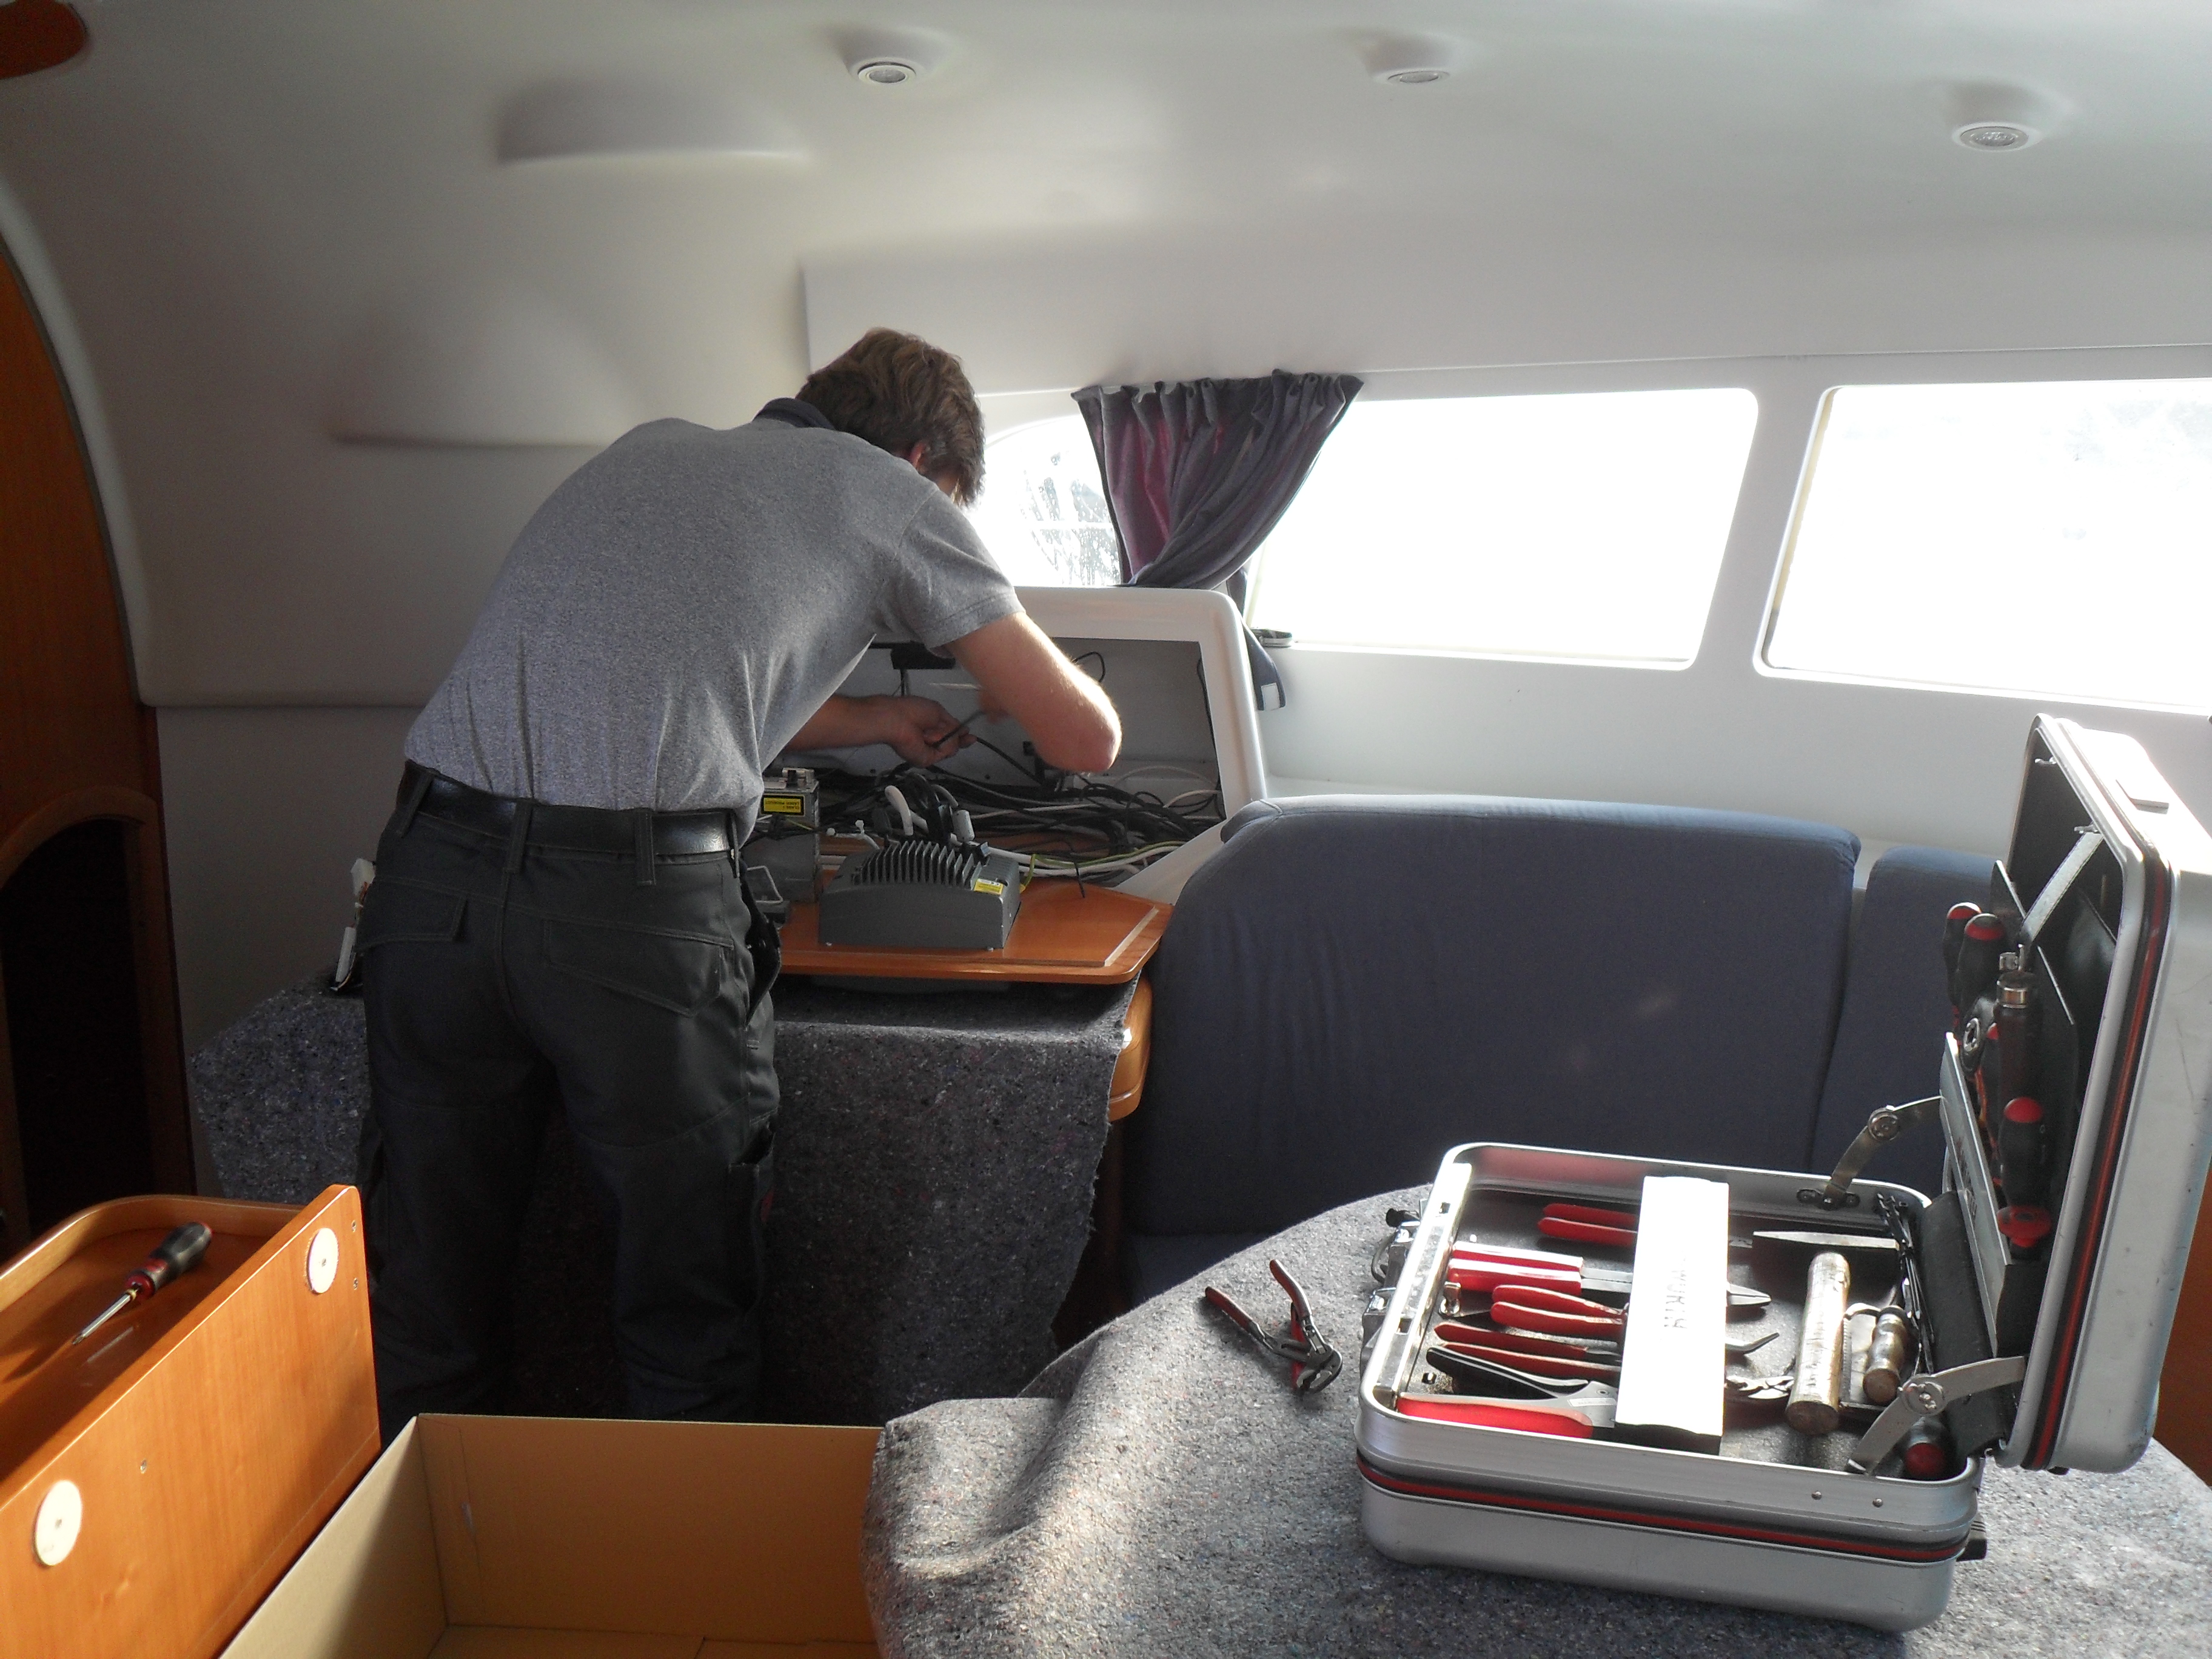
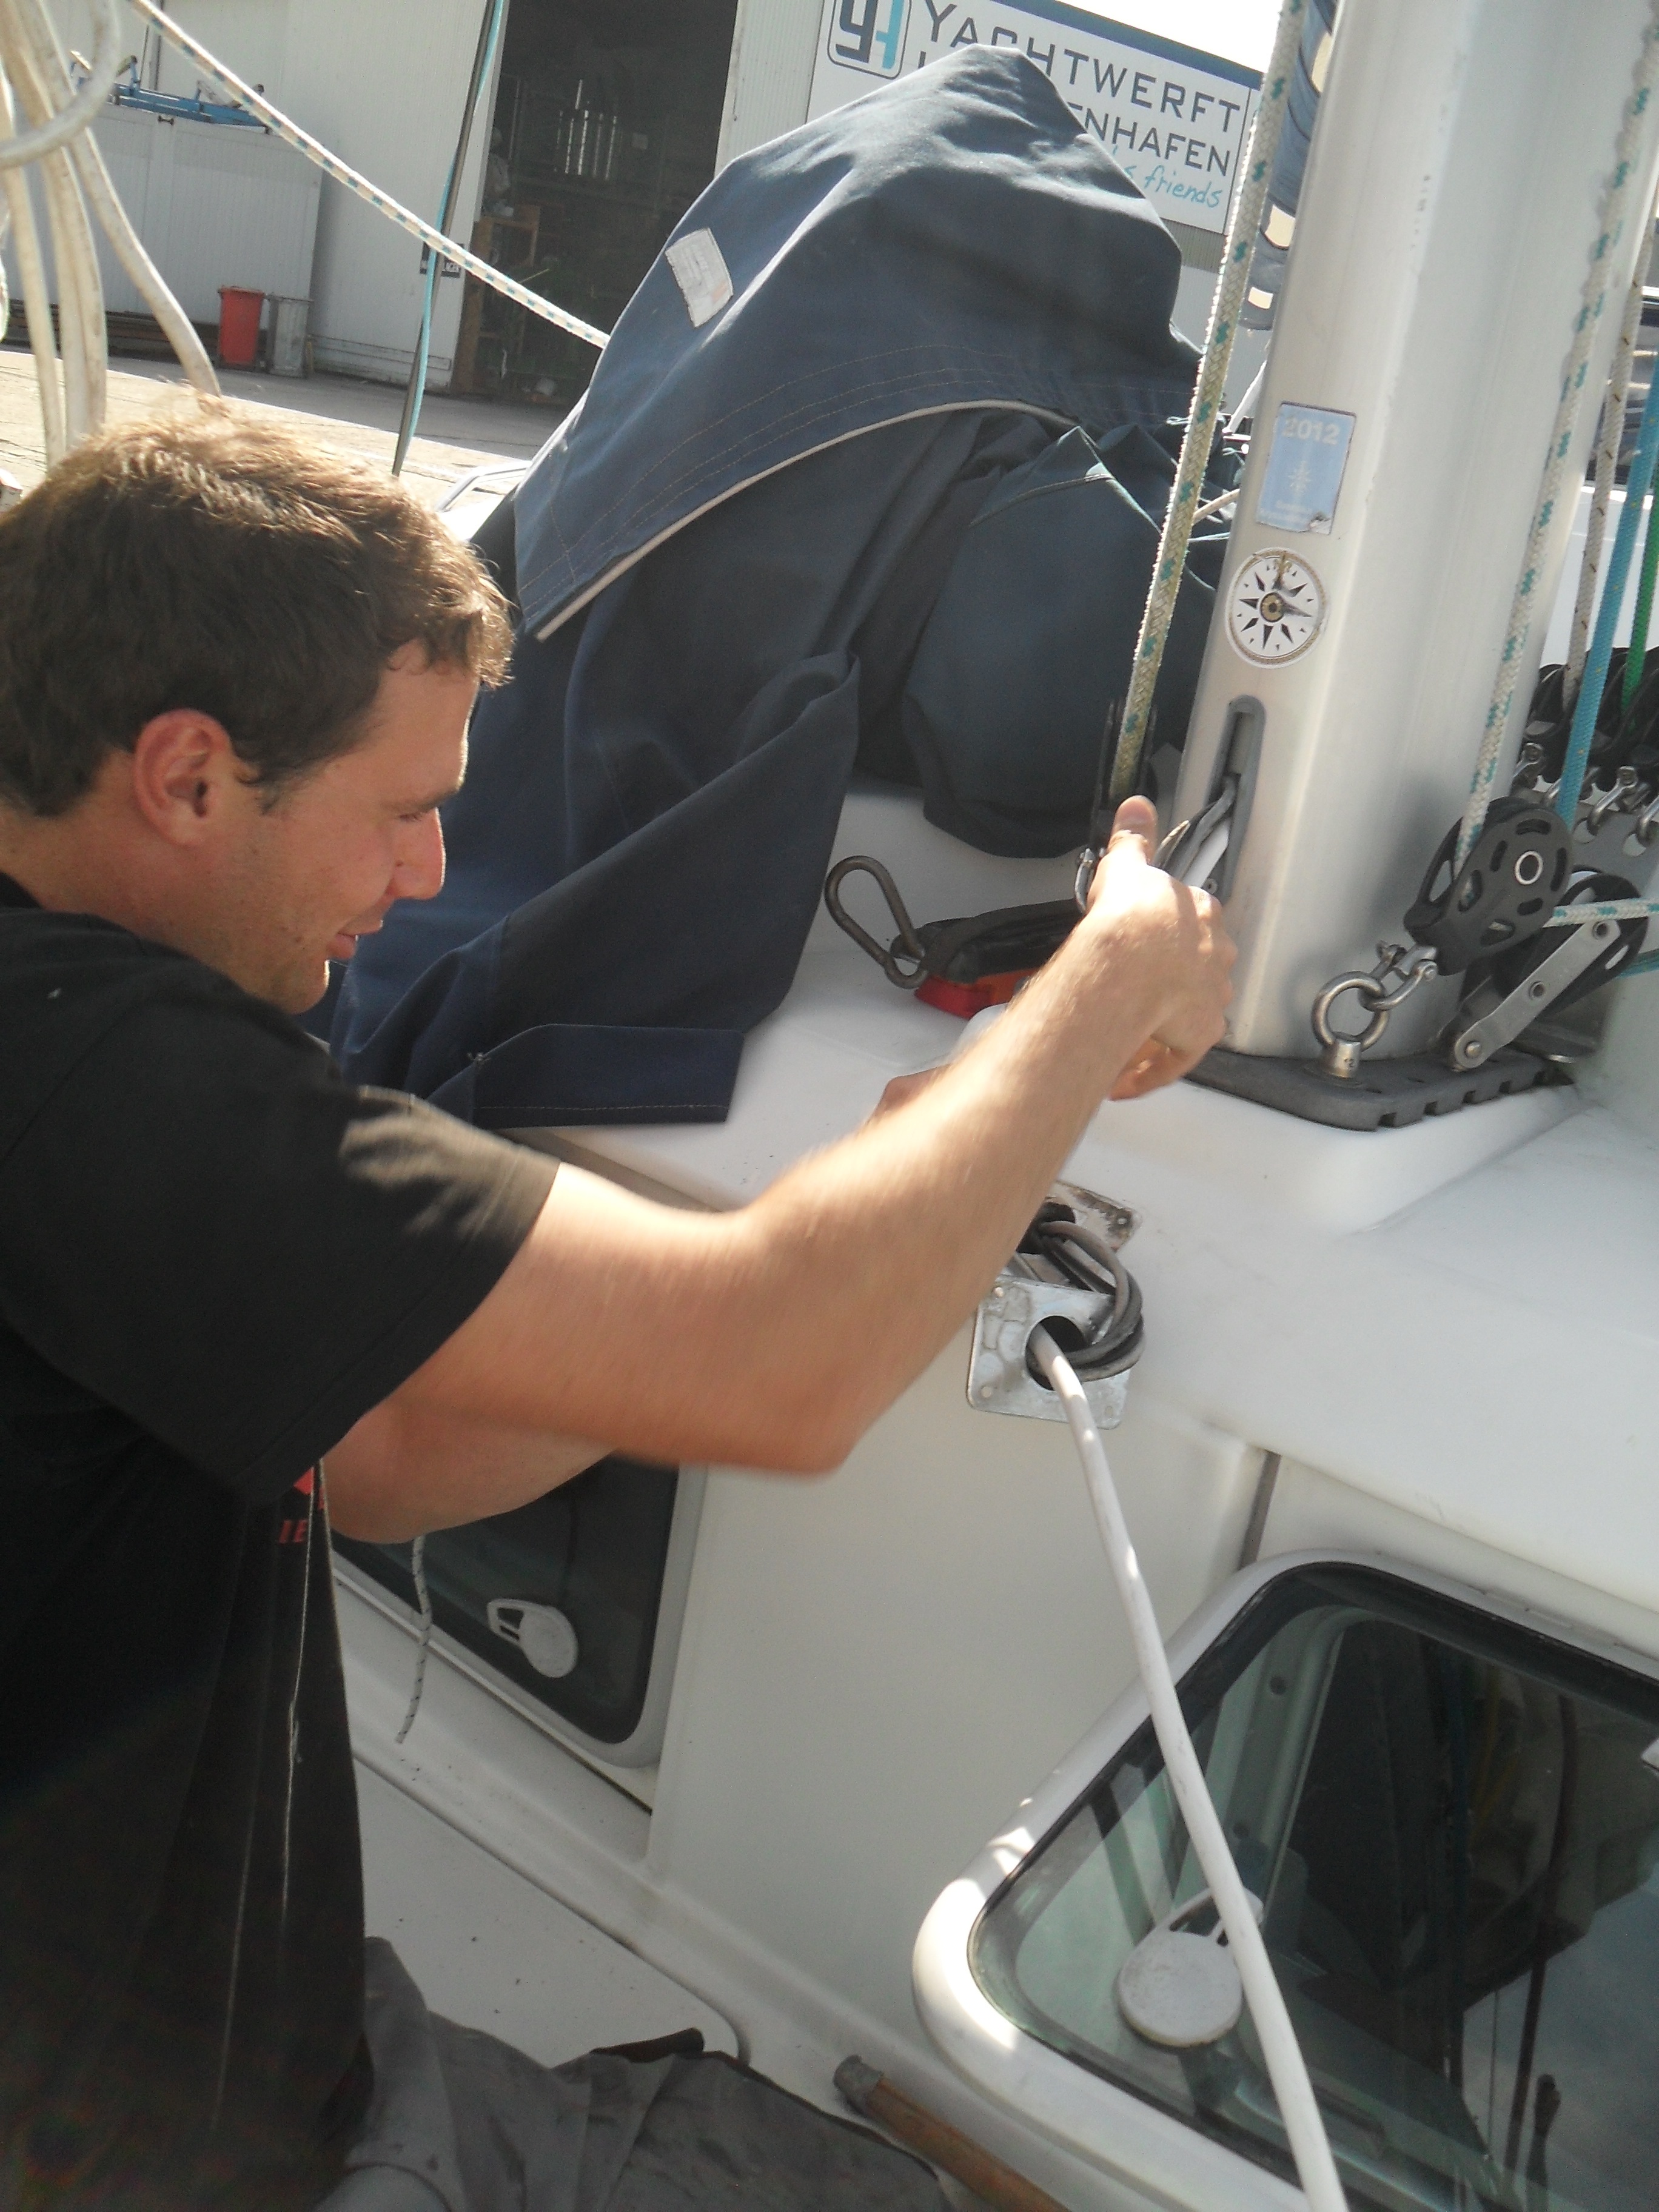
 Sebastian from the Team of the Yachtwerft Heiligenhafen has made this task and wants first to take an overview.
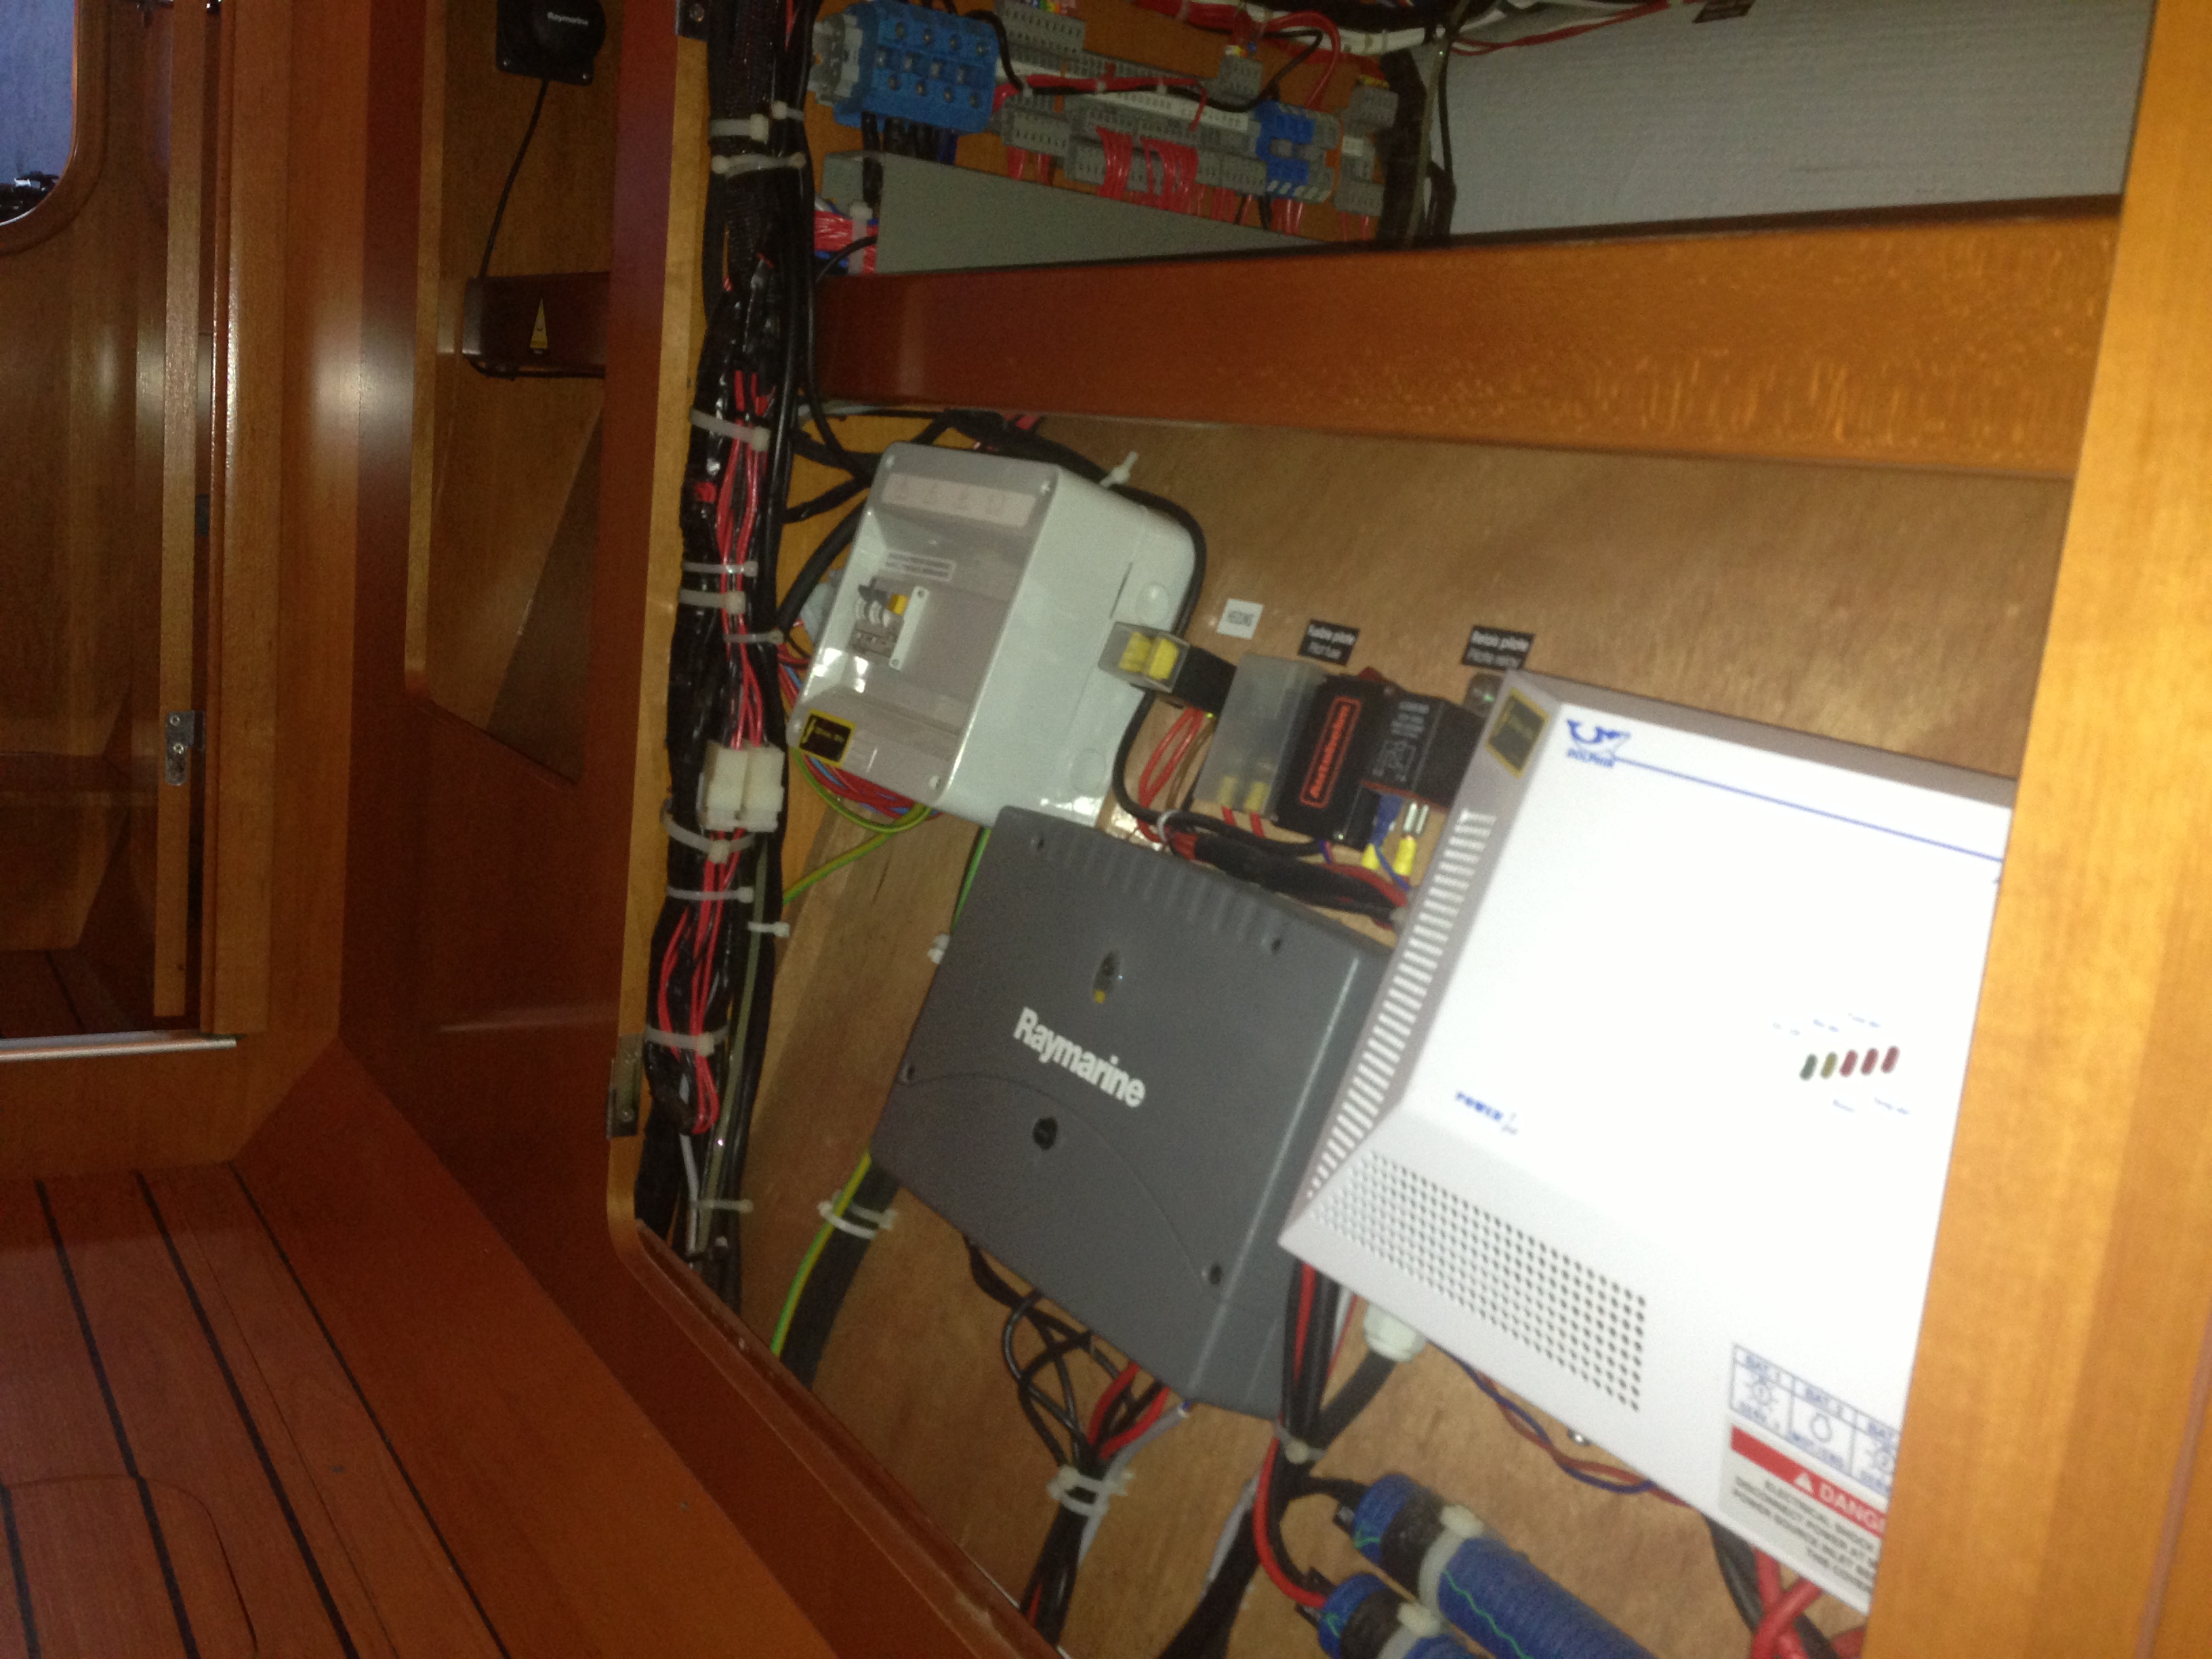 The autopilot should also be removed (the grey box).
 The new harness should be removed and the new cables installed.
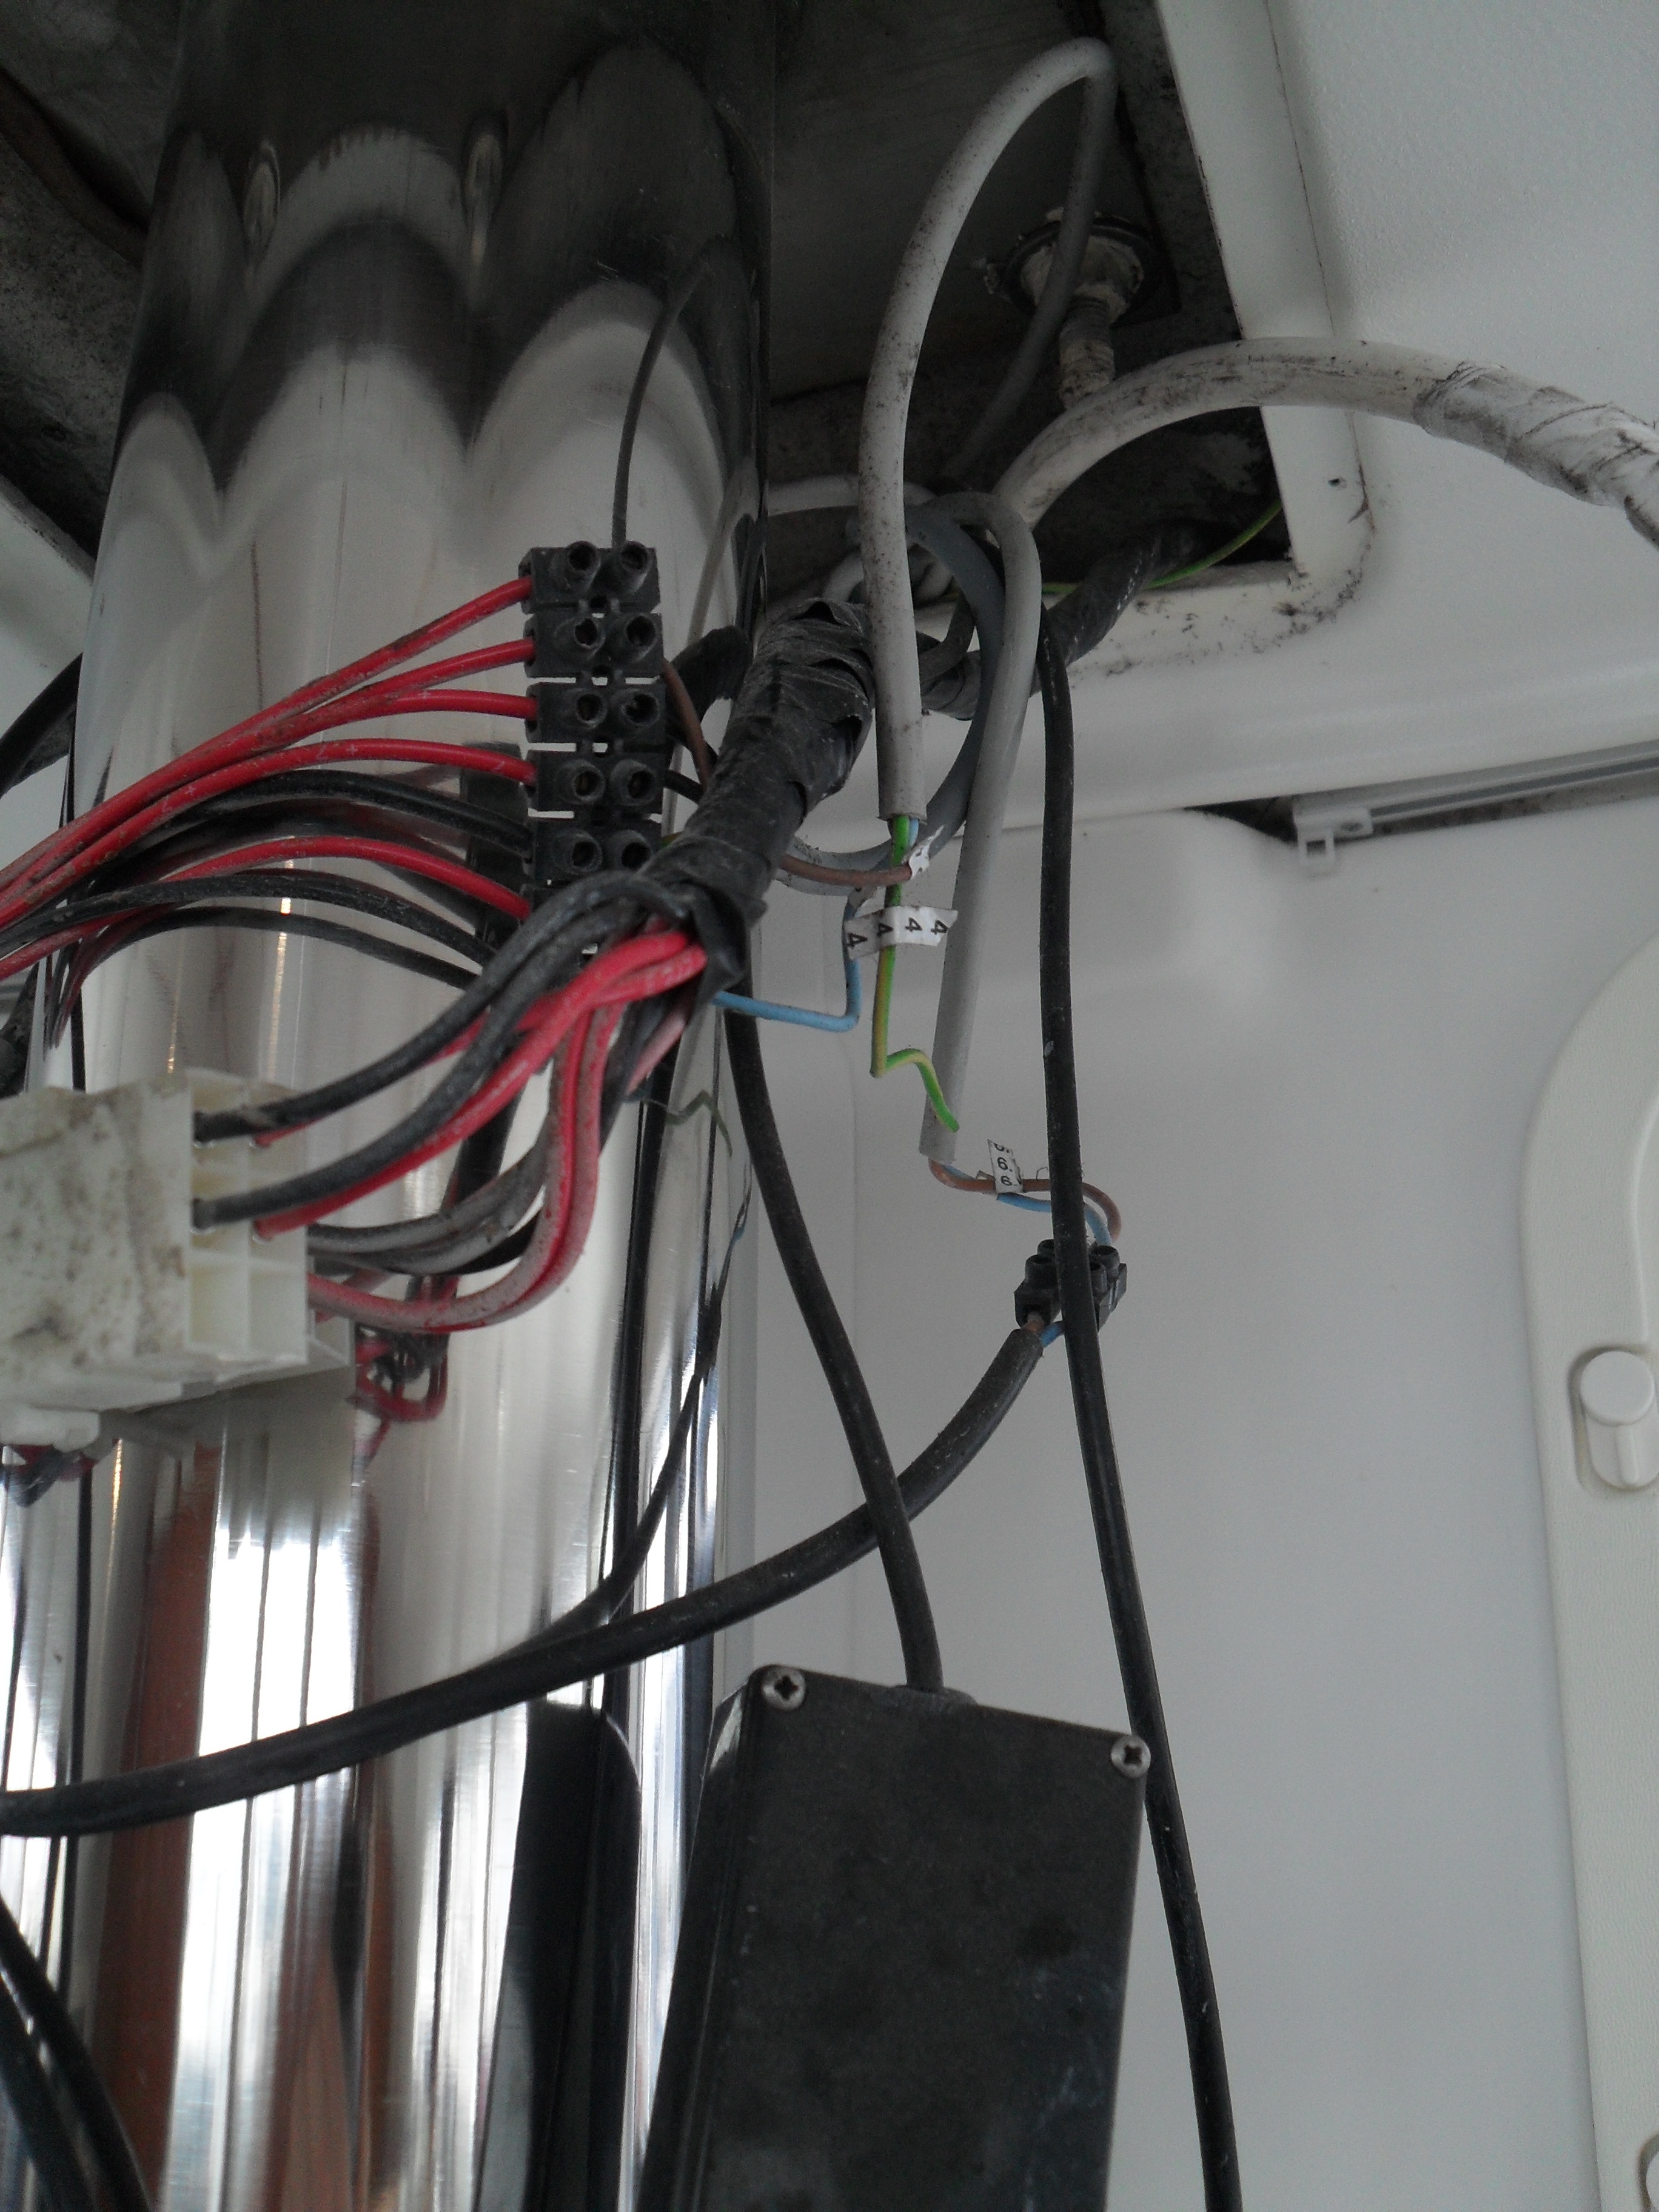
 Dirk helps aswell in the phase of installation! Sebastian and Dirk make up the “core team” of the Imagine rebuilding team. Take a look to the largest cable mix.
Also the cables for the radar have to be removed. In this way the crew is starting to have a better knowledge about what will come in 4 weeks when the mast will be removed from the boat for the first time. 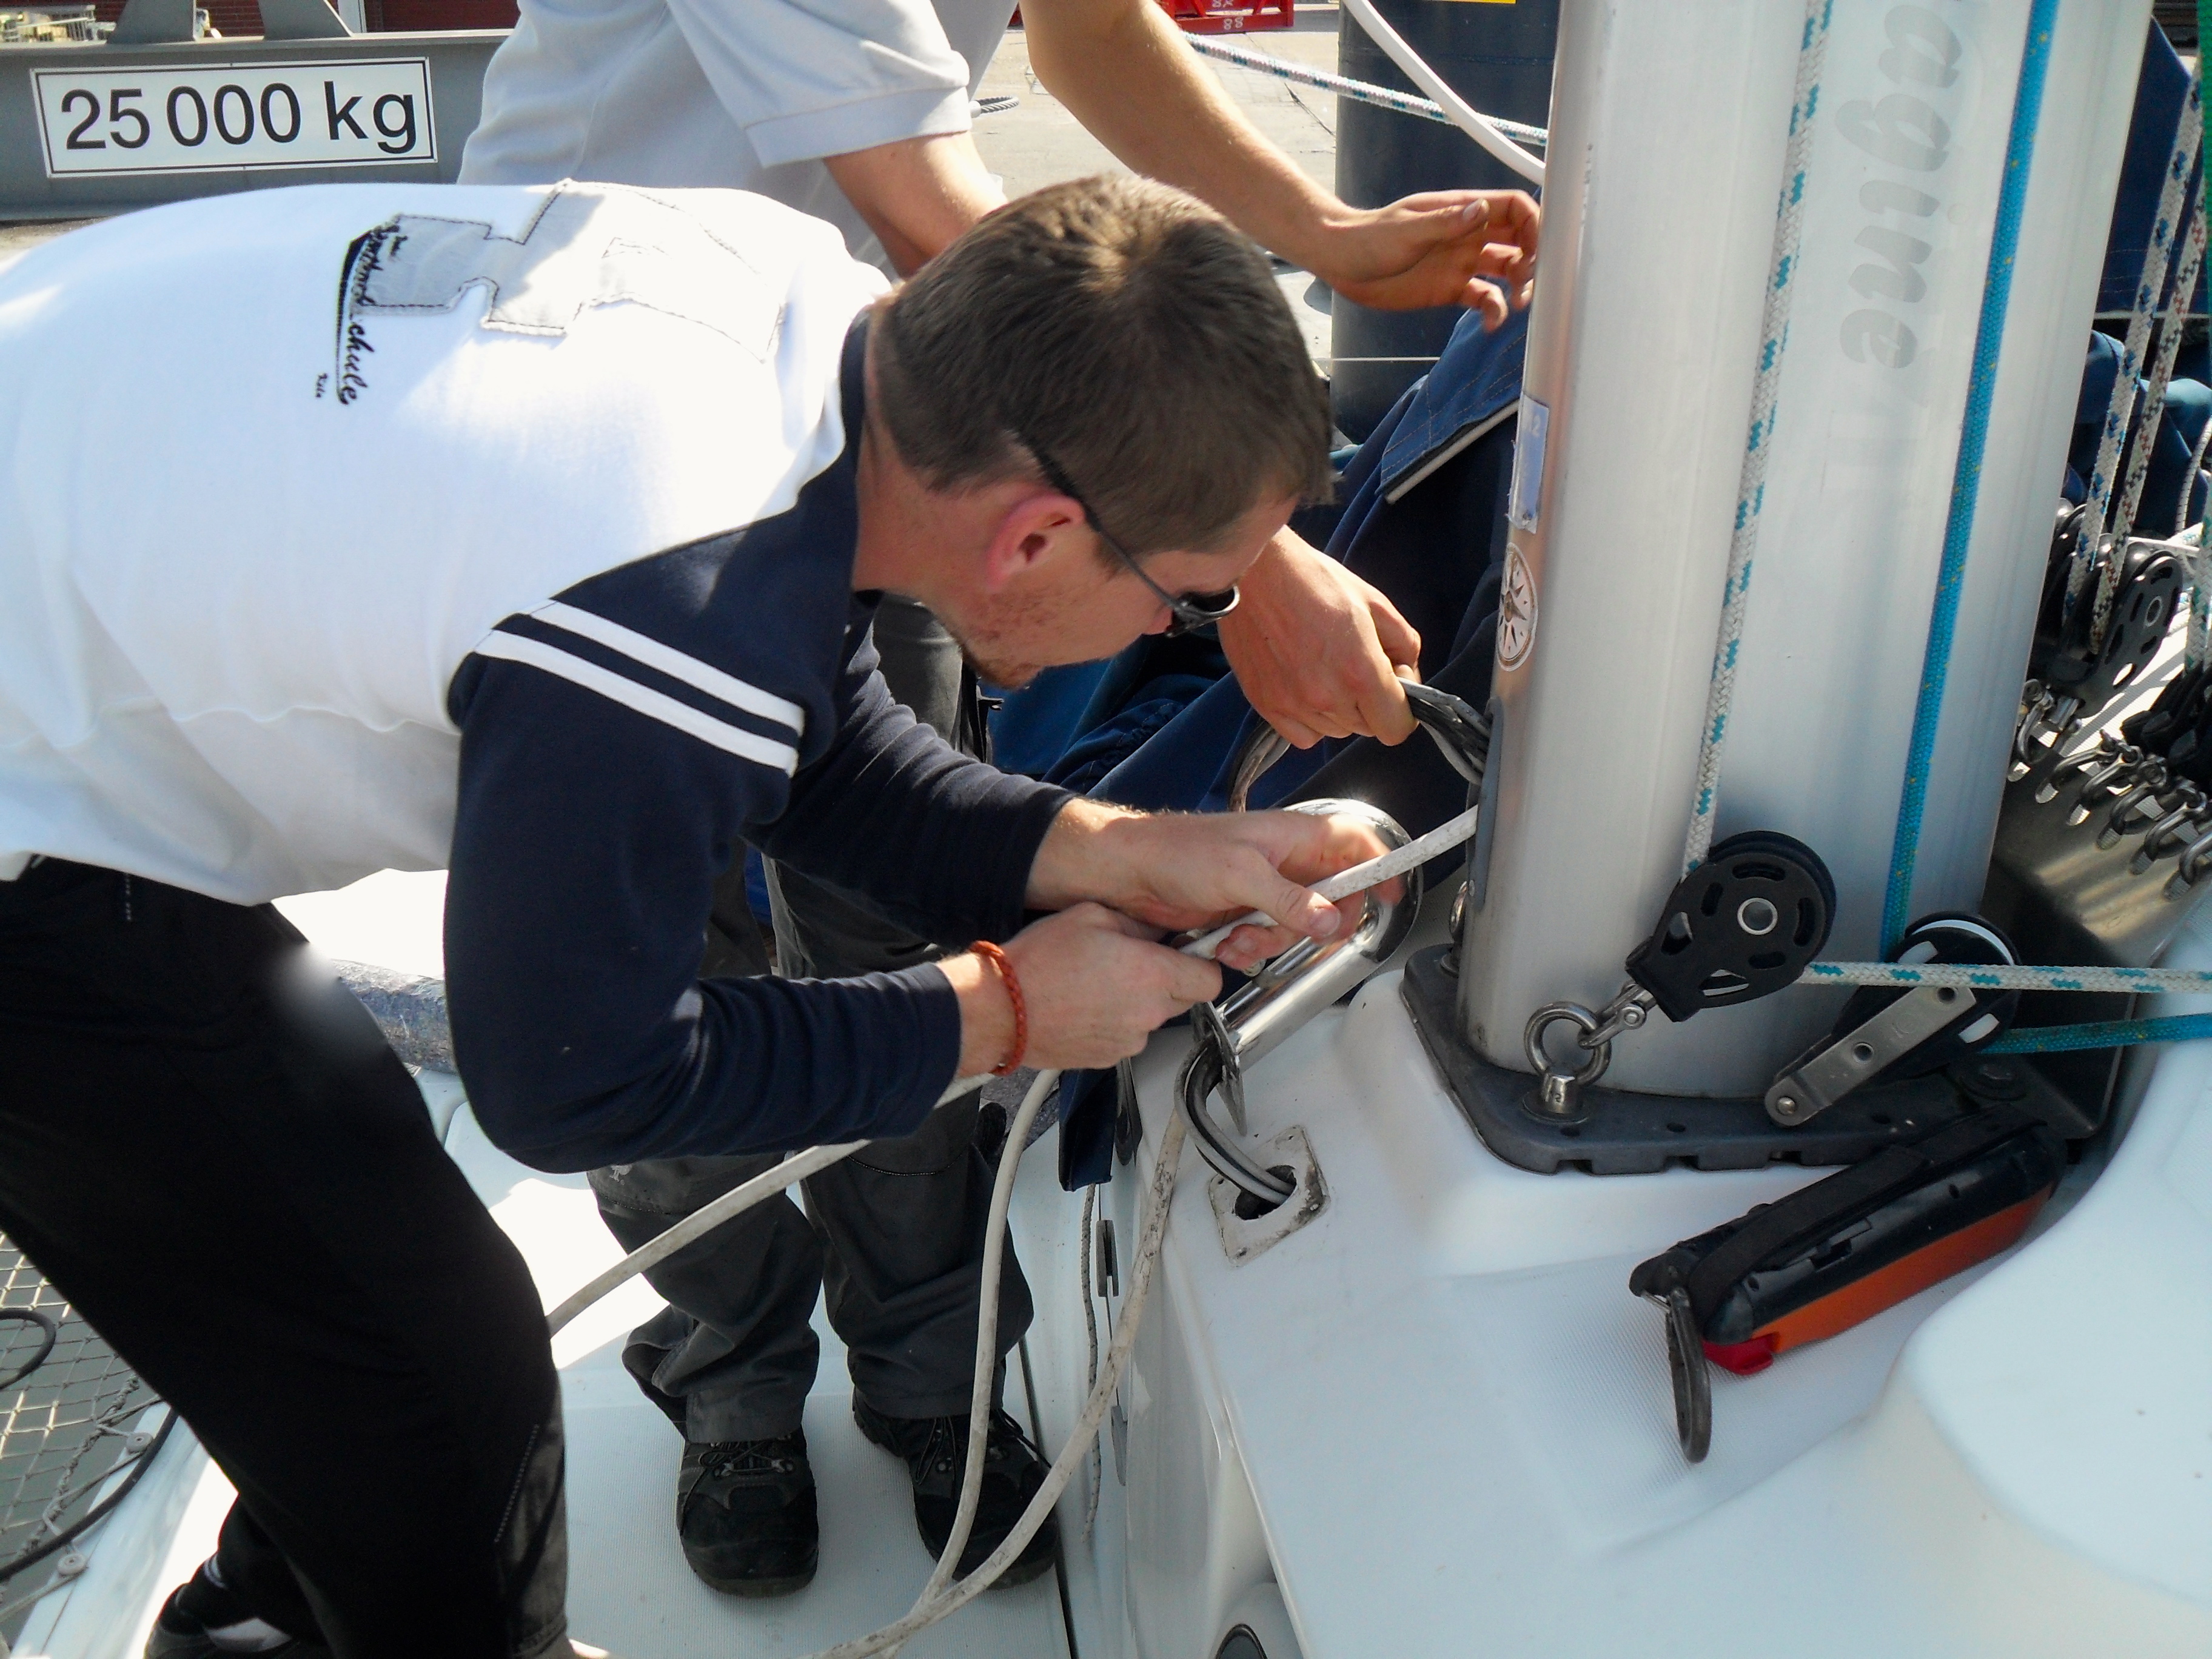
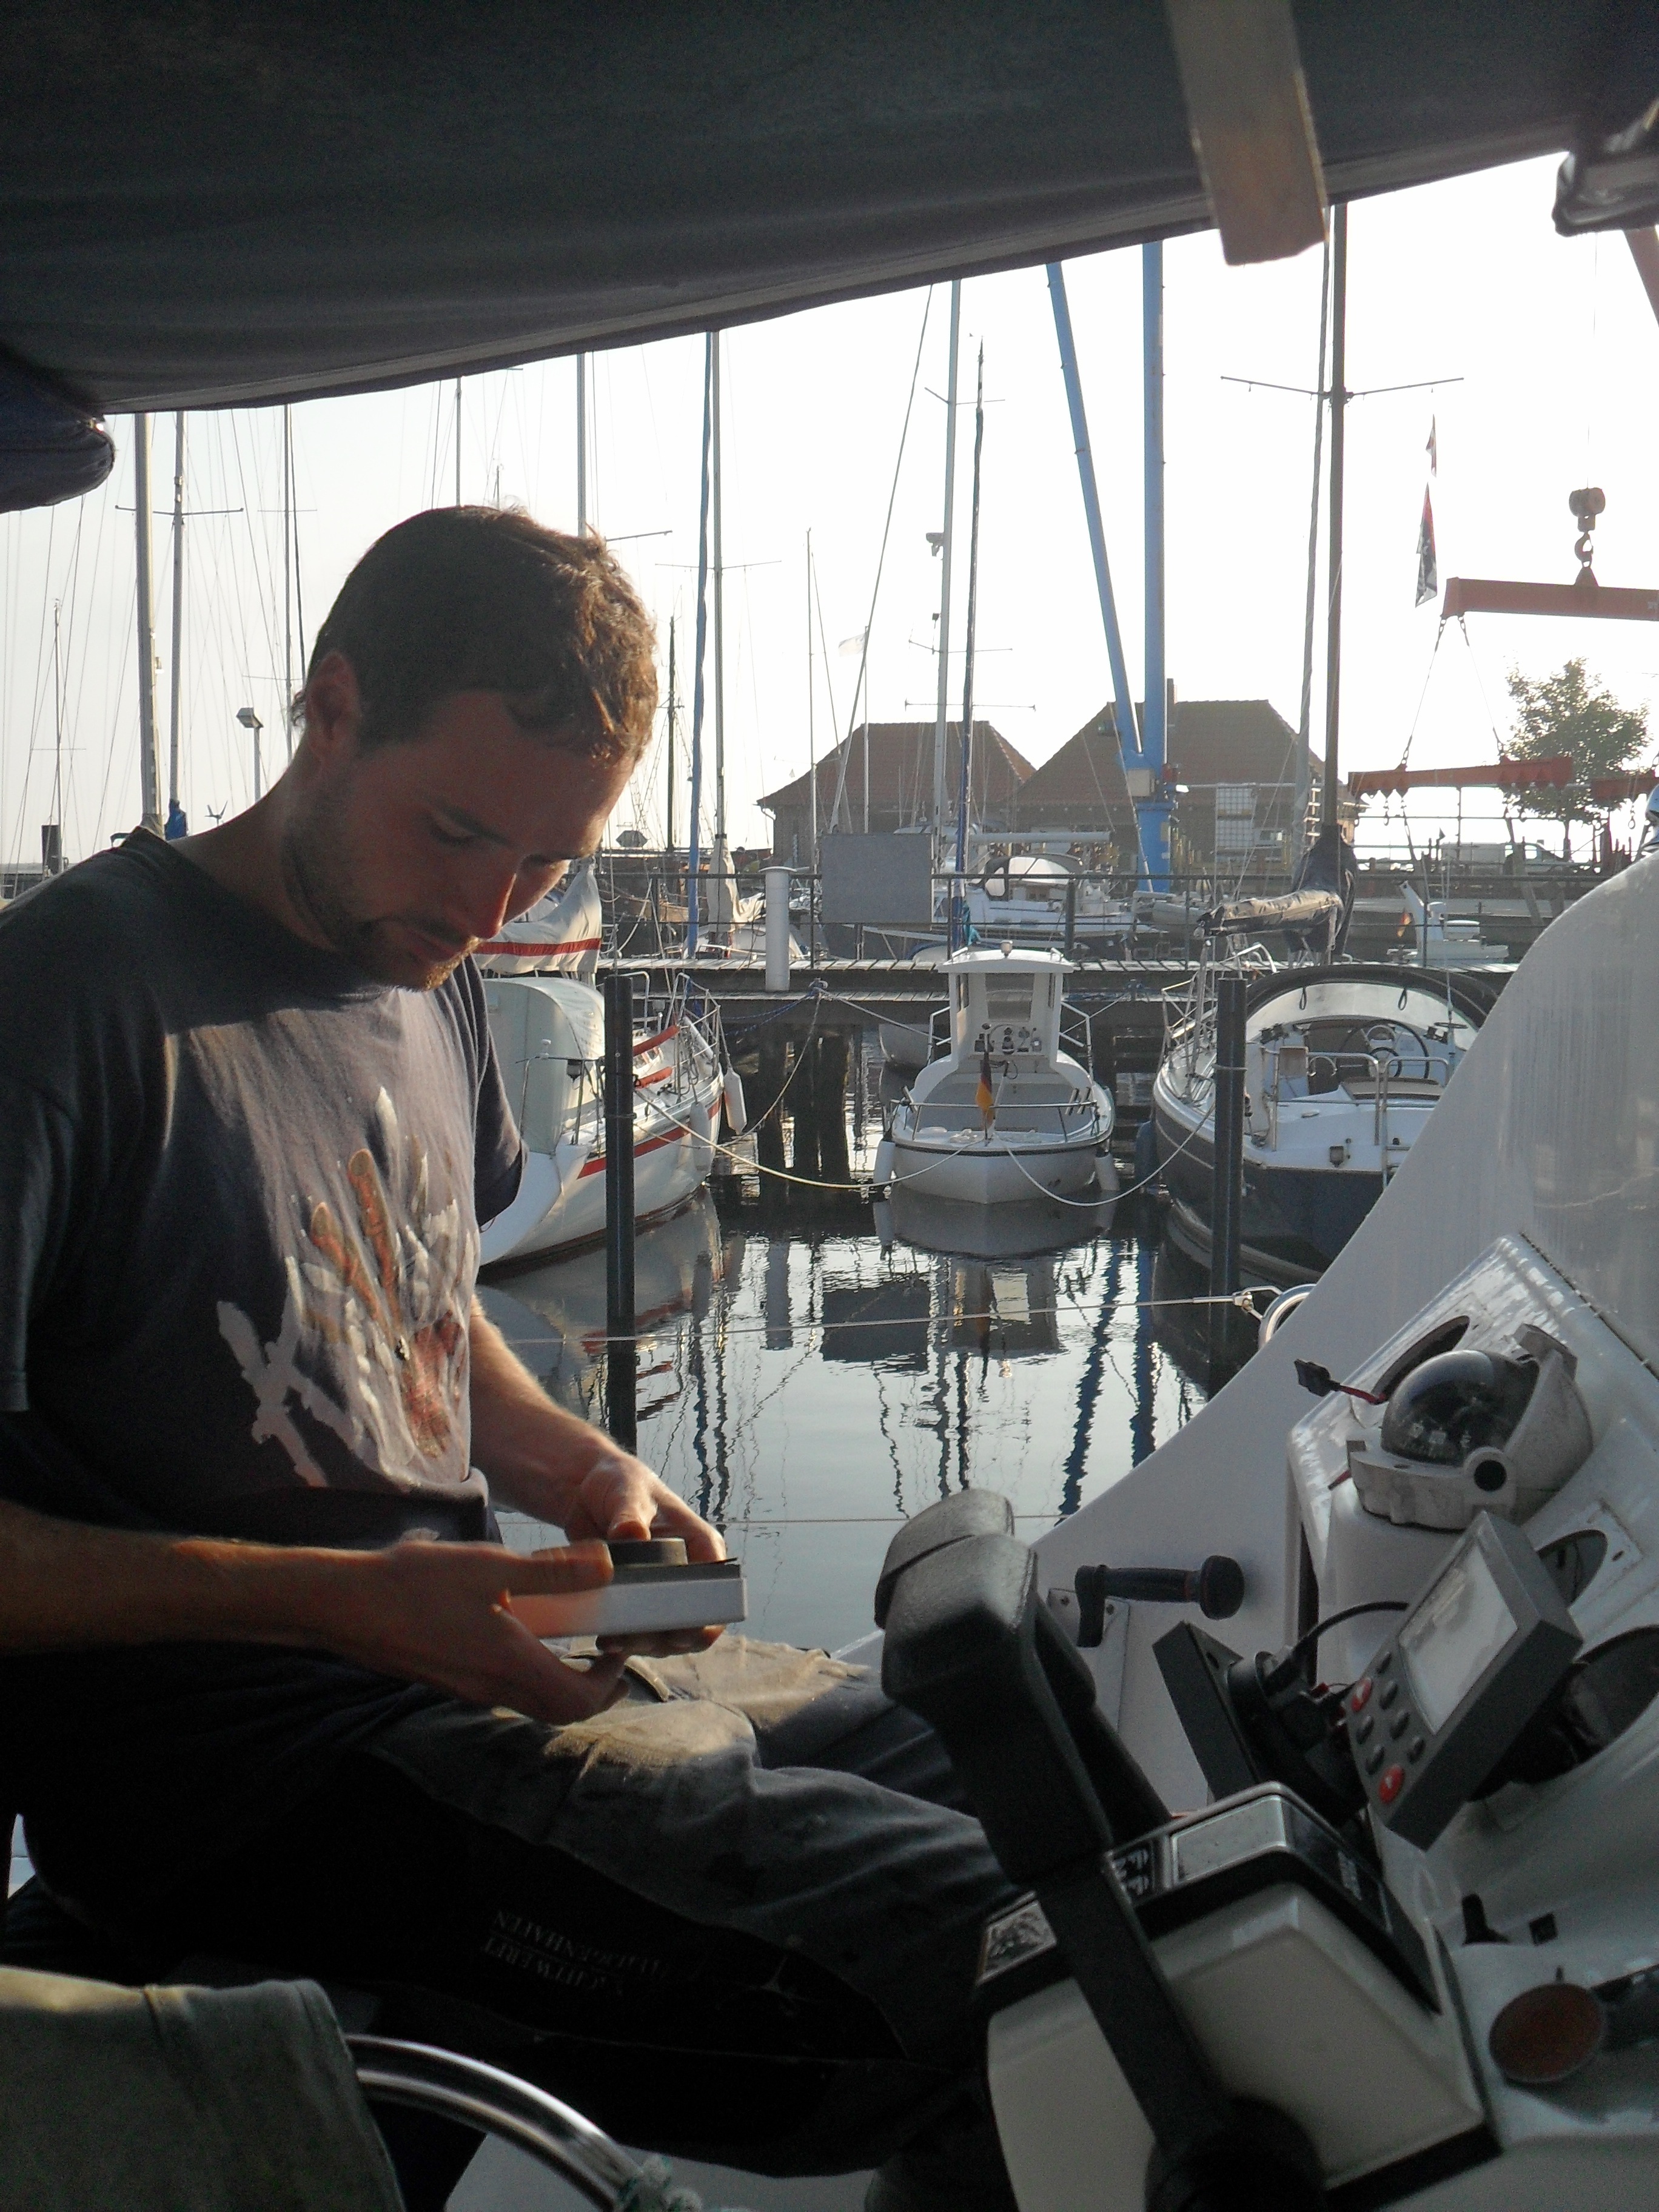
Even the cable for the radar has to be replaced. It isn’t really so easy to remove this fat thing from the mast!
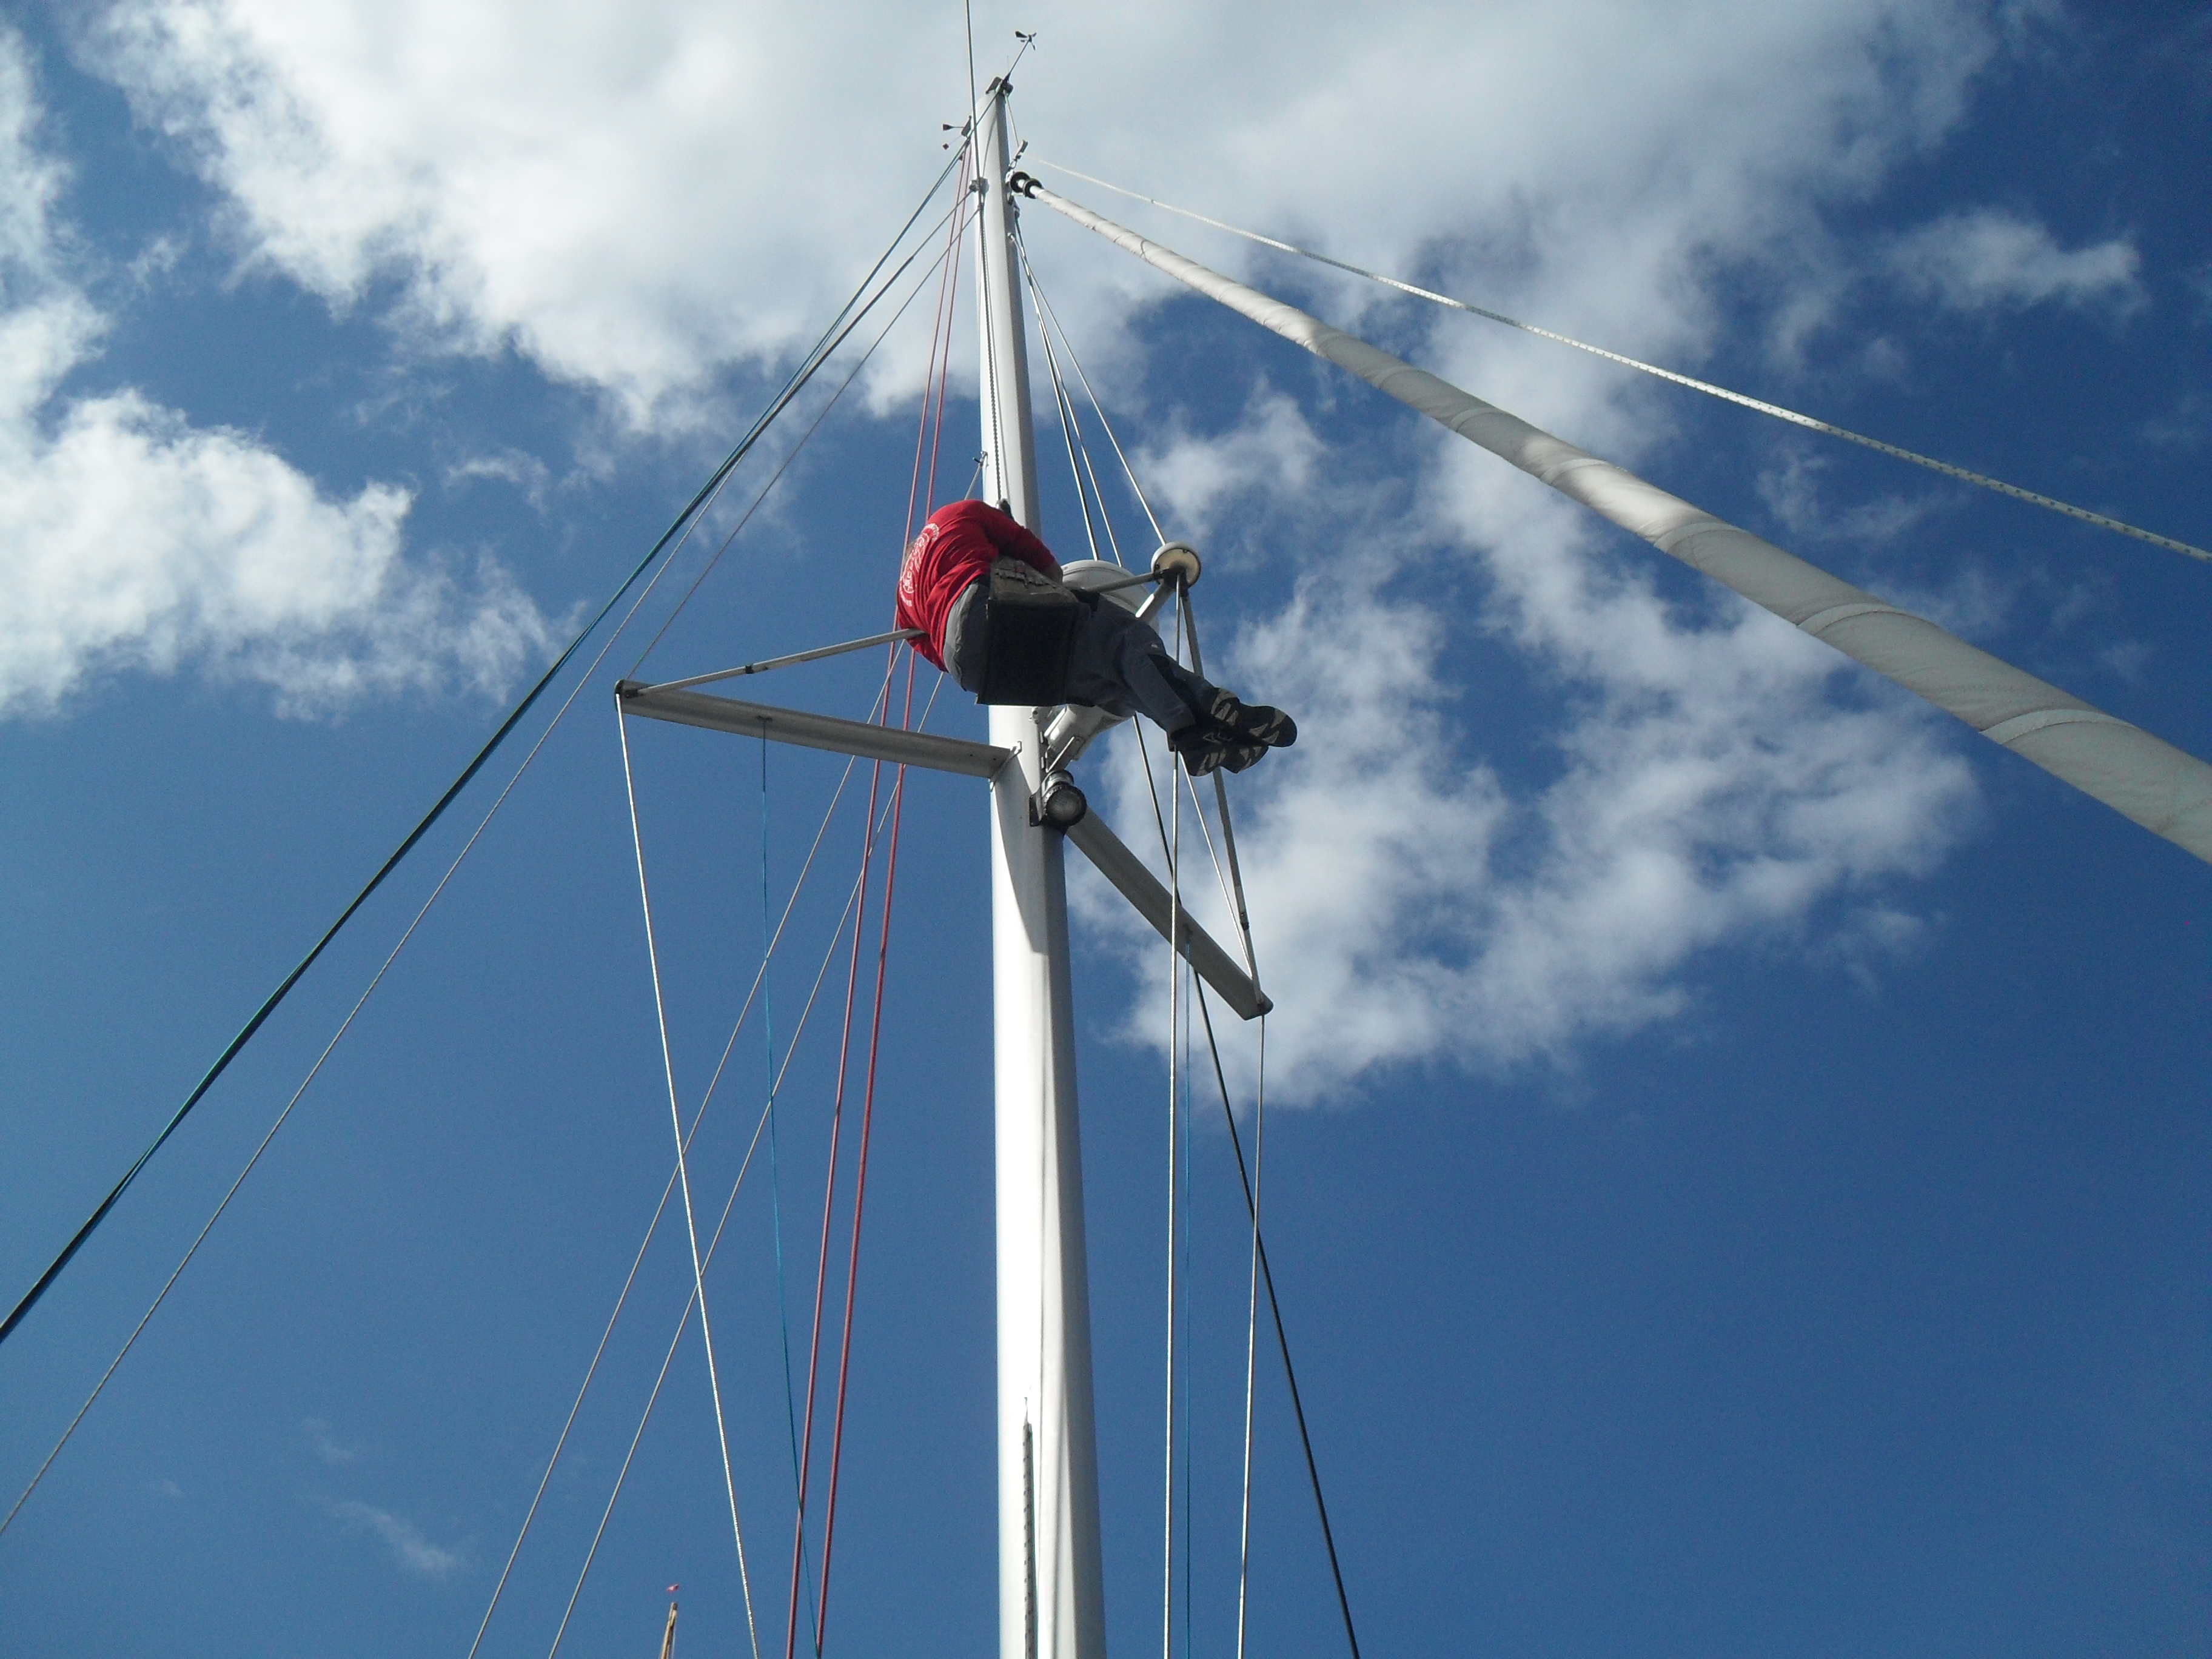 For this reason Christian from the “Kran Team” has to go up to the mast. First of all he desmantles the radar. Then connects with tape the old and the new cables. At this point we can pull it carefully down, into the mast. At the end of the “training session”, the old cable is out of the mast and the new one inside.
 The cable for the radar needs now to be moved from the mast into the boat…
 and to be connected with the plotter.
 The navigation system needs the presence of a sonar. For this and others works, it is necessary to make holes into the boat, so Imagine must be lift out of the water.
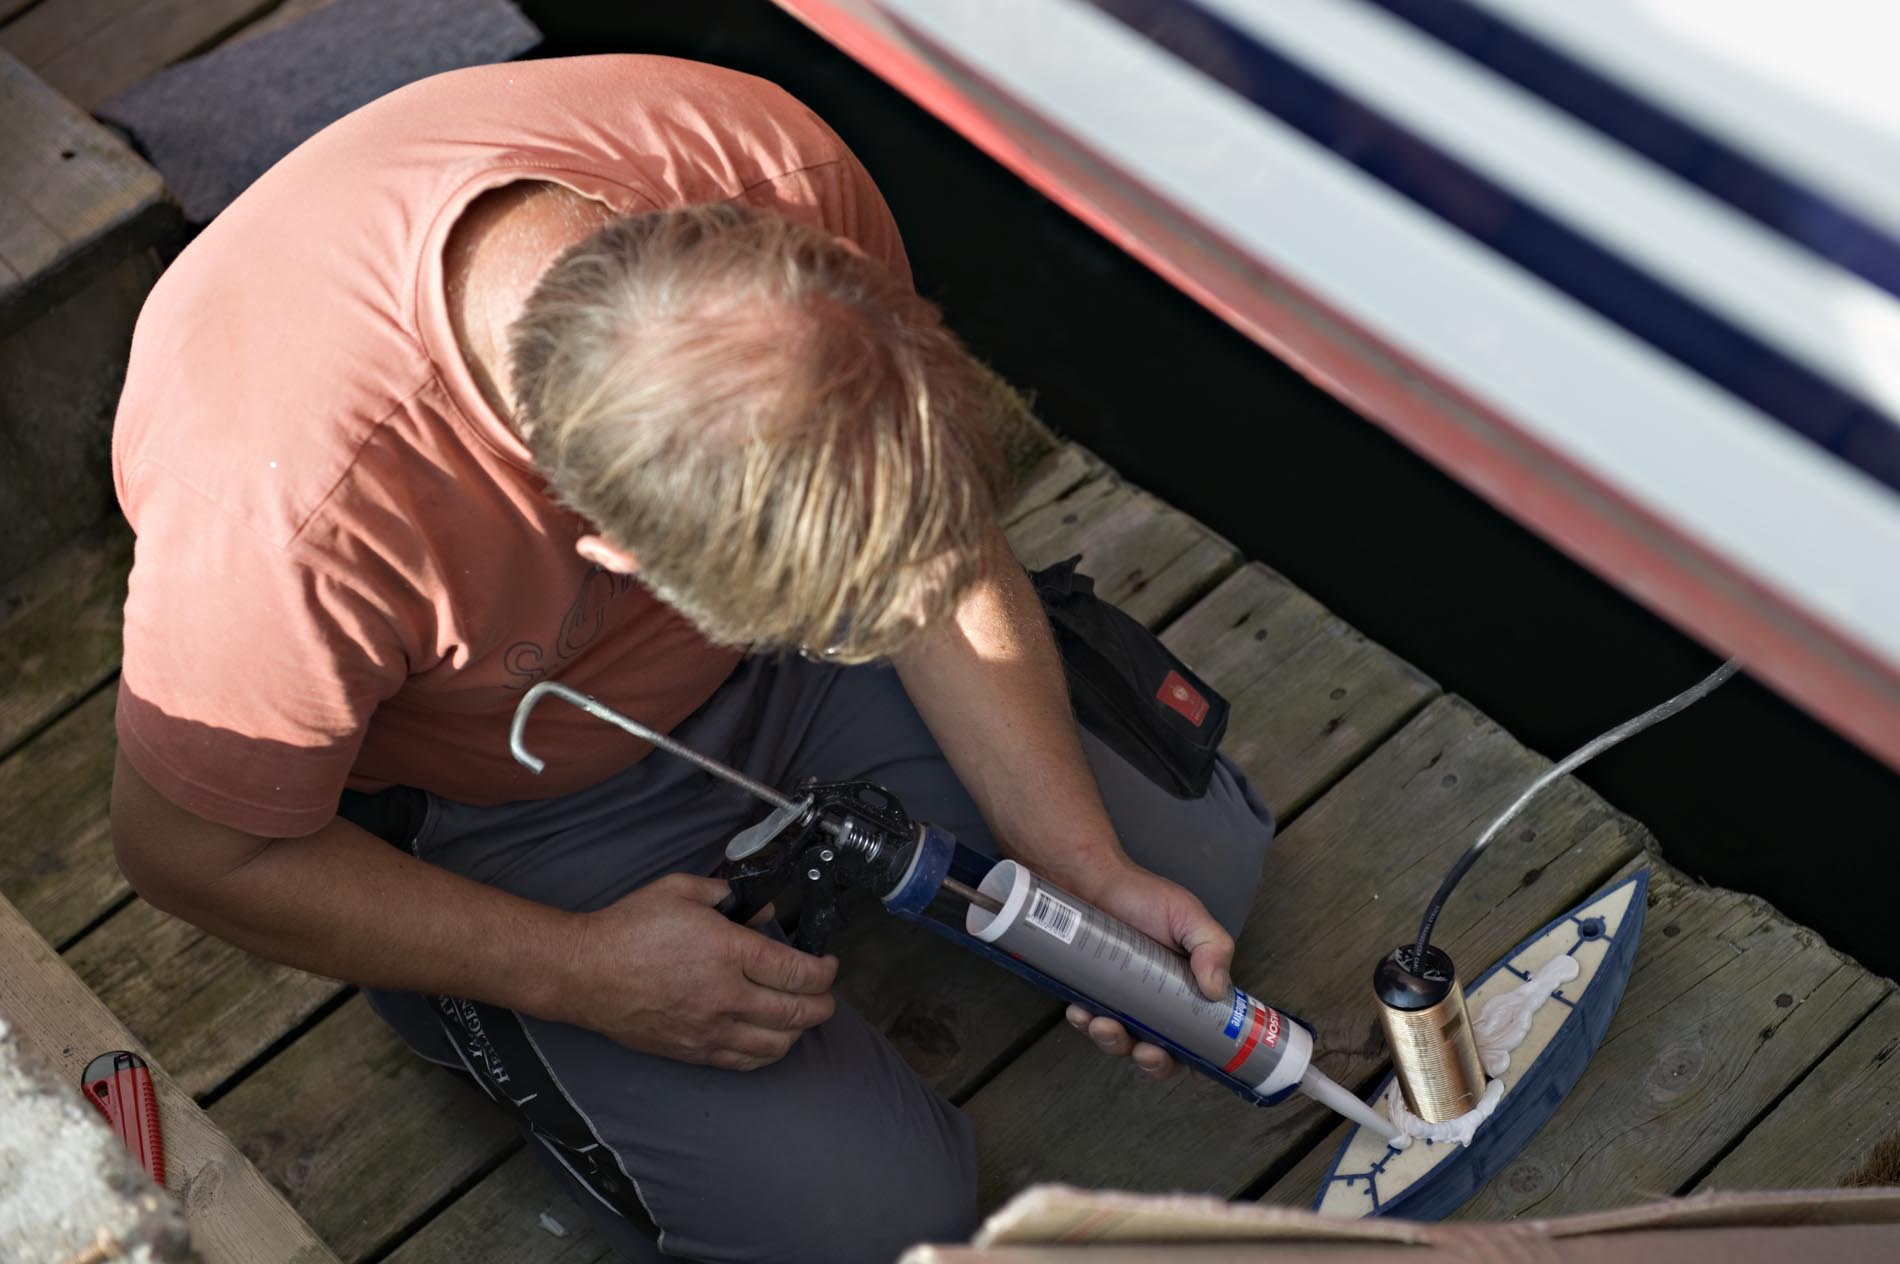
 Matthias prepares the part of the sonar which will be installed outside.
![]() This is how the breakouts looks from inside.
This is how the breakouts looks from inside.
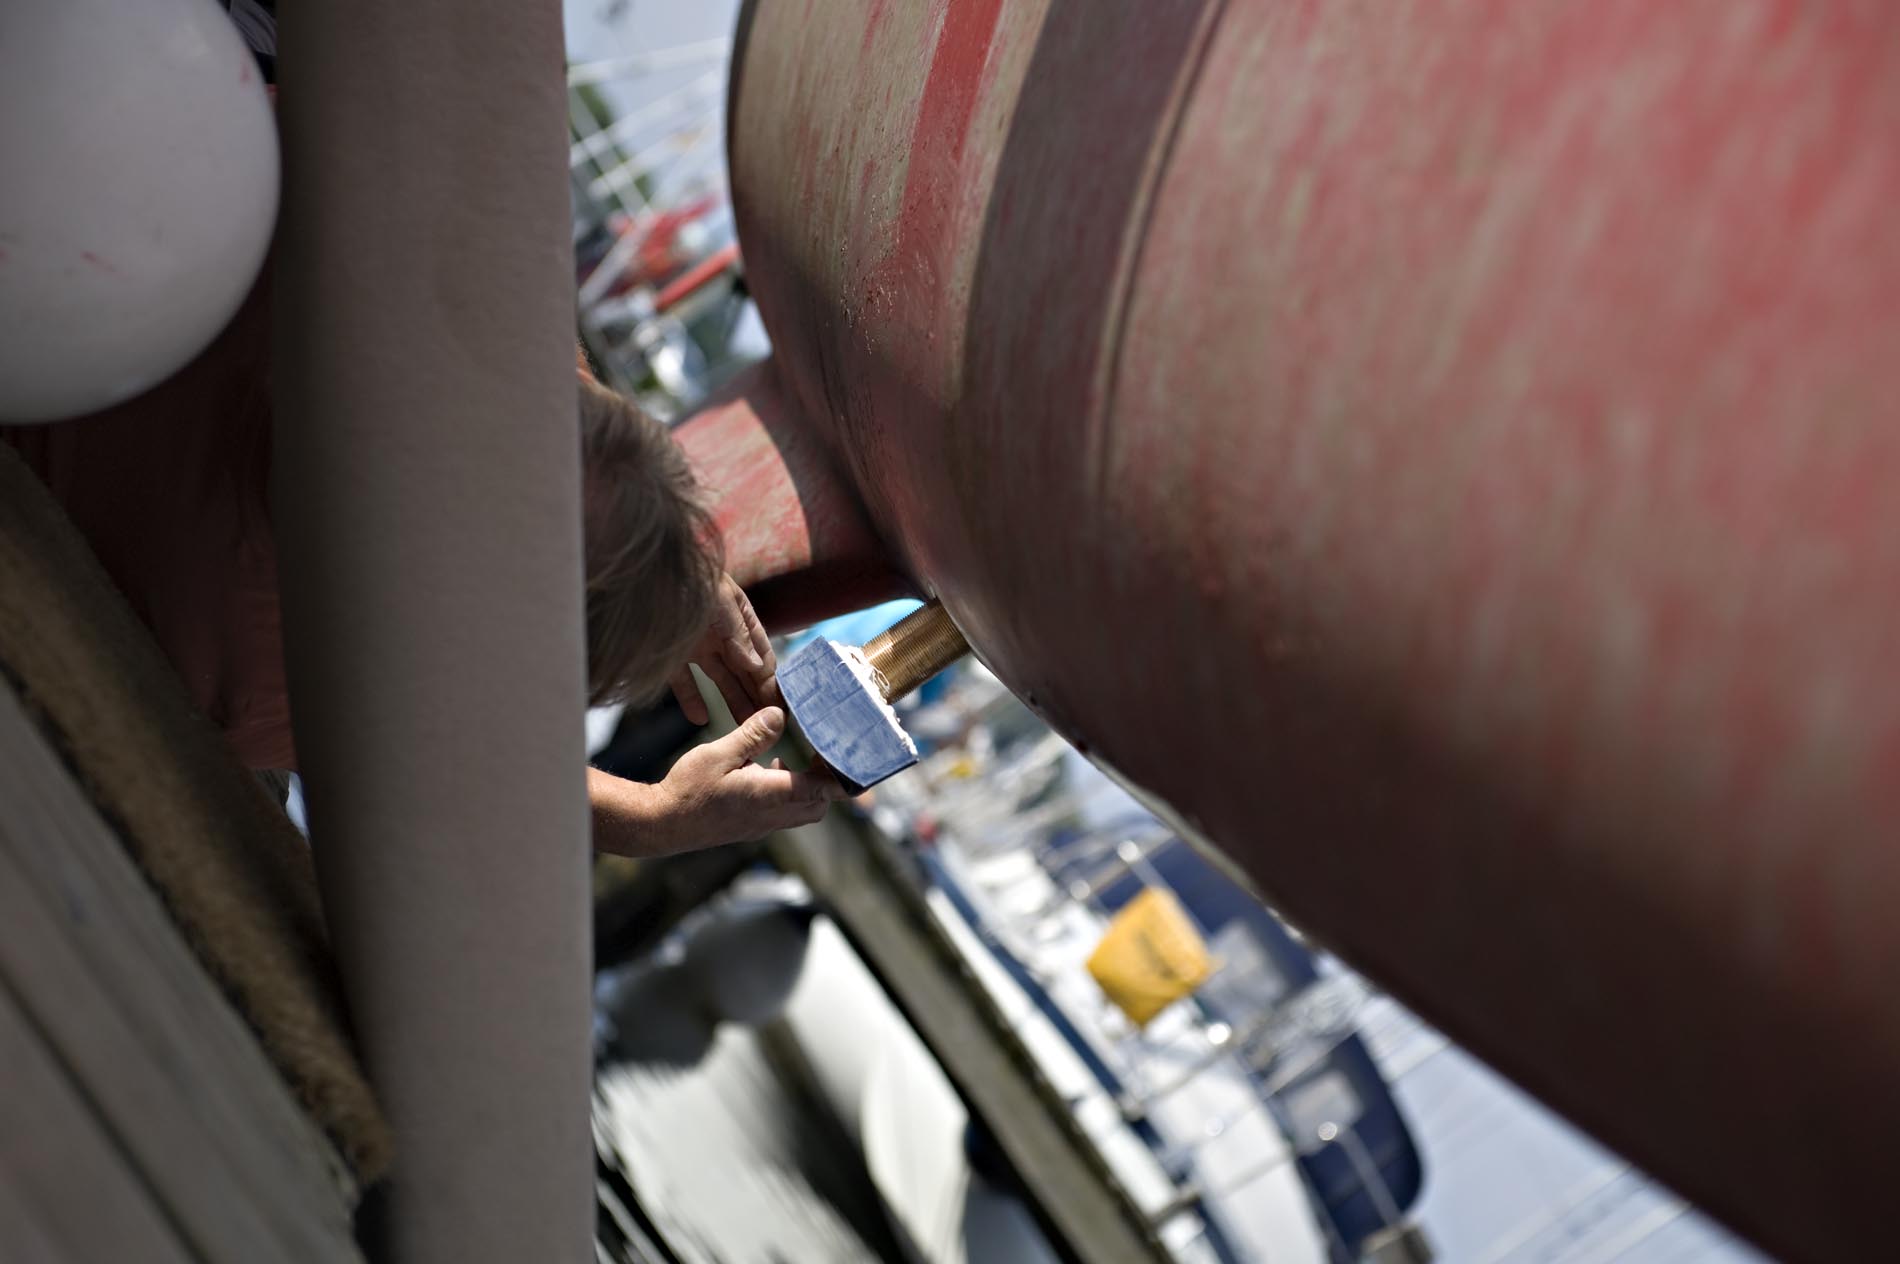
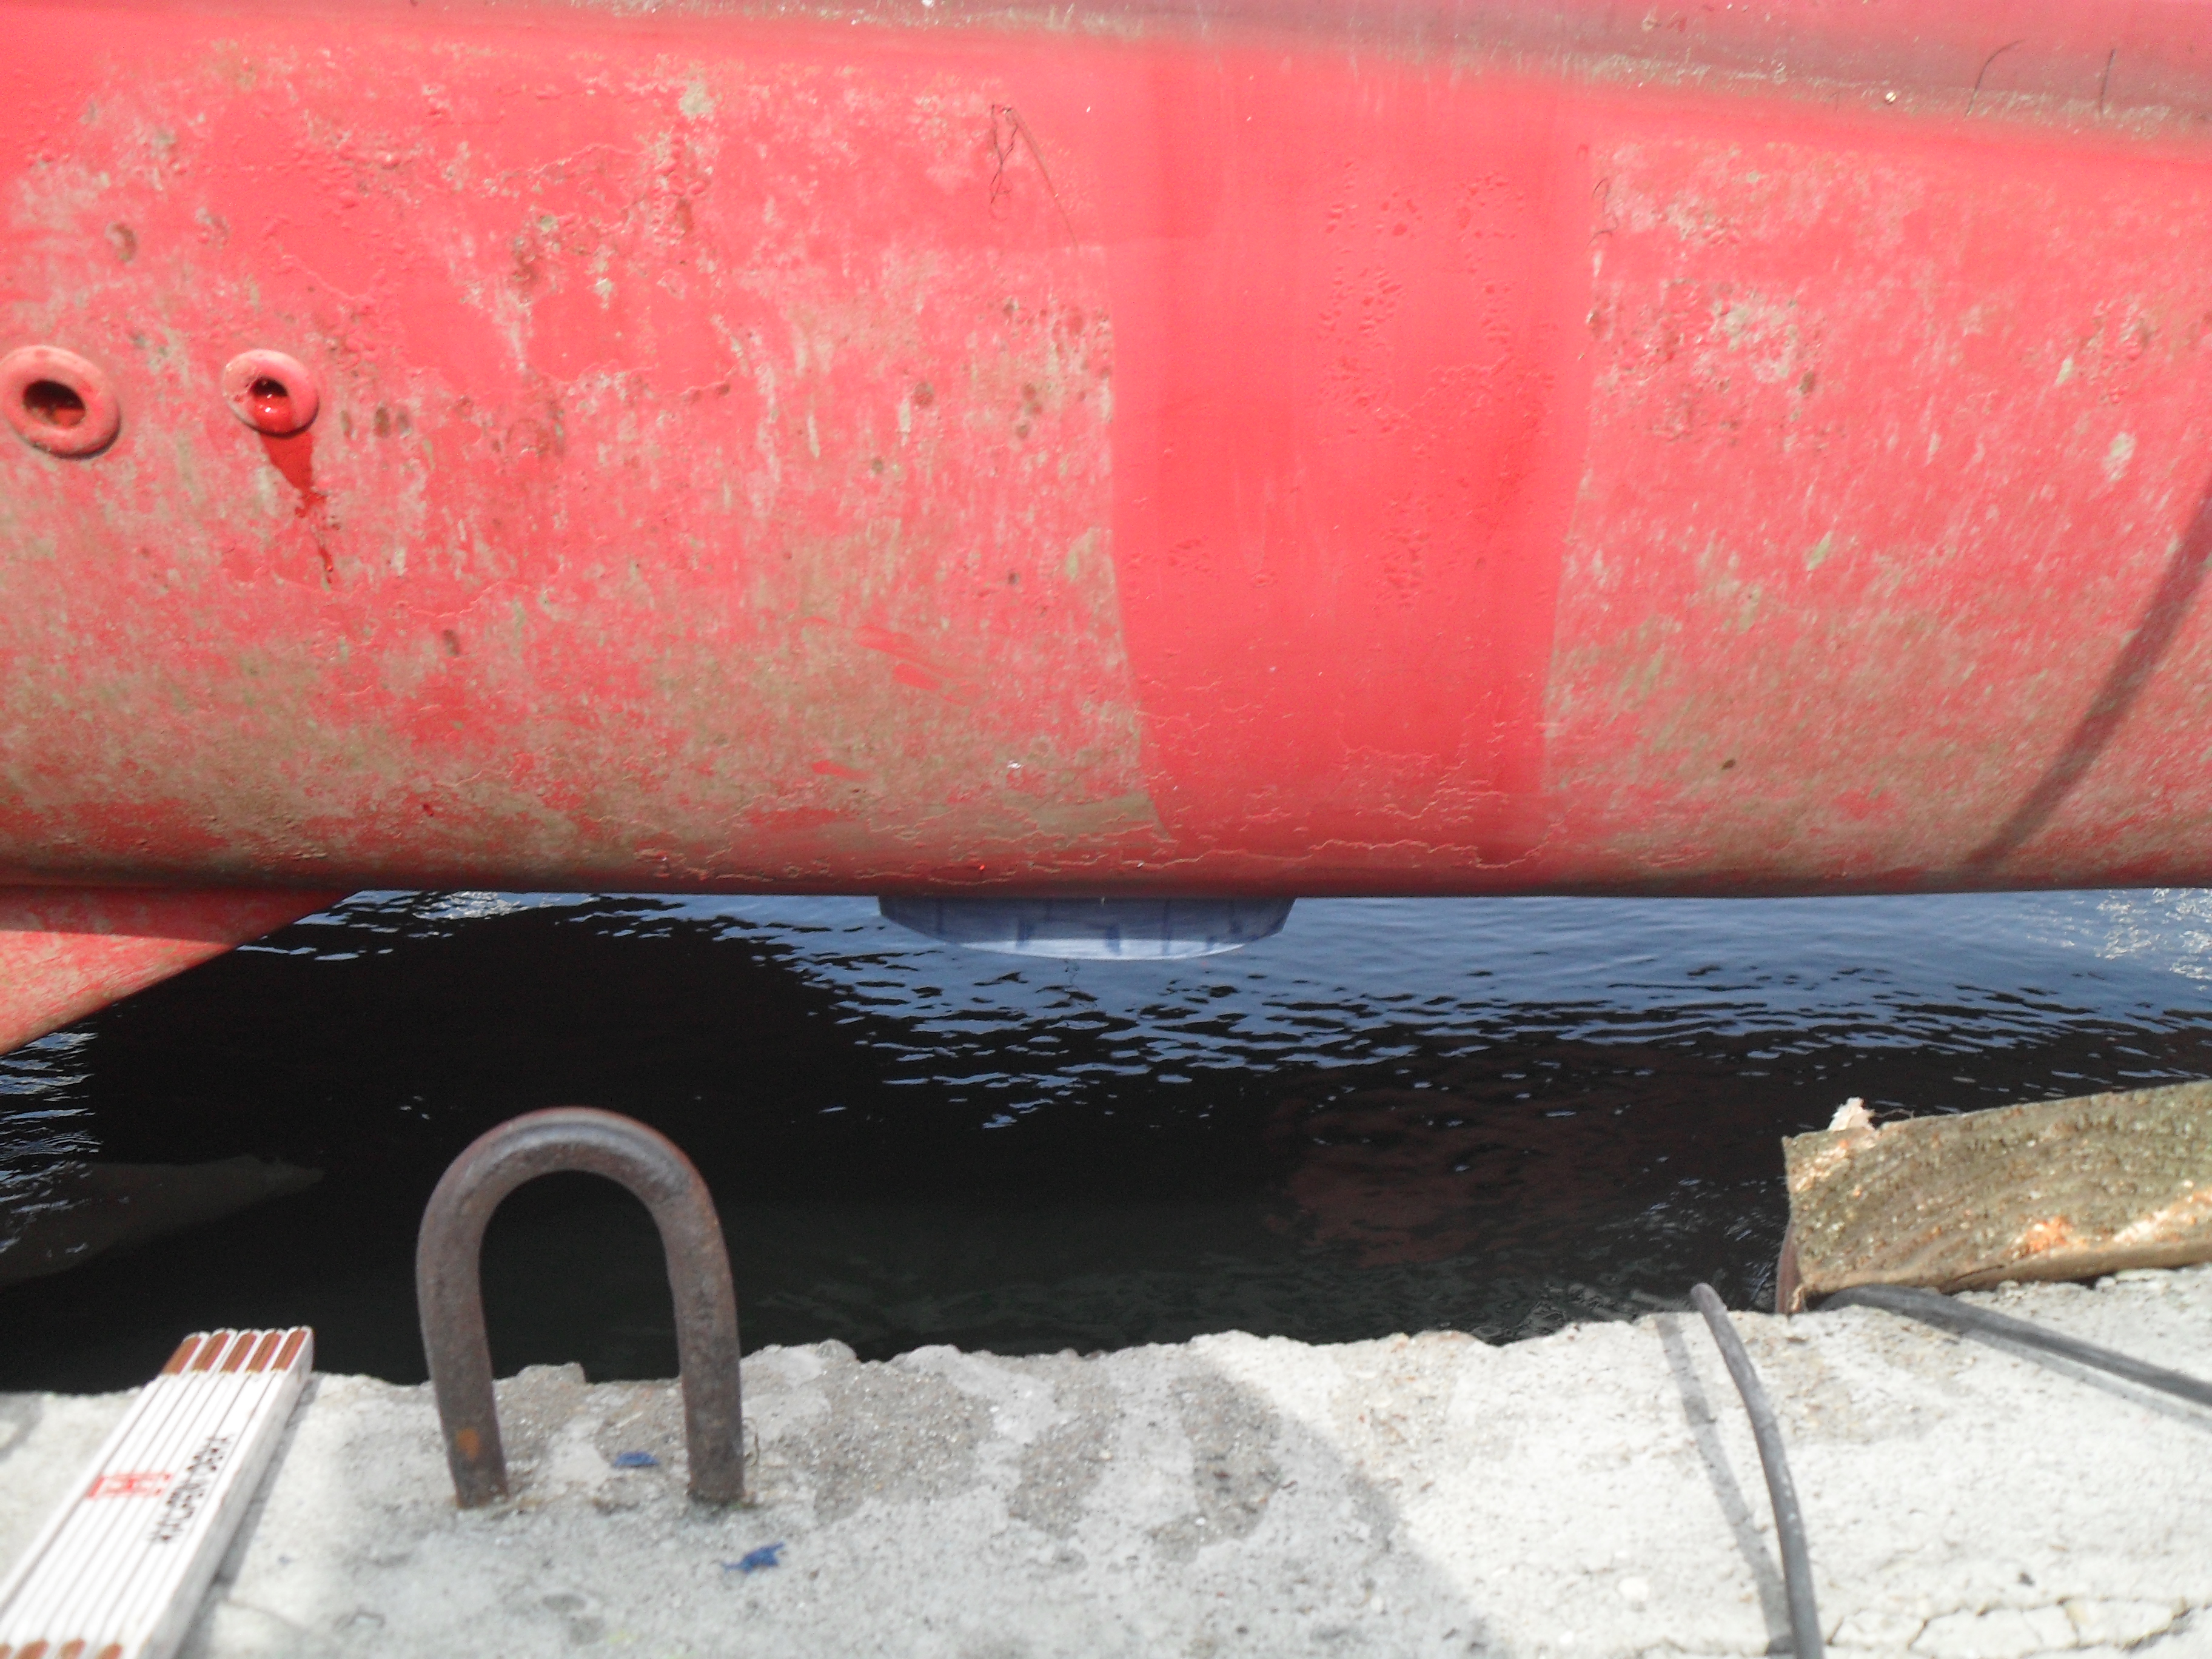 and this from out.
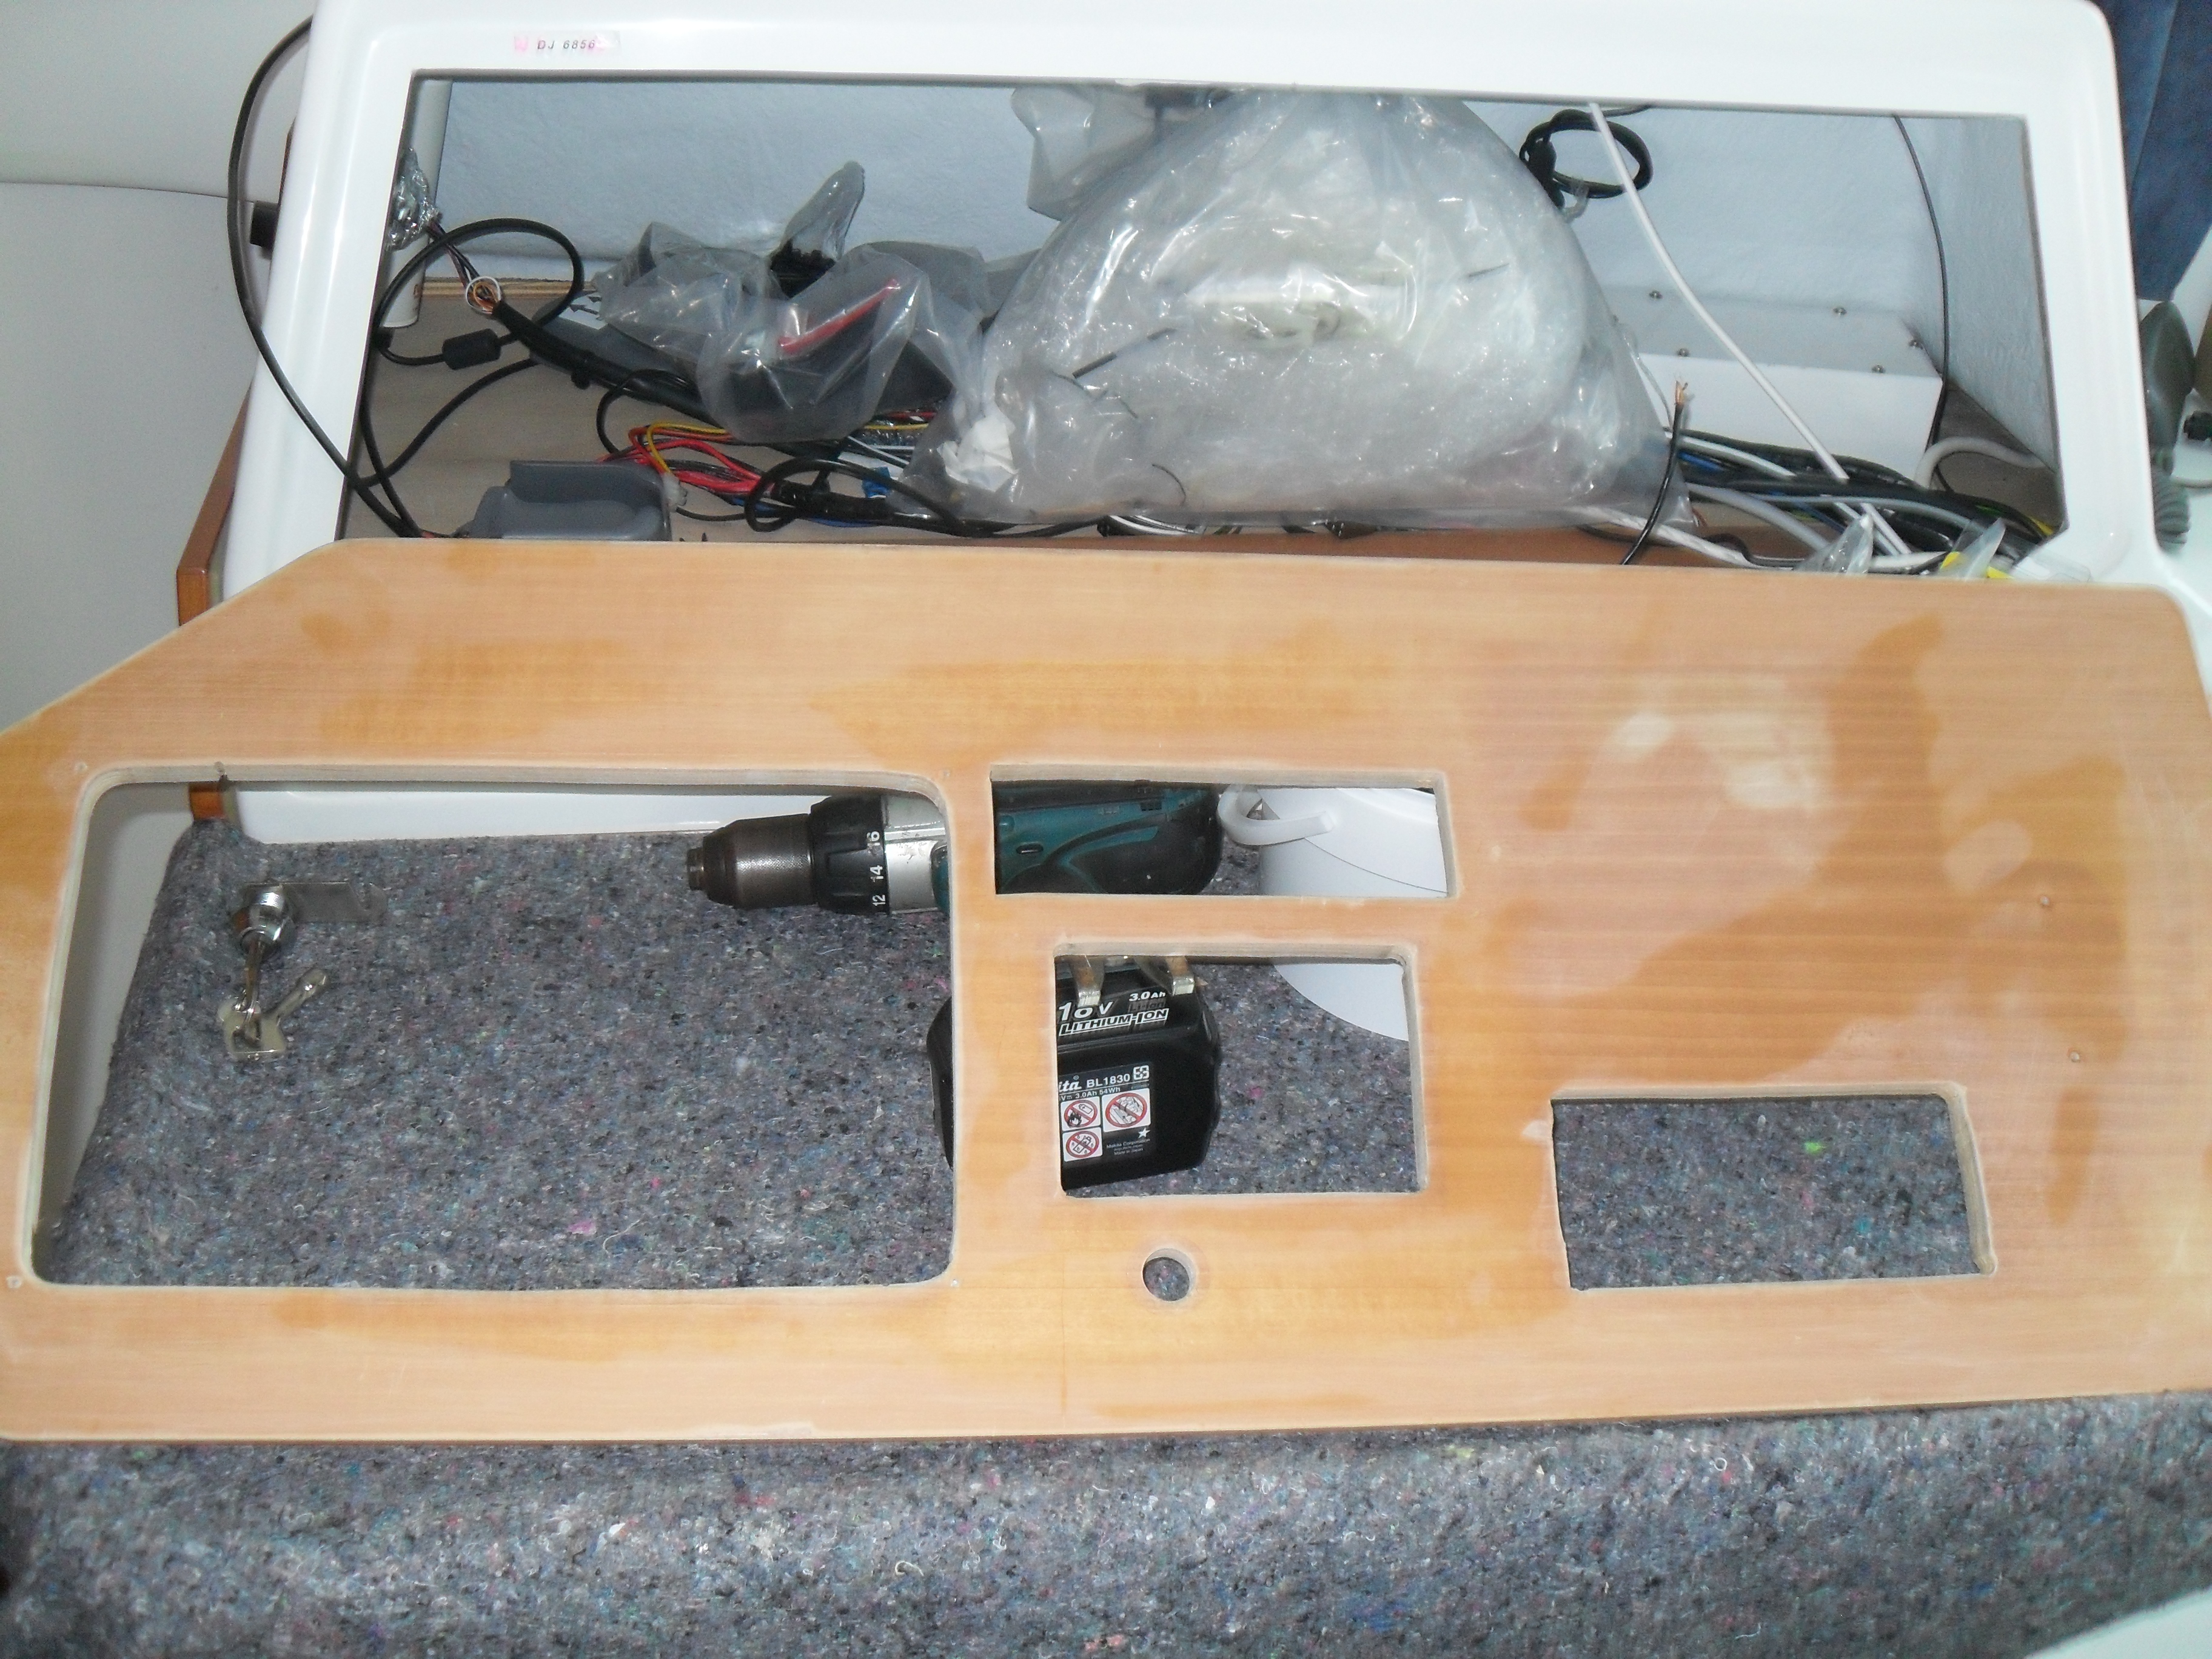 The next step is to modify our navigation table. The inlet for the plotter has to be enlarged and another opening for the control panel of the autopilot (p70) needs to be cut.
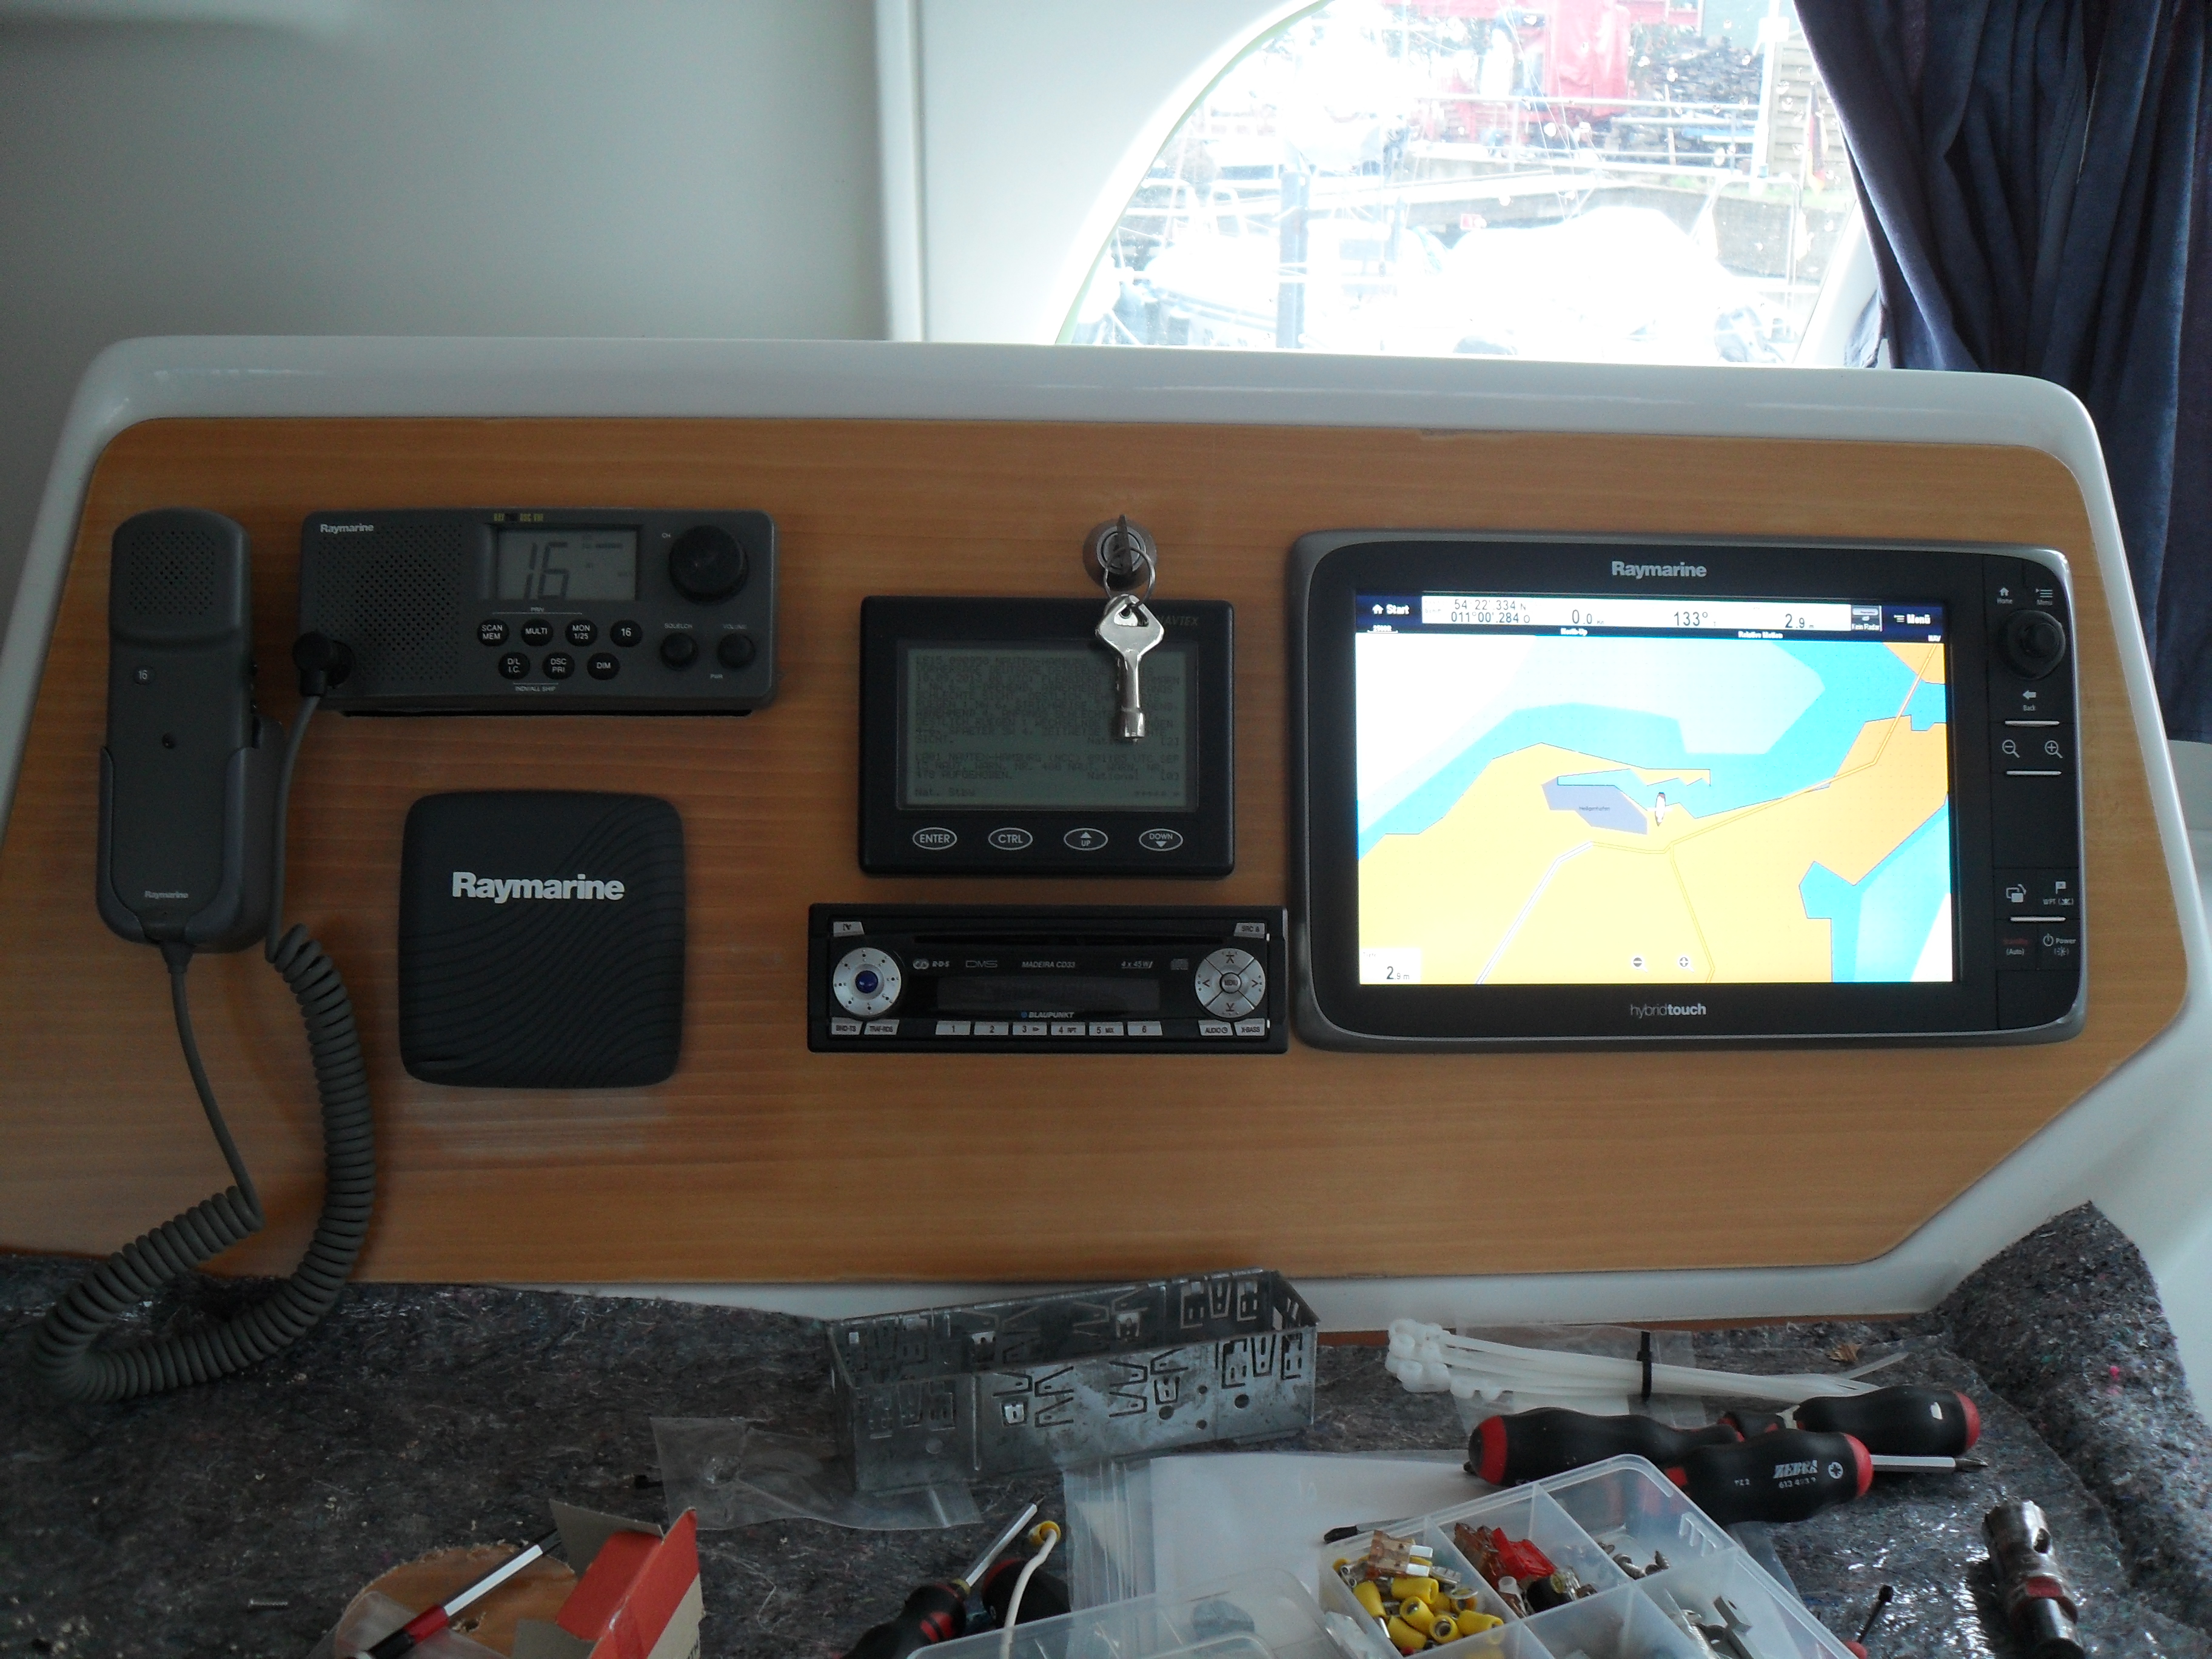 That’s how it looks like when everything is done.
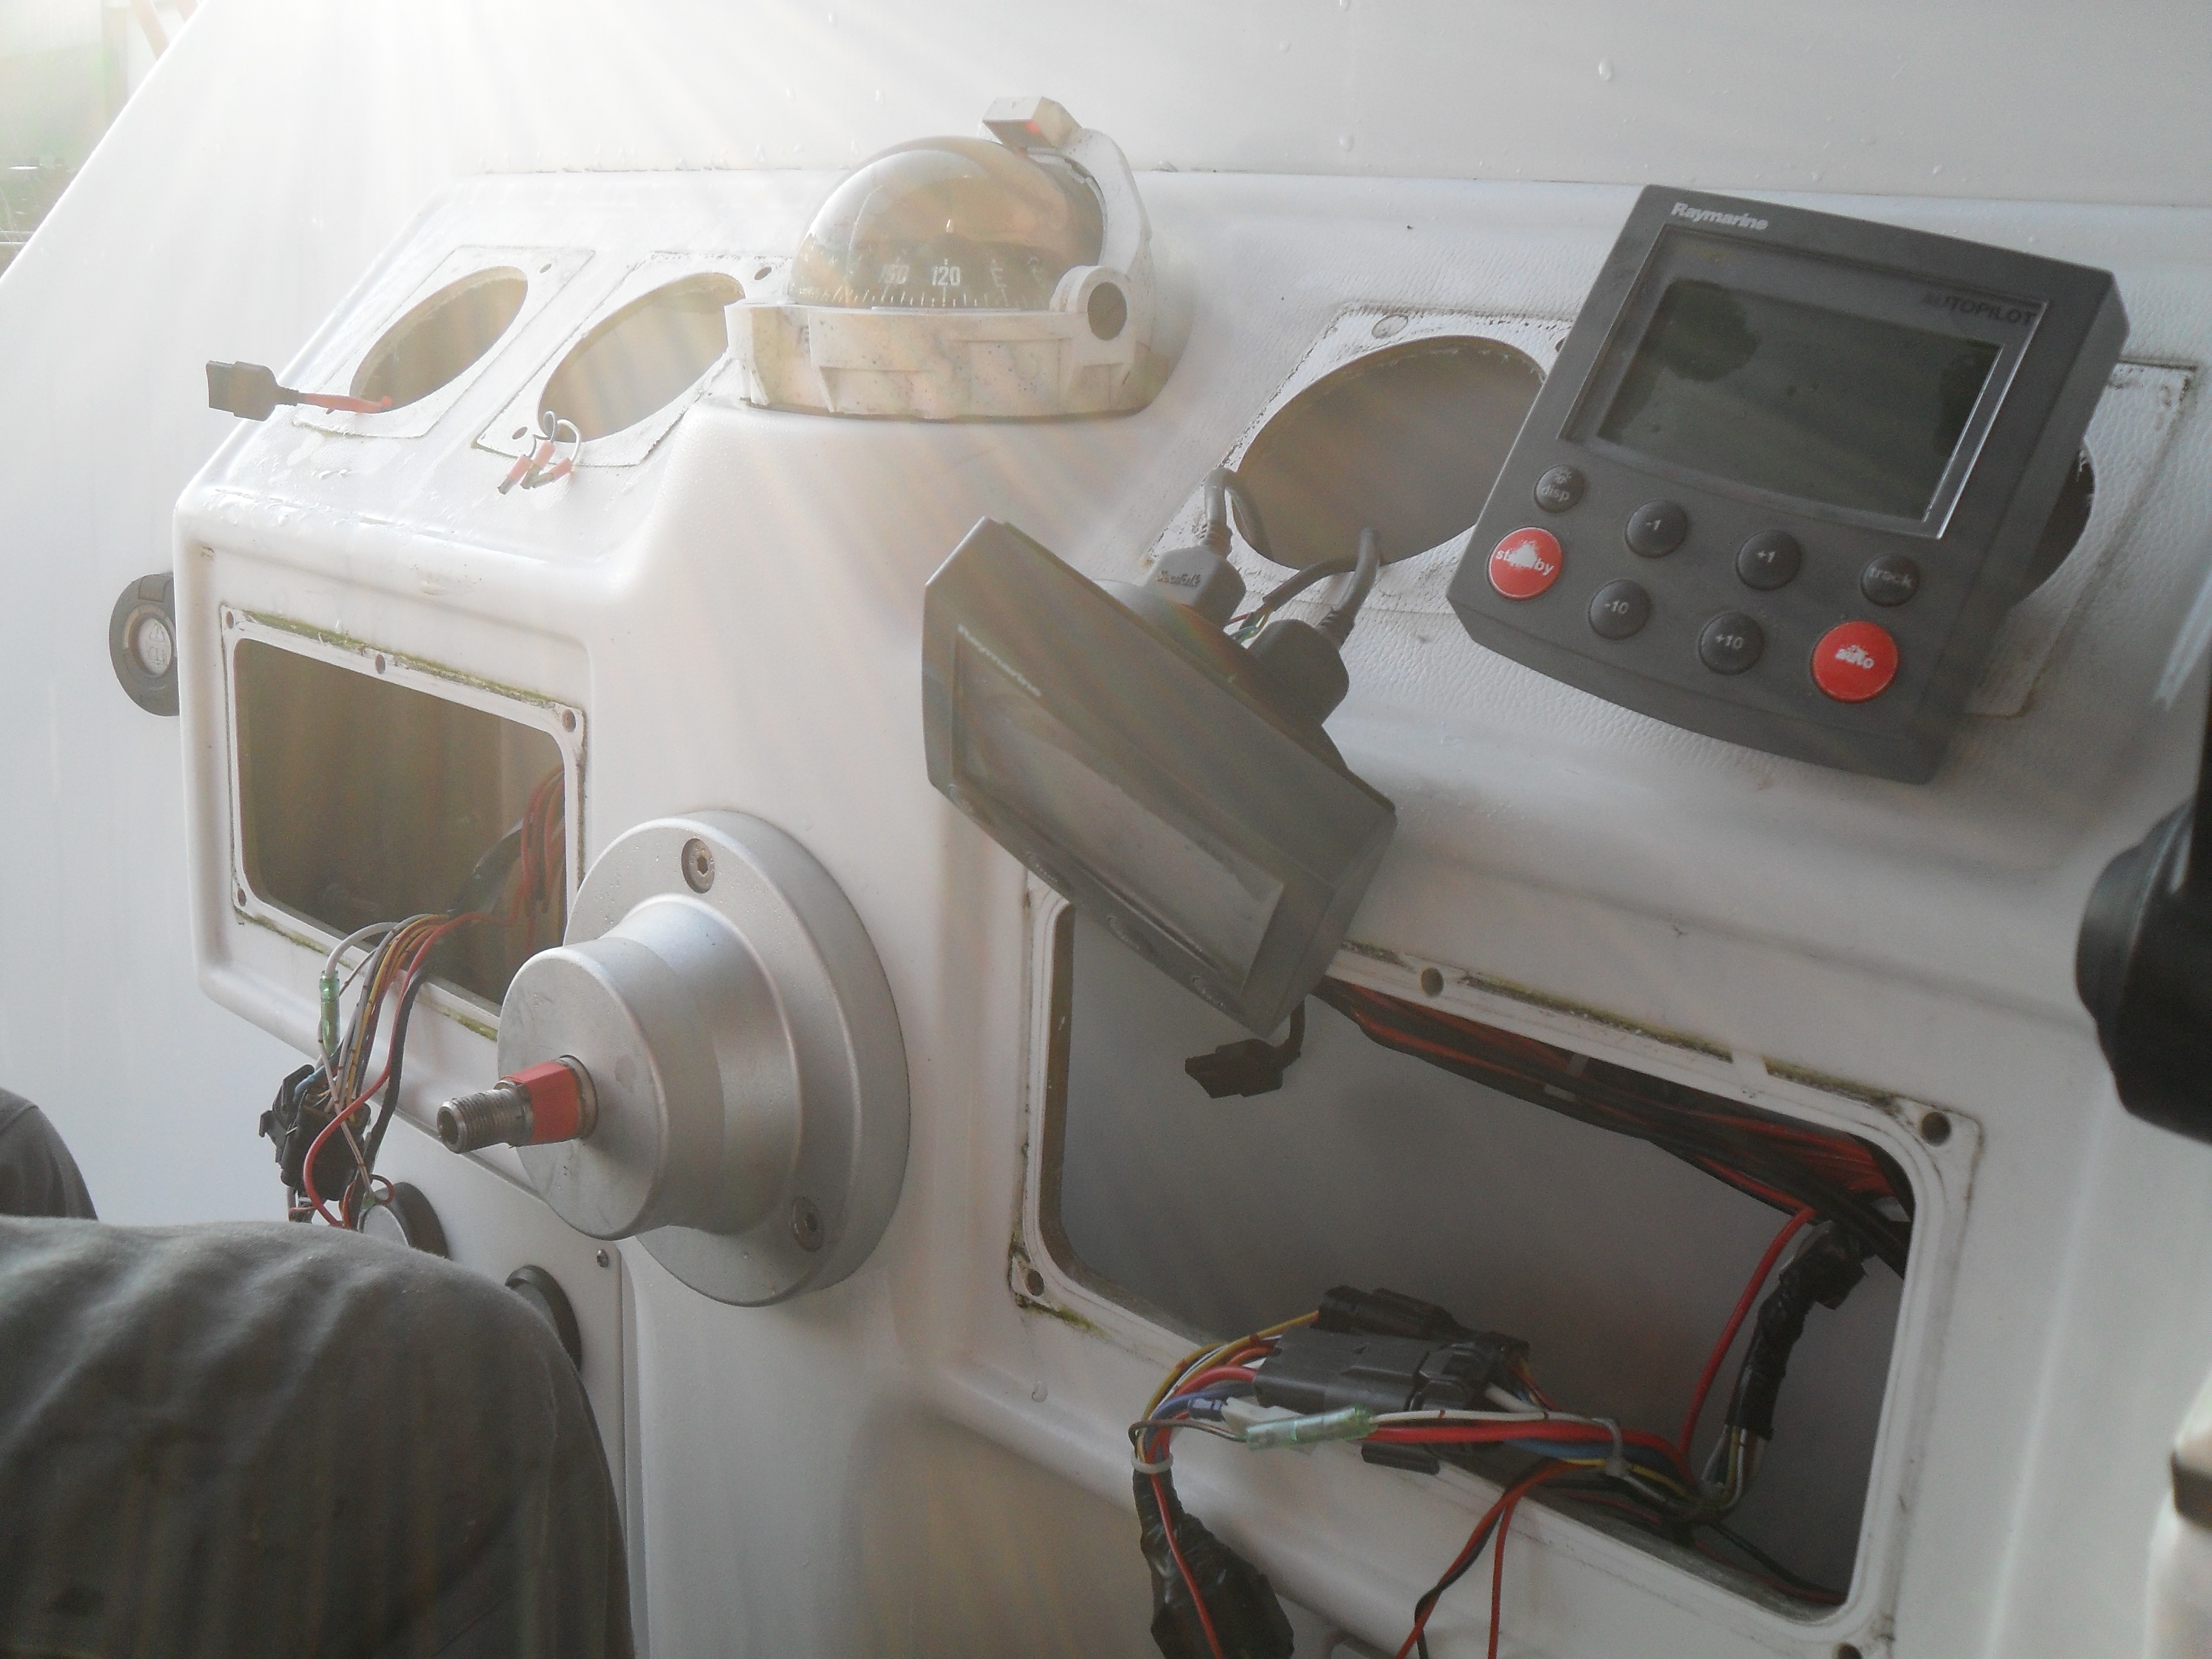 In the meanwhile the devices outside are build up again.
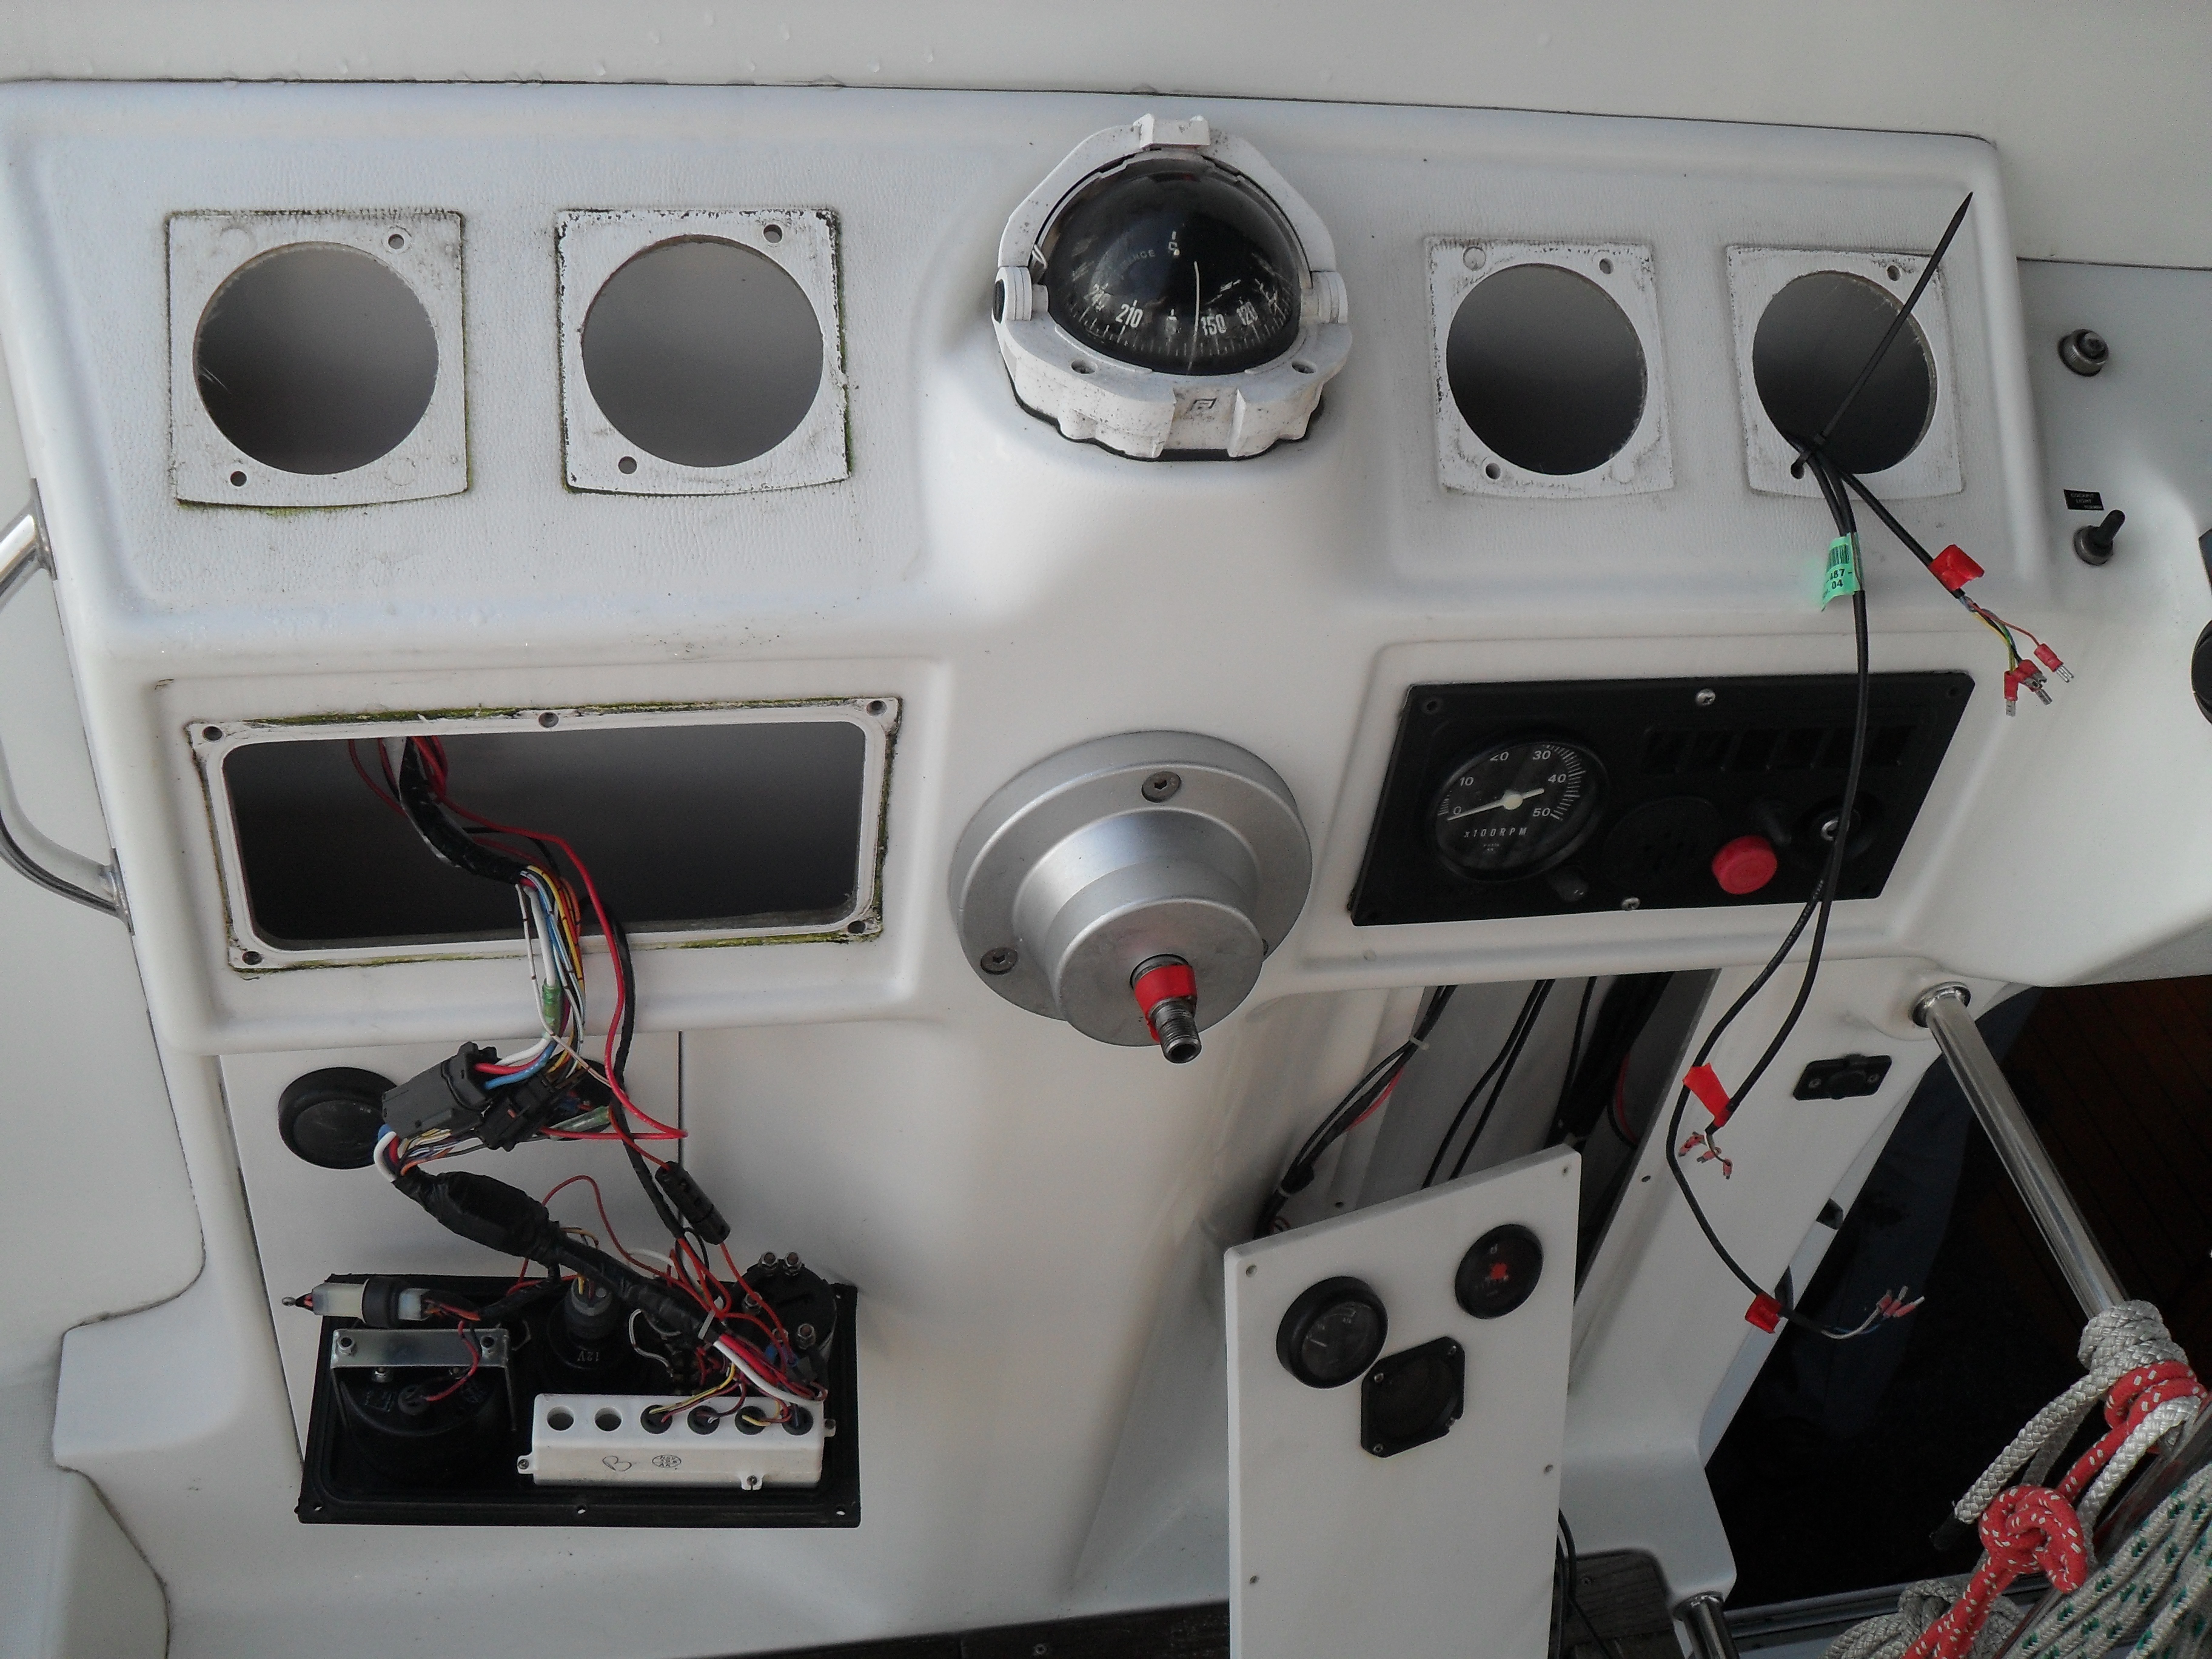 Luckly the new ads fit instide the old holes, but unfortunately the cables have to be relaid.
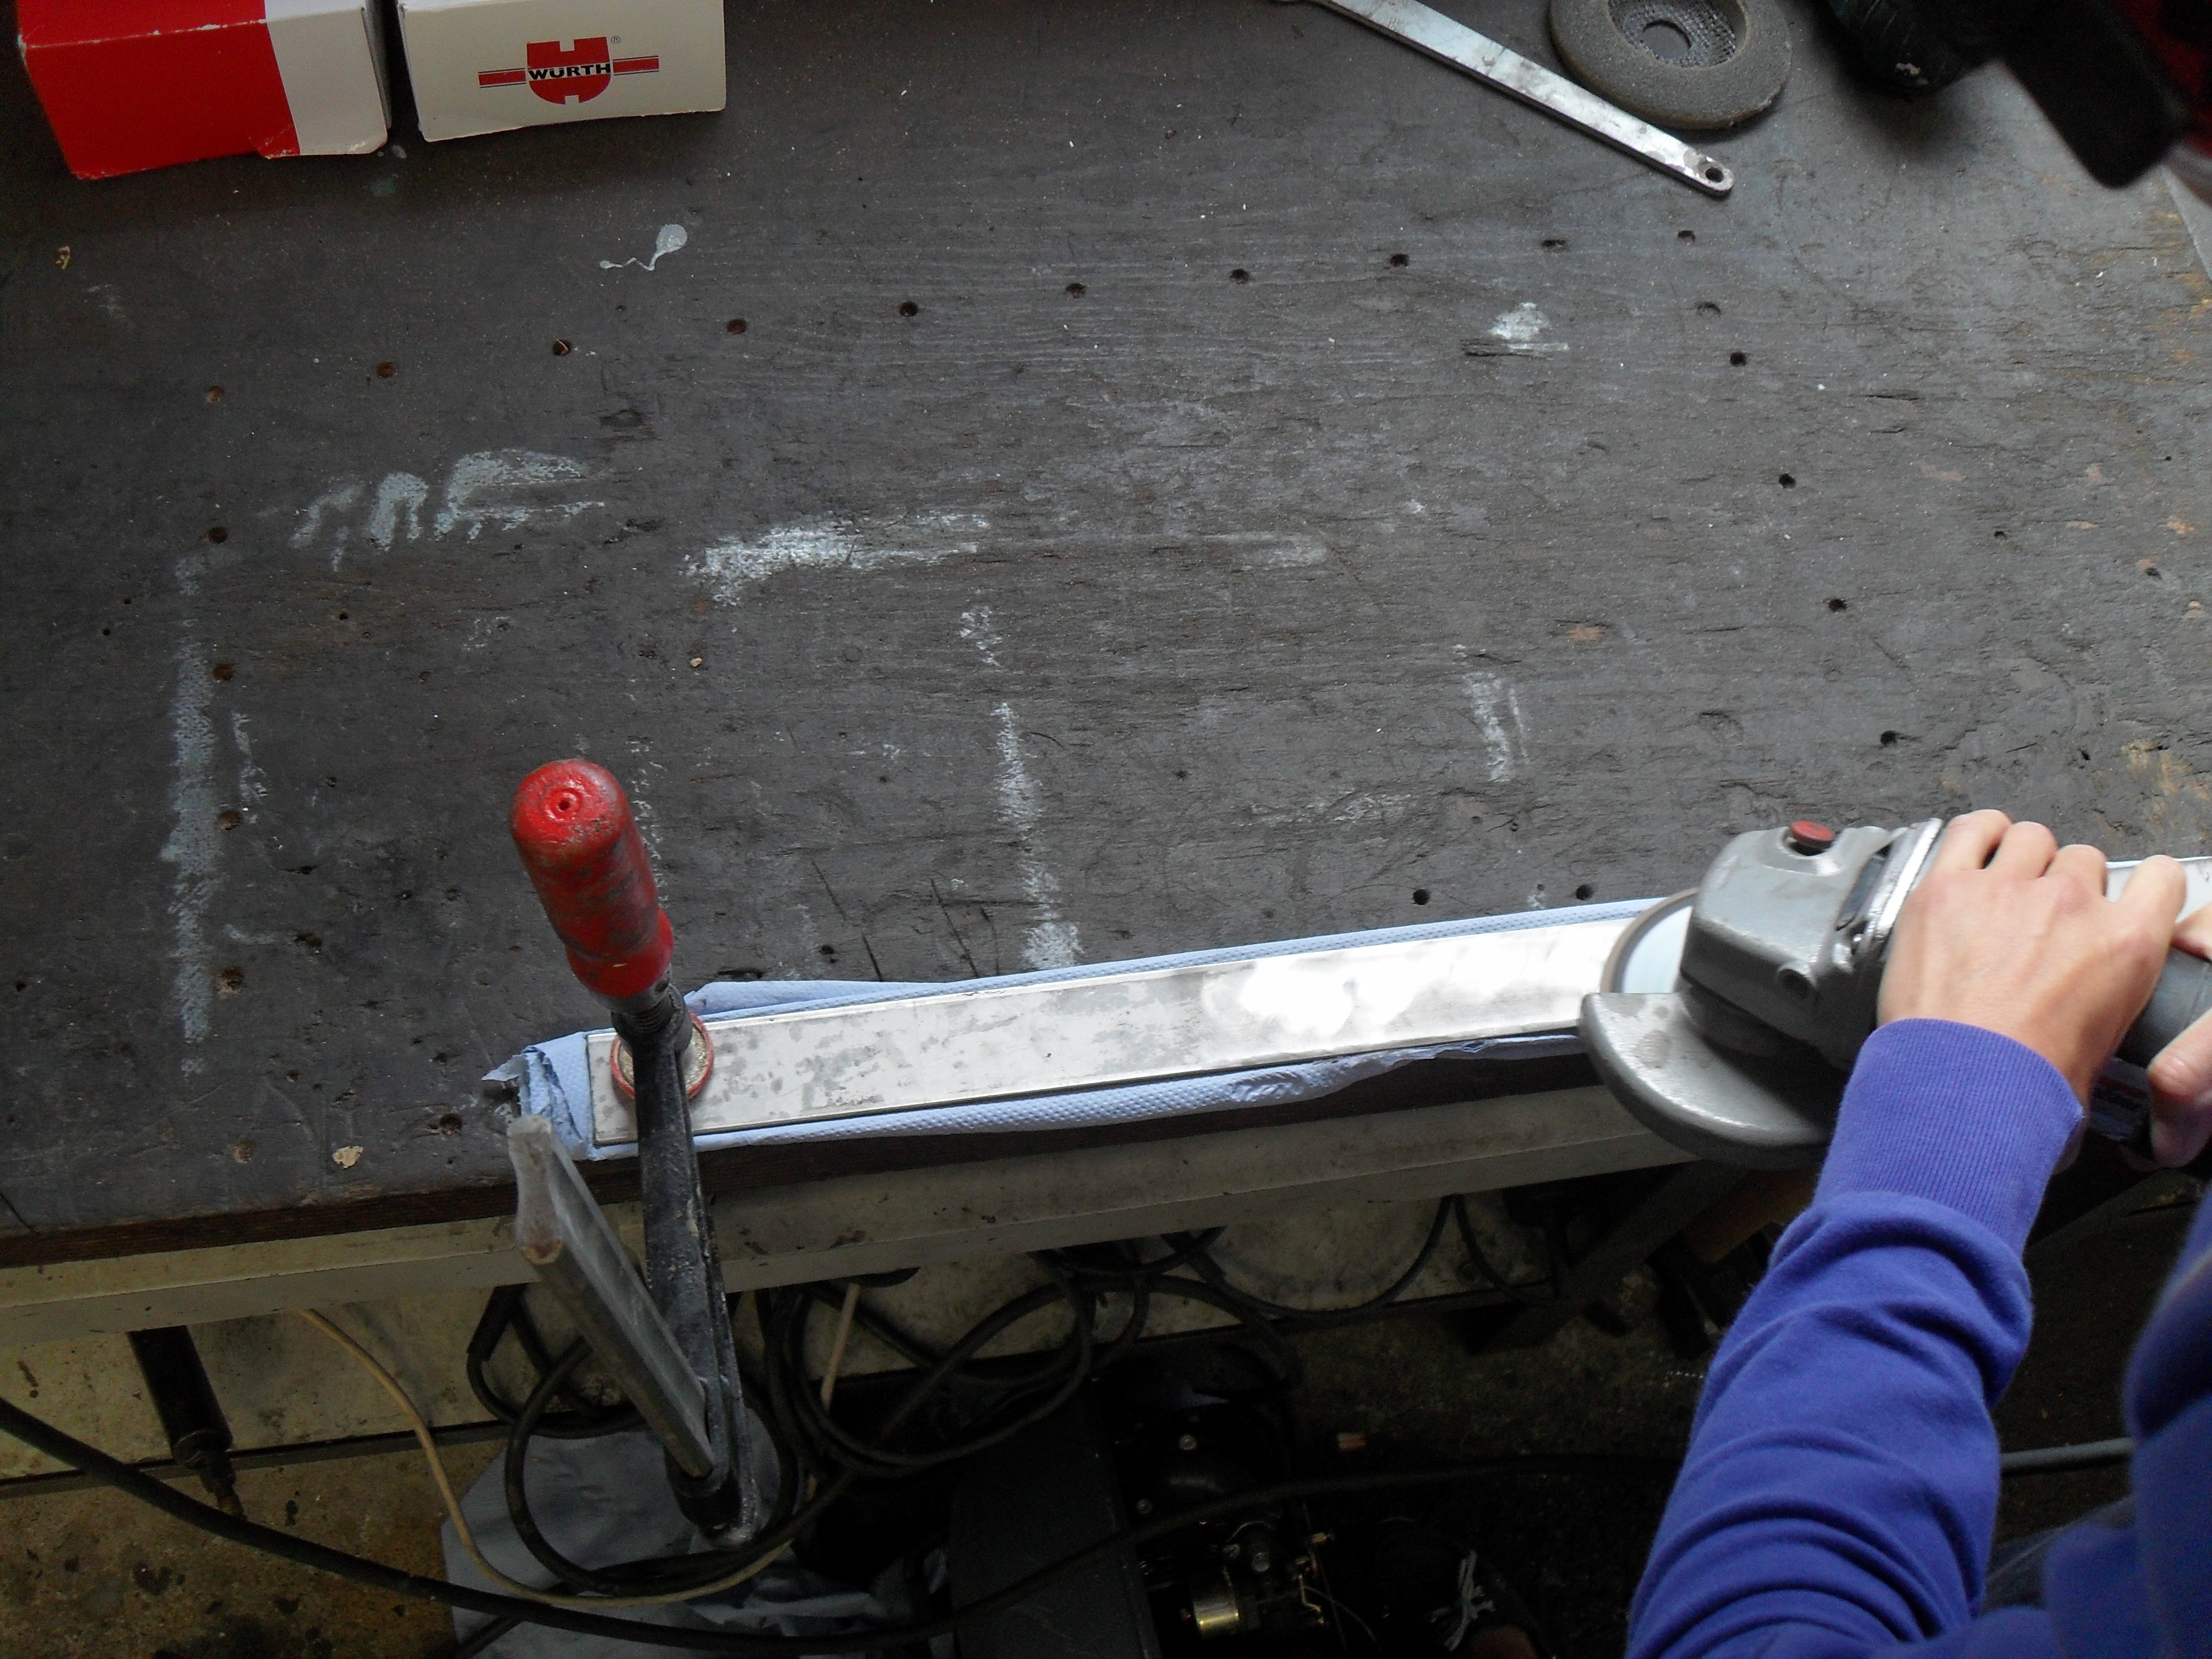 In addition, we need to build a bracket for our own Chartplotter ouside. The standard bracket, infact, doesn’t fit.
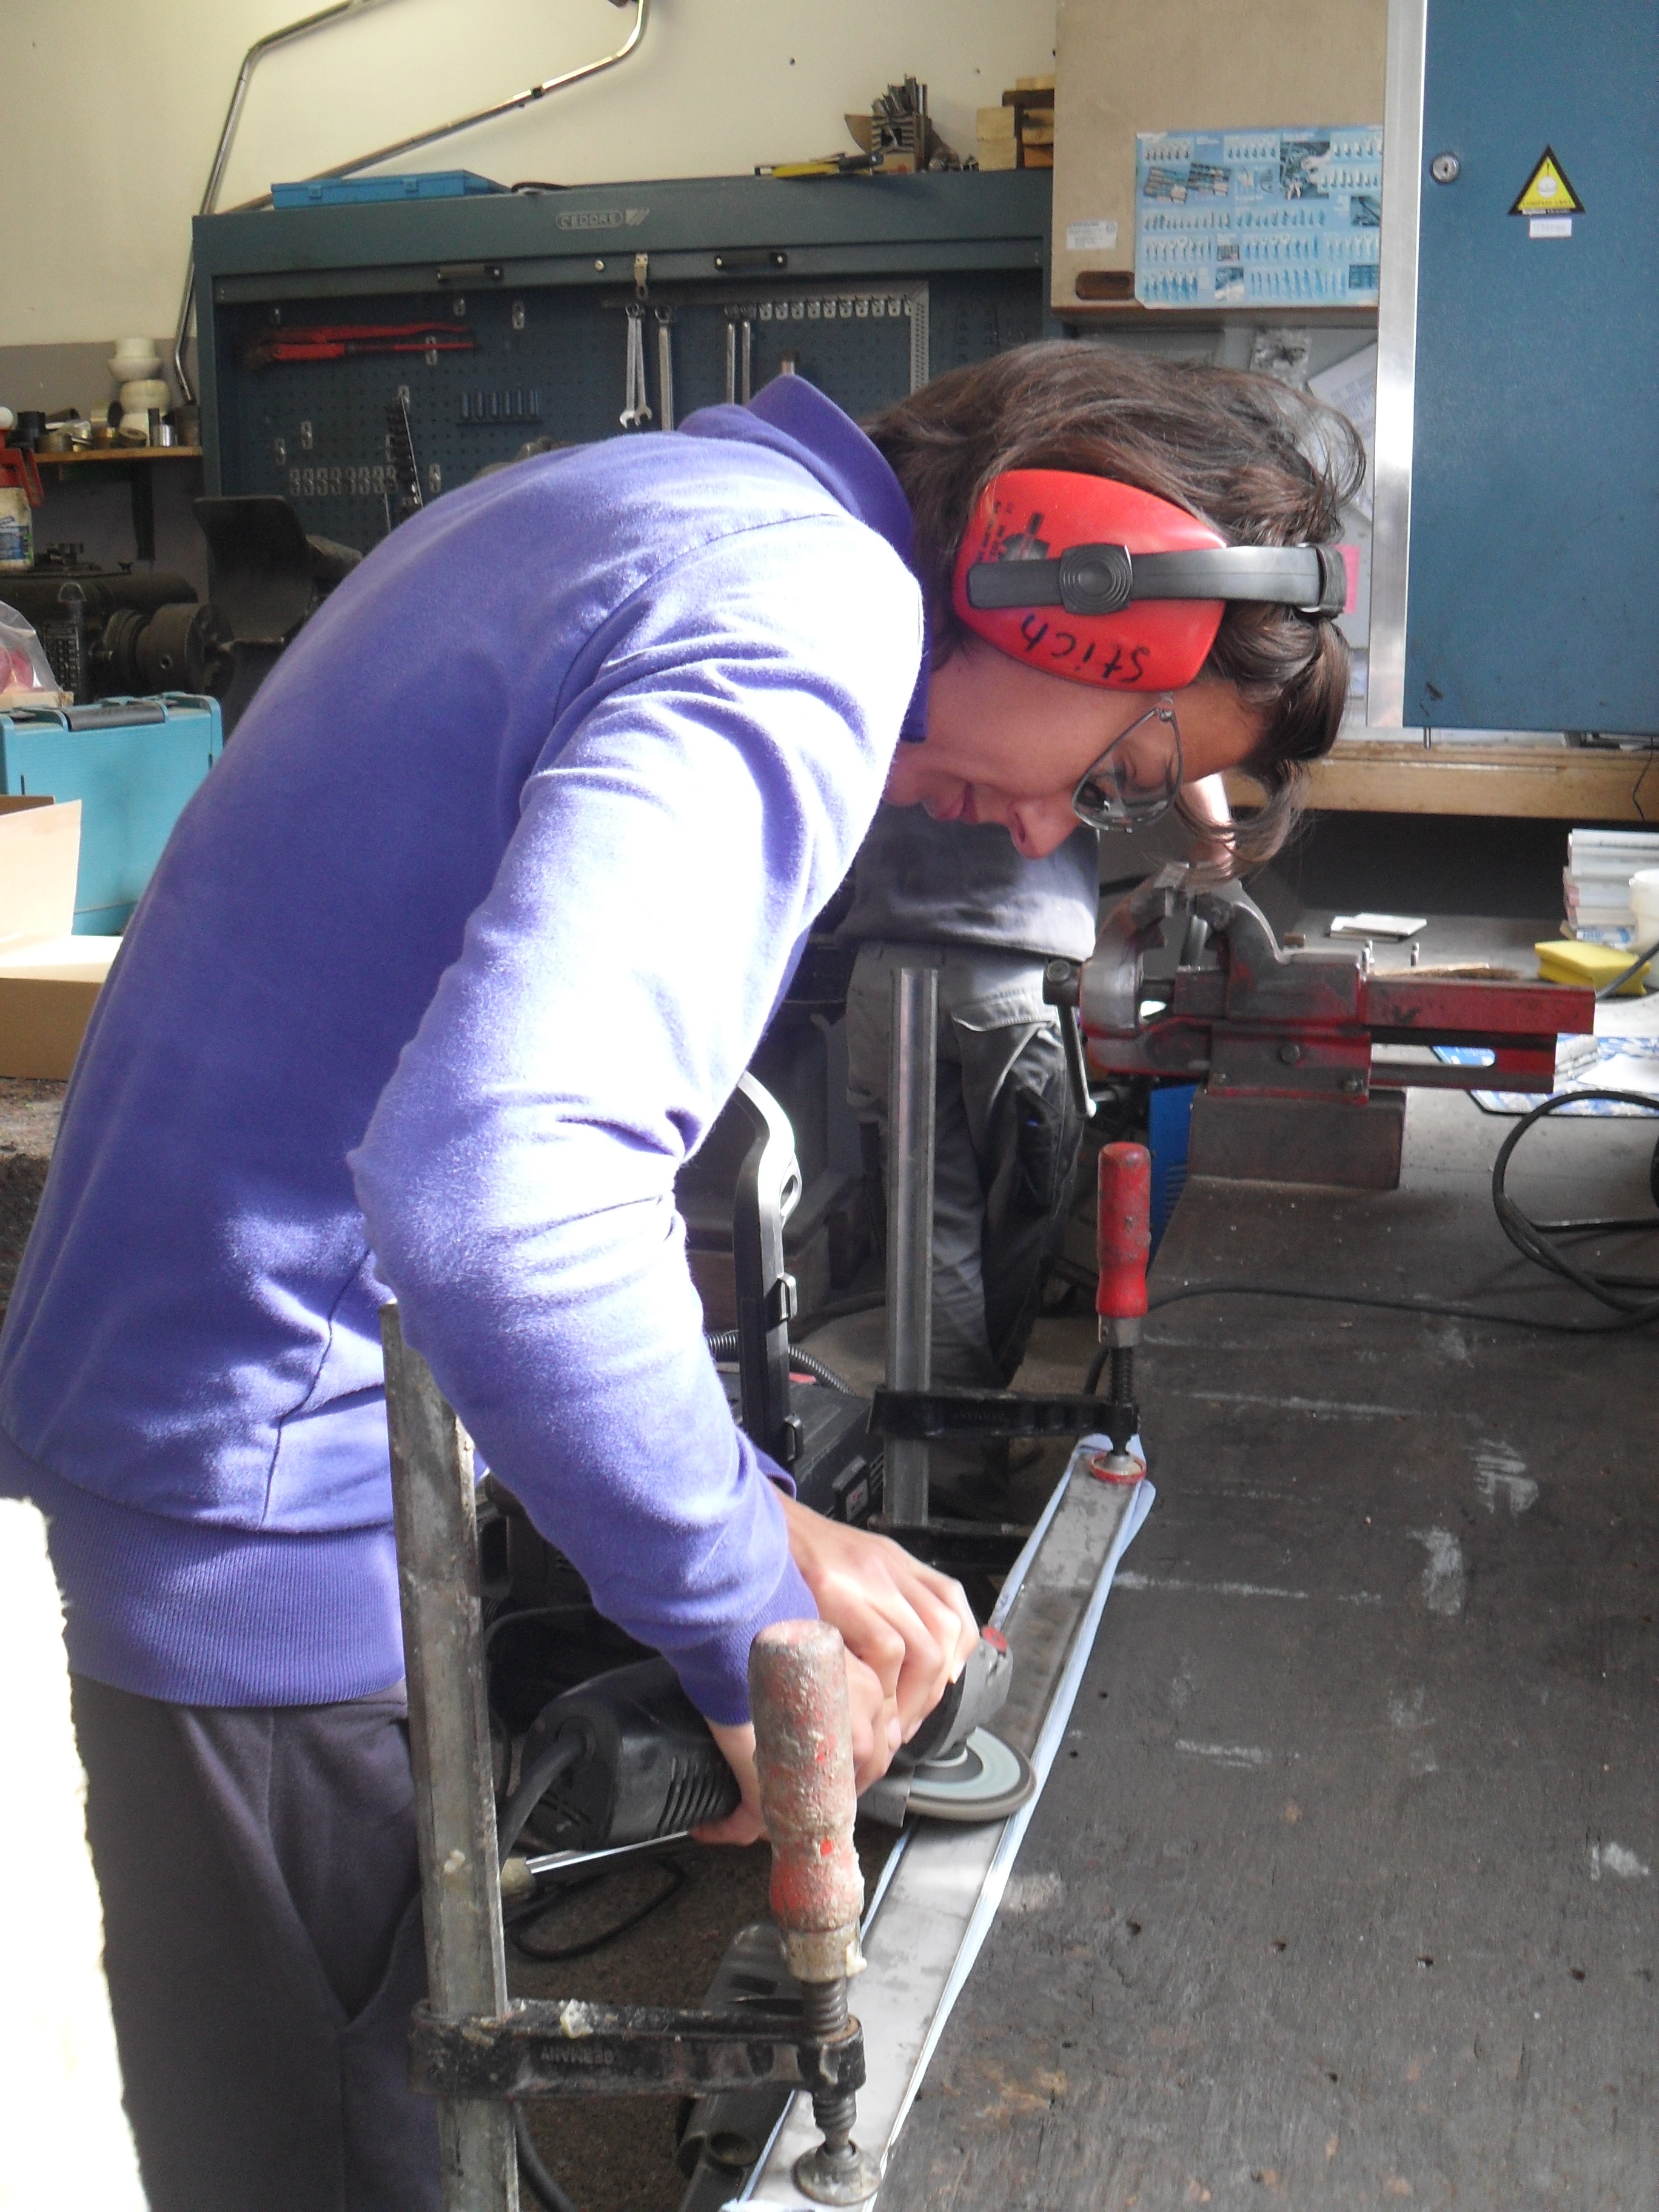 Elena didn’t want sit and watch and has diligently refined and polished.
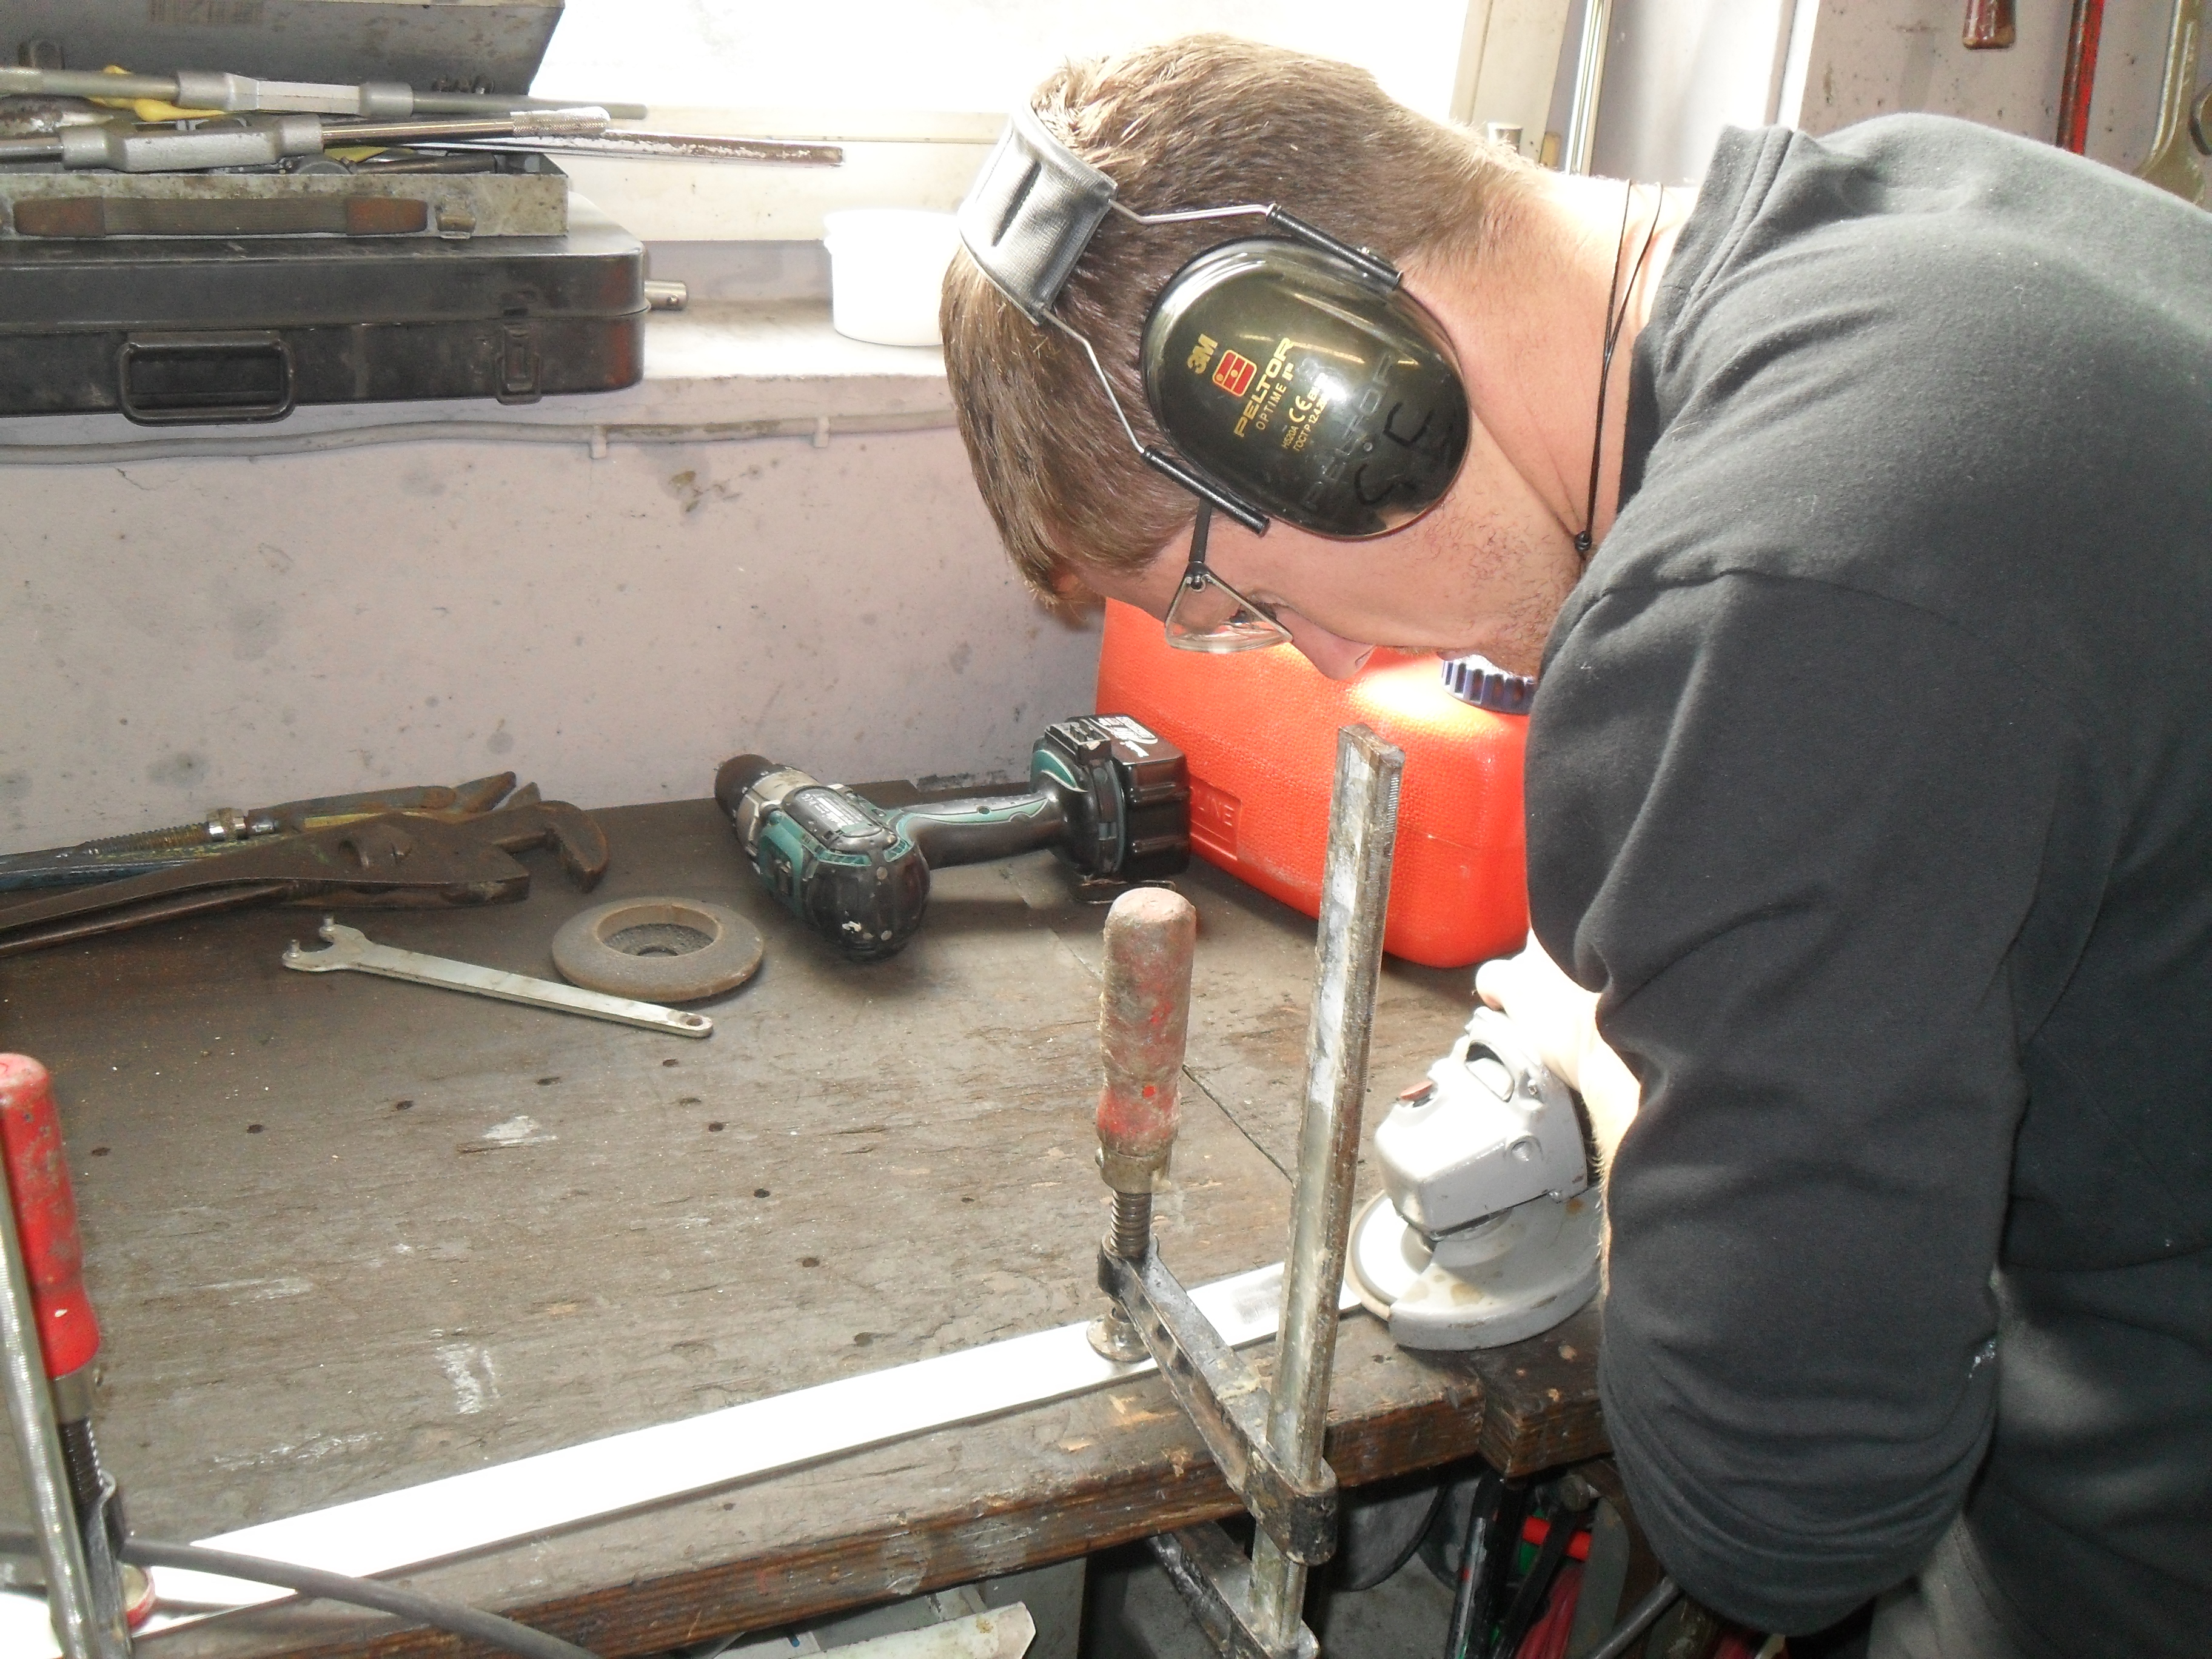 Wojtek has then done the back.
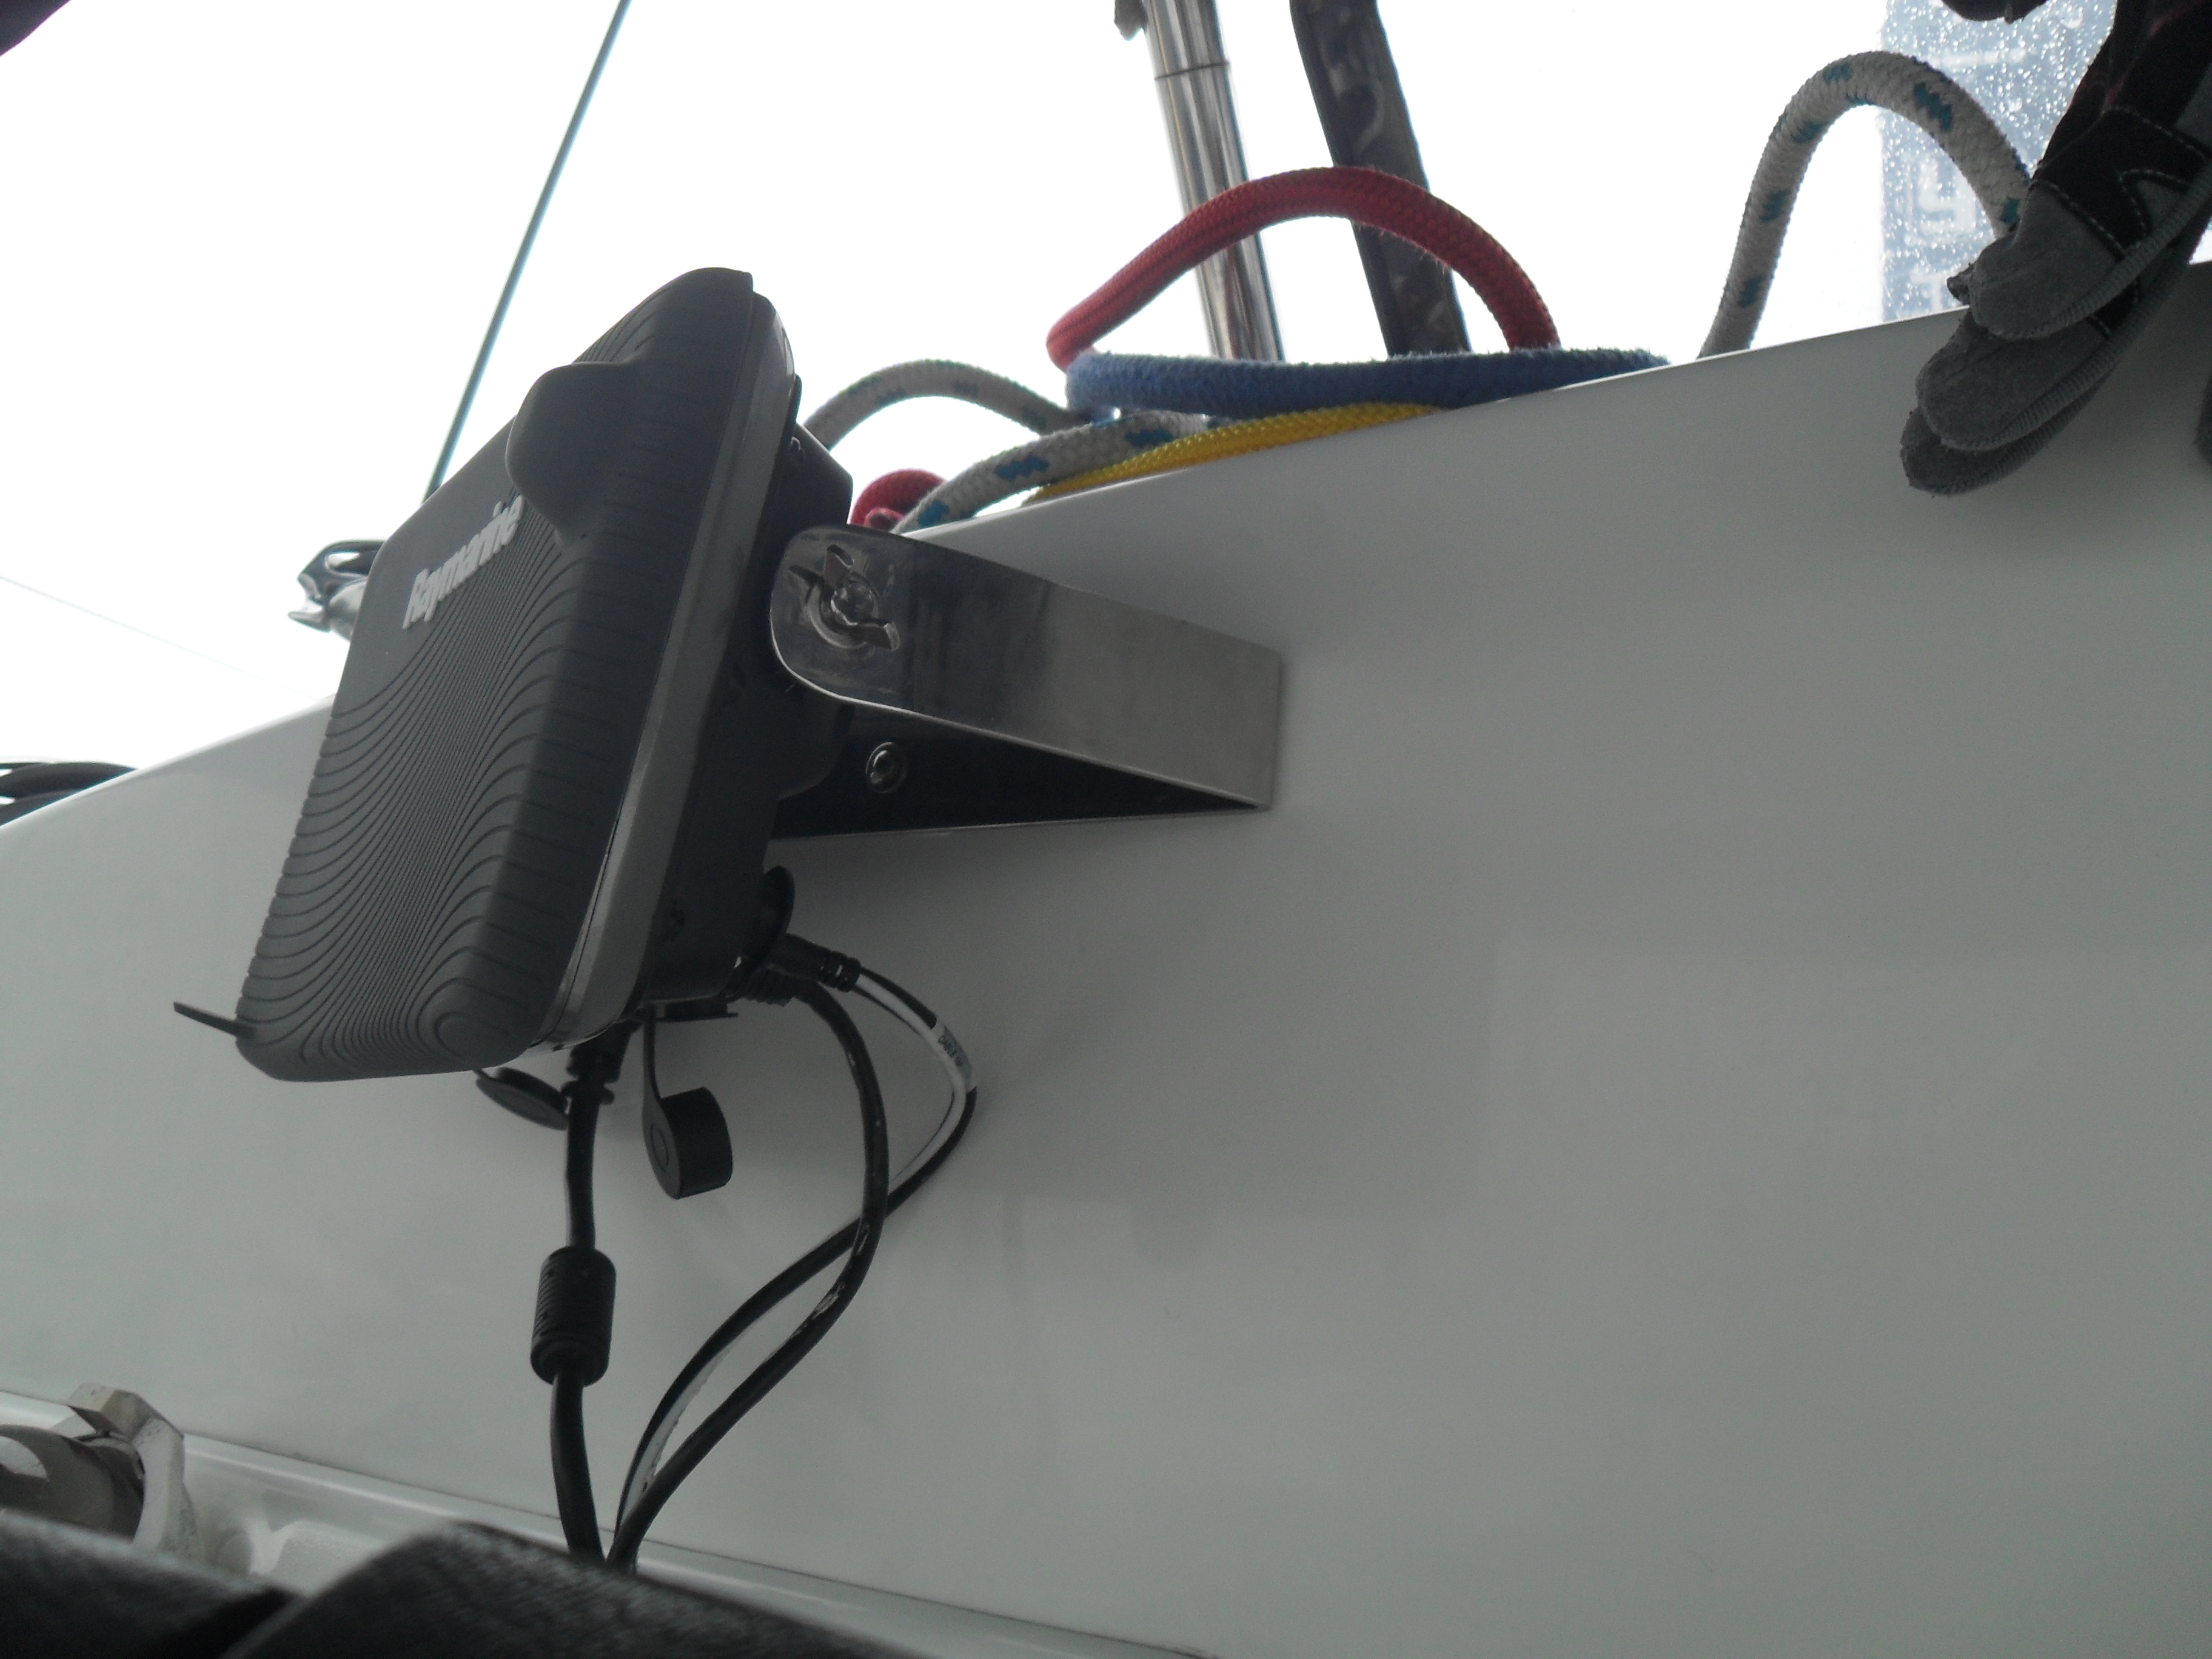 You can see the result! The nuts can be removed quickly so that the plotter can be easily removed and protected against “long-finders”.
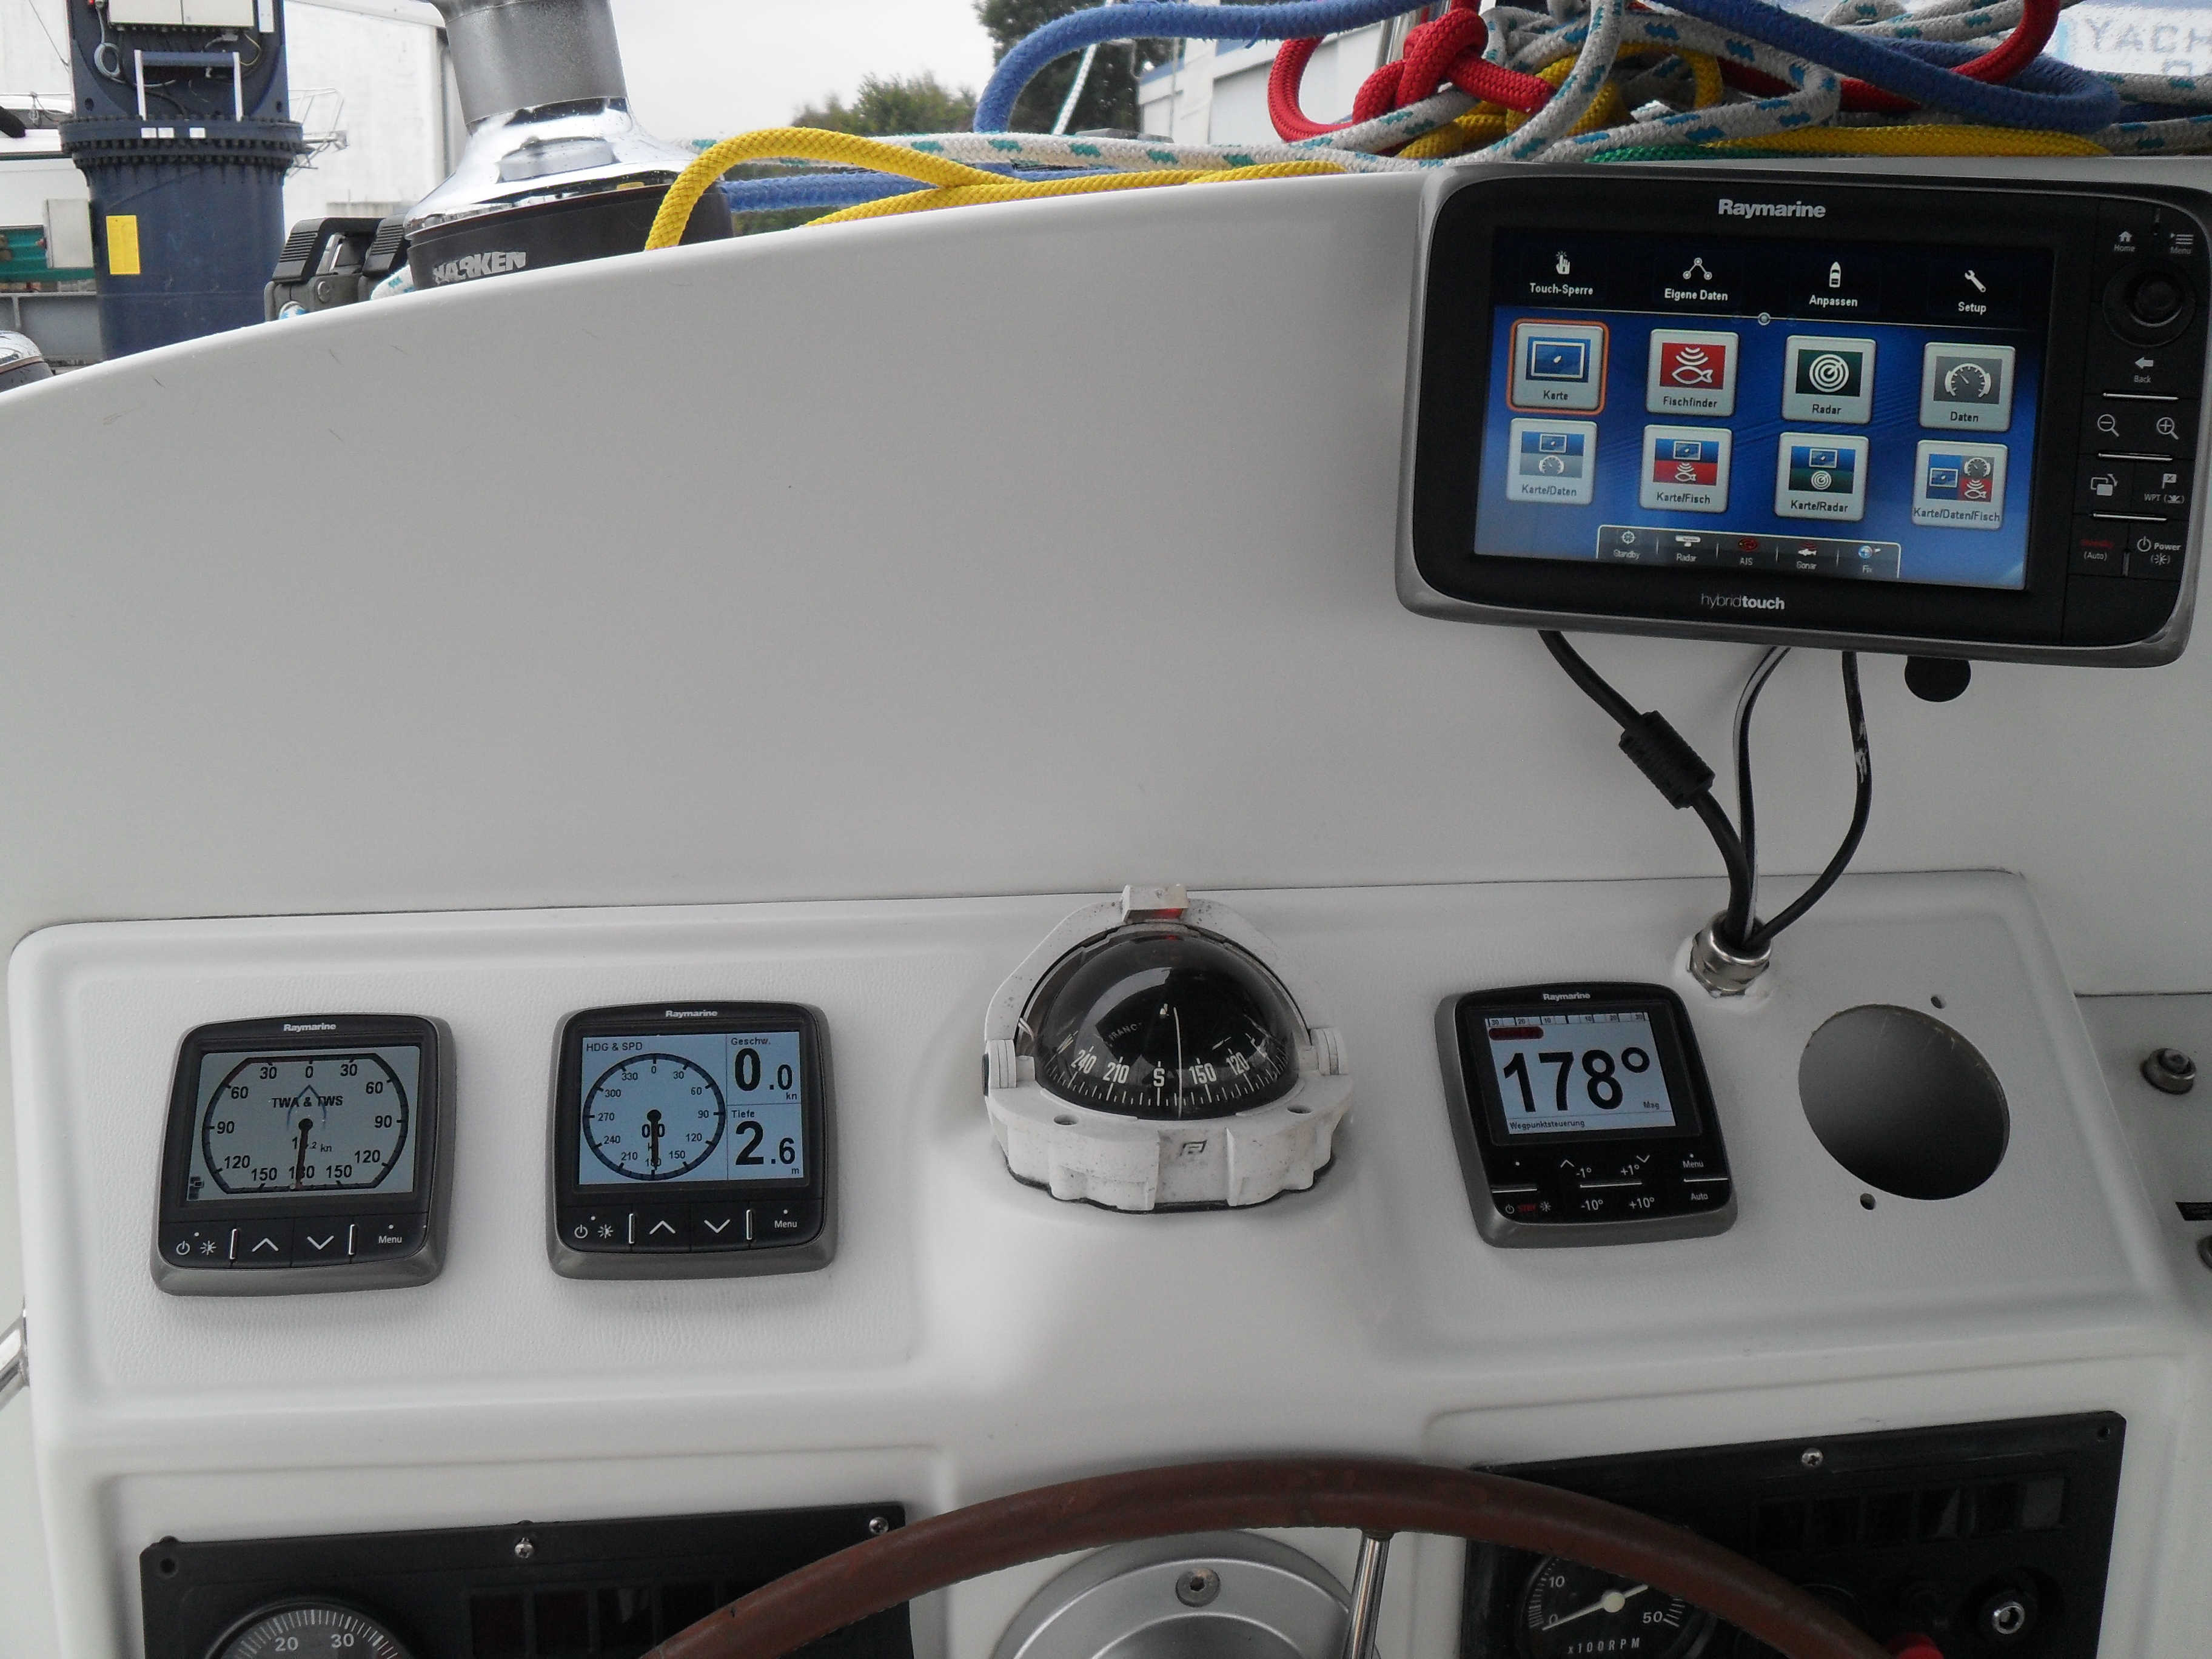 The plotter only has to be sealed in its new place and the result is perfect. It is important to mention that, after all the new installations, a new deviation table for the compass must be created.
